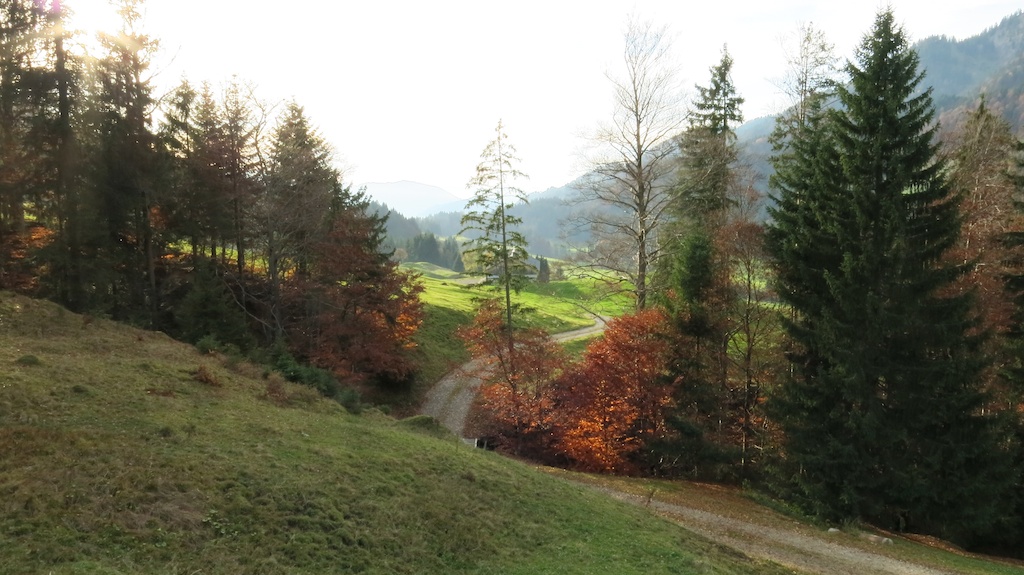
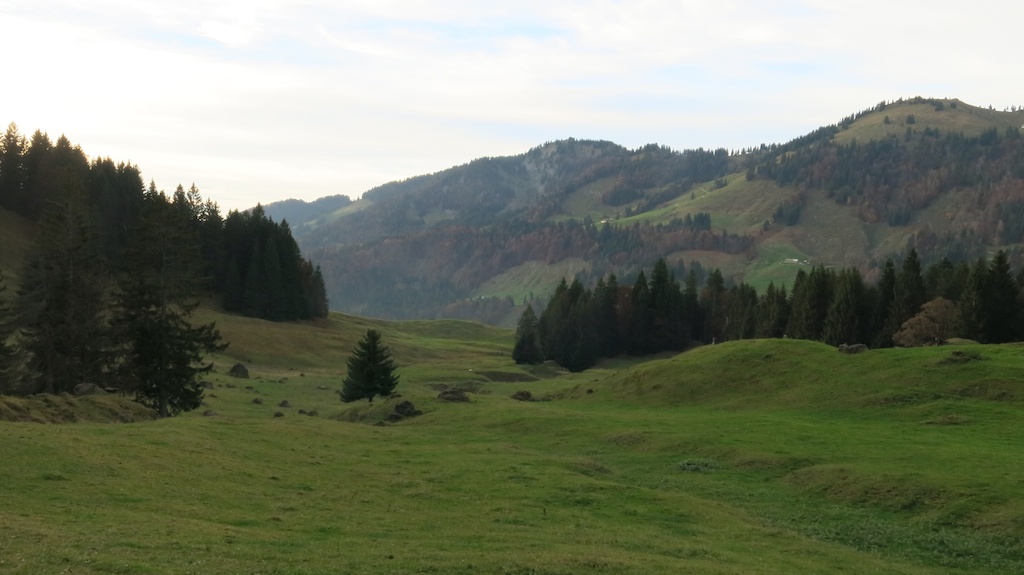


Autumn hiking and bivouac – Trangia stove
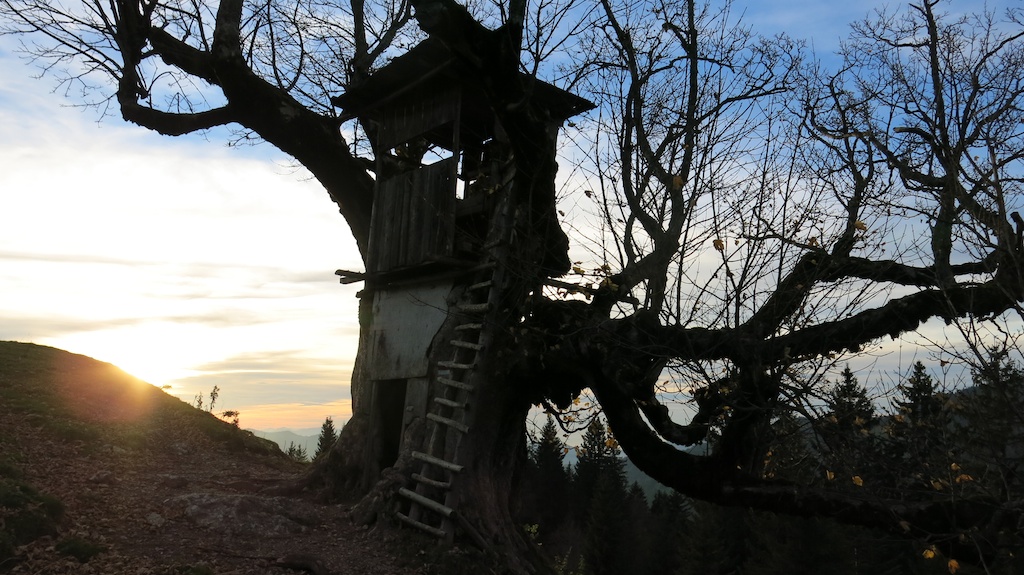
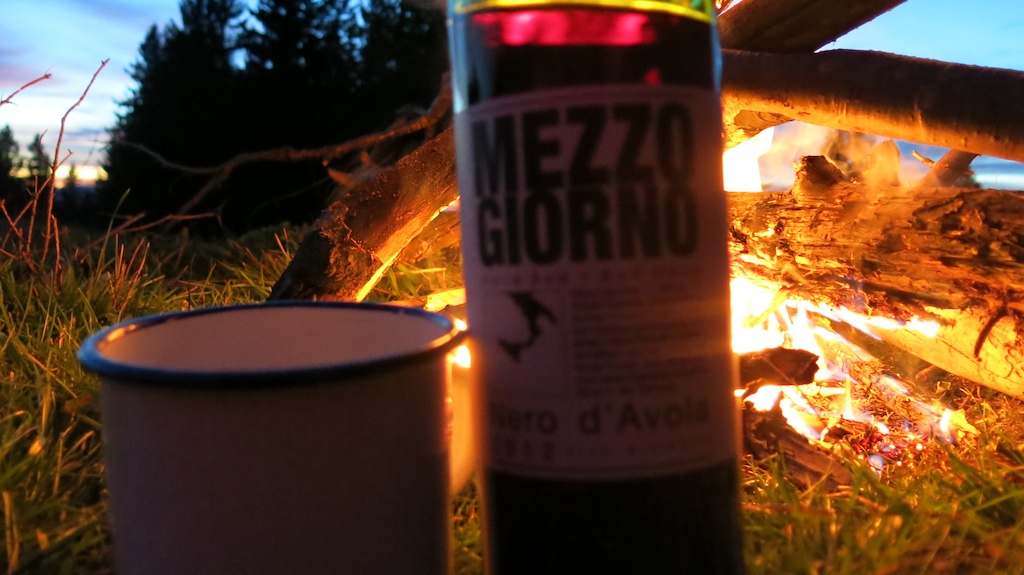
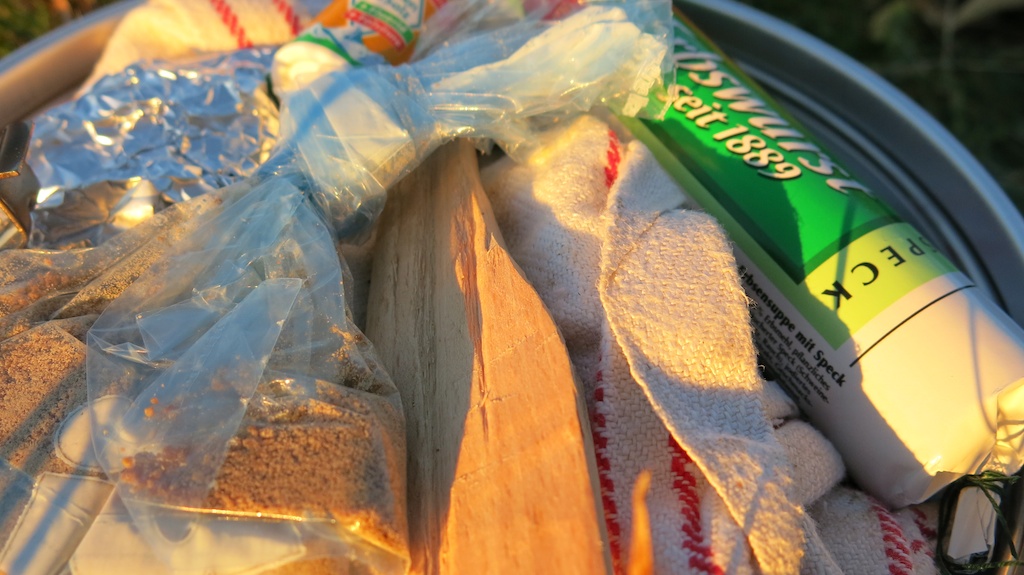
We probably caught one of the last weekends for our bivouac in the alps. Probably a week to late, the yellow leaves already dropped down. After about close to 3 hours we reached the summit and our campground. On the way up there I spotted a badly wounded tree which blood/resin I took as a fire starter. Two years ago I collected some wood and leaned it to a tree, it was still there so the fire was started really quick. We barbecued some Frankfurter/Kraken and had a good bottle of red wine.
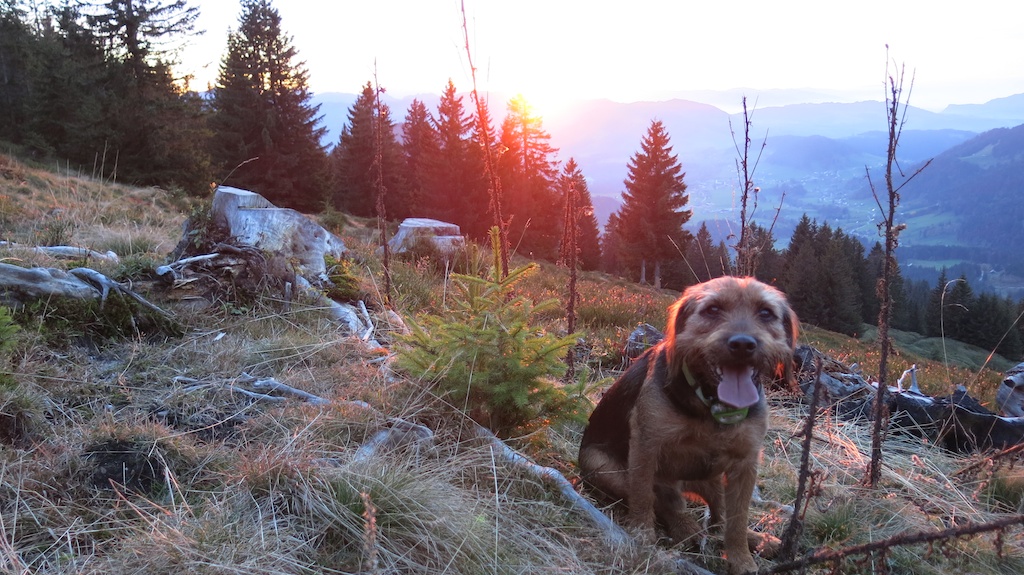
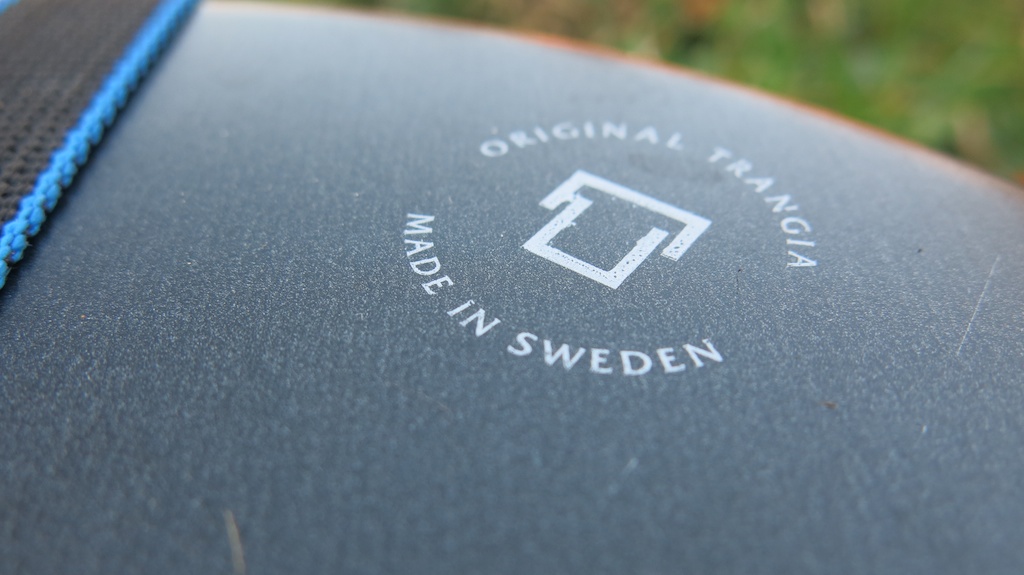
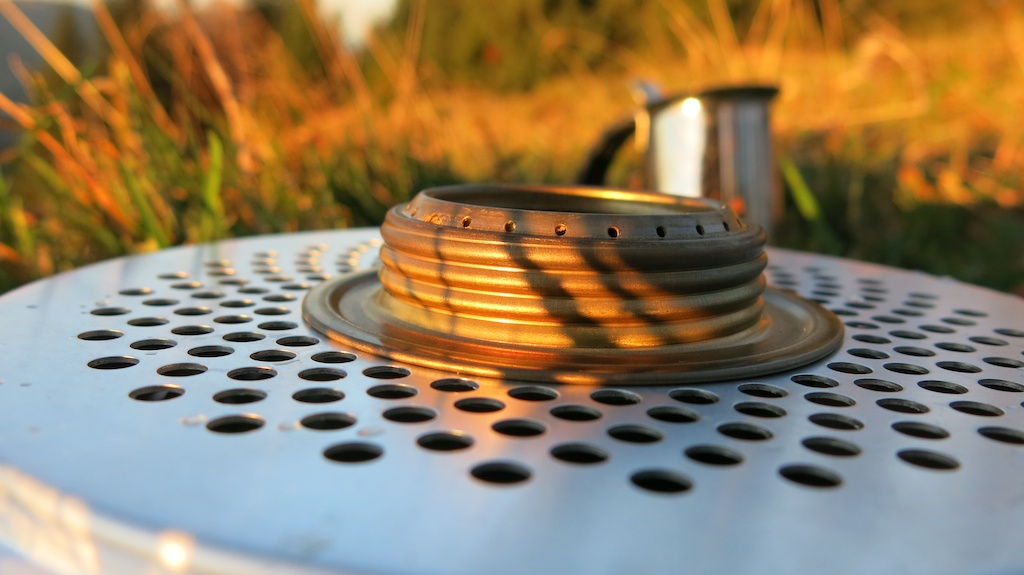
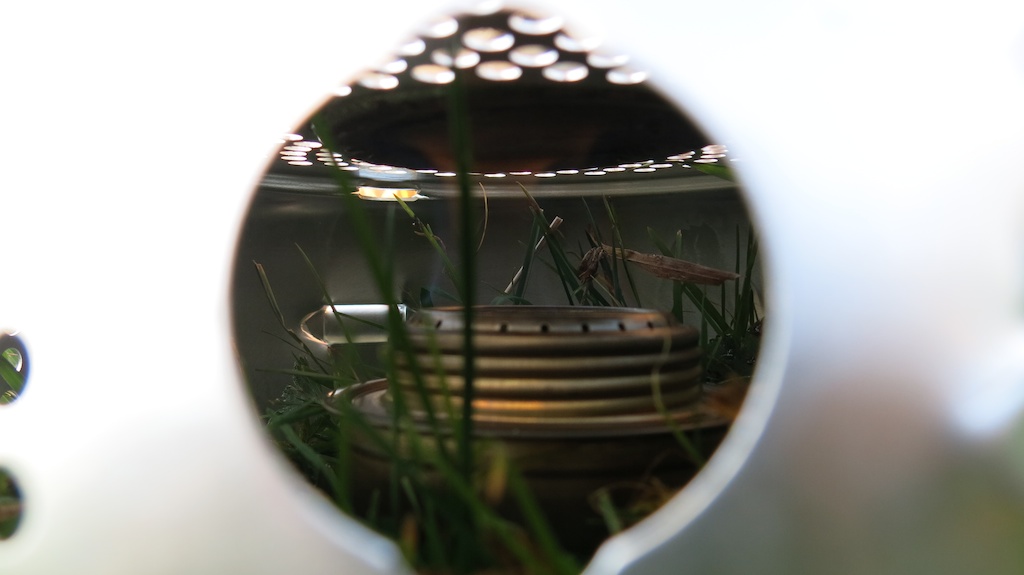
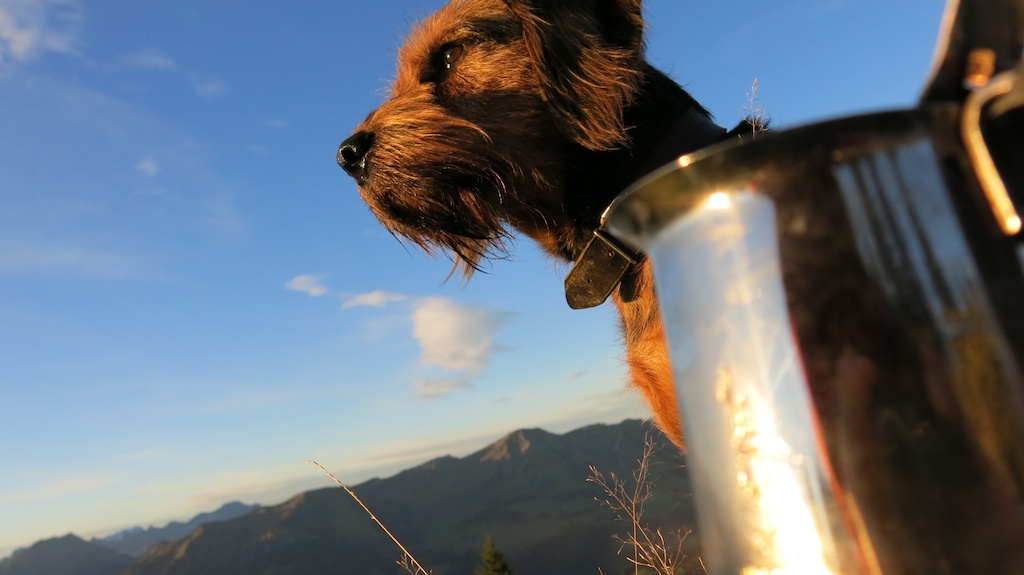
The night was very mild for end of october but quite windy. Tillmann had his sheep skin and thick felt army blanket which were sufficient for the night. Sunrise was great and a task on this trip was to review the abilities of the Trangia alcohol stove with non conform add ons.
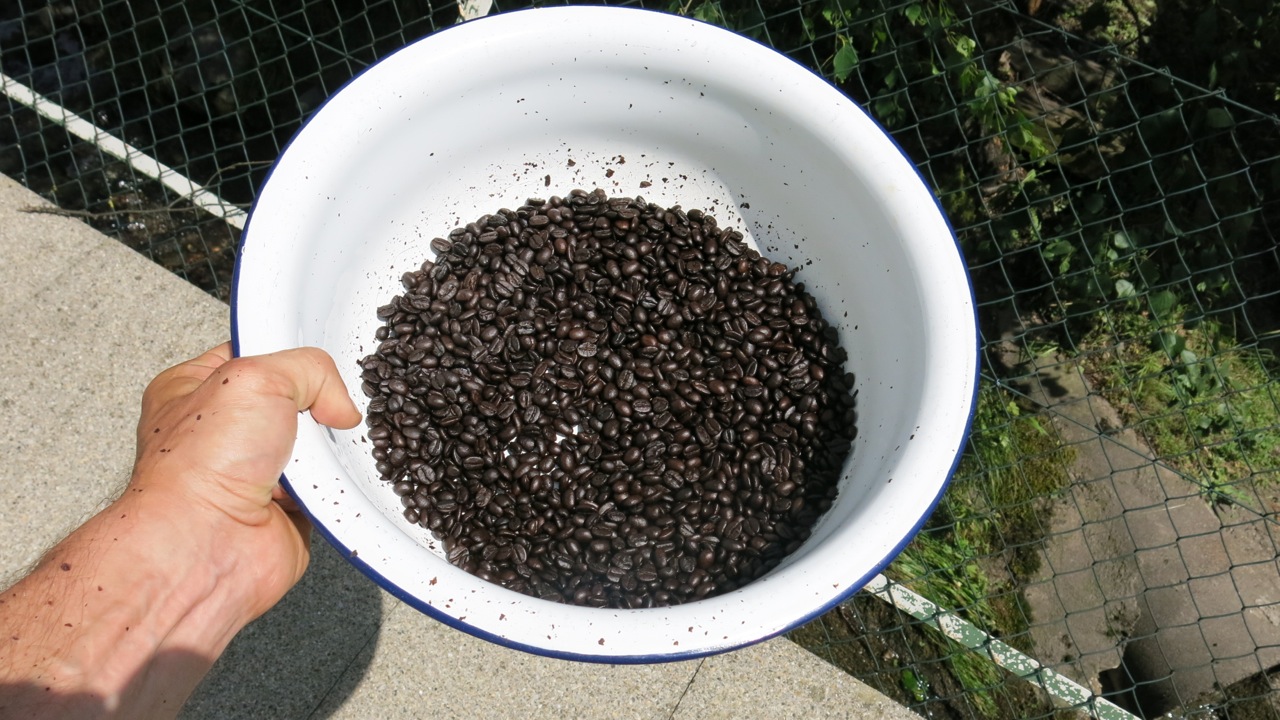
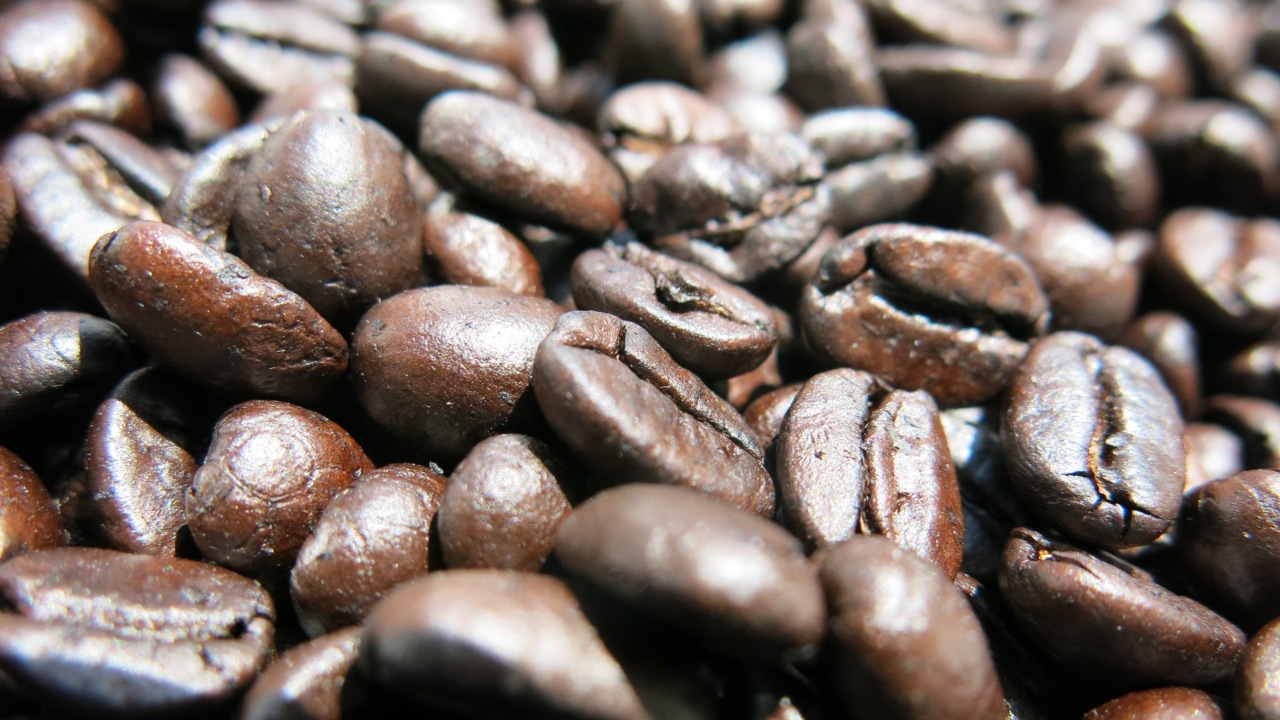
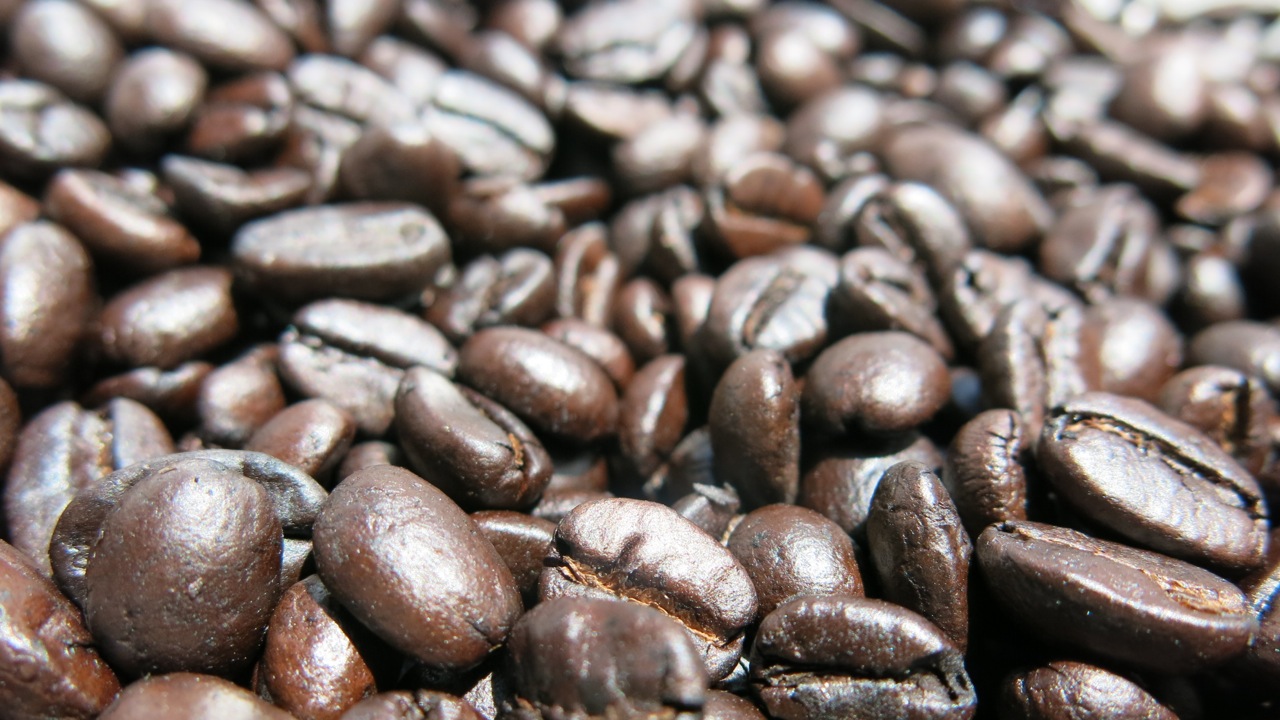
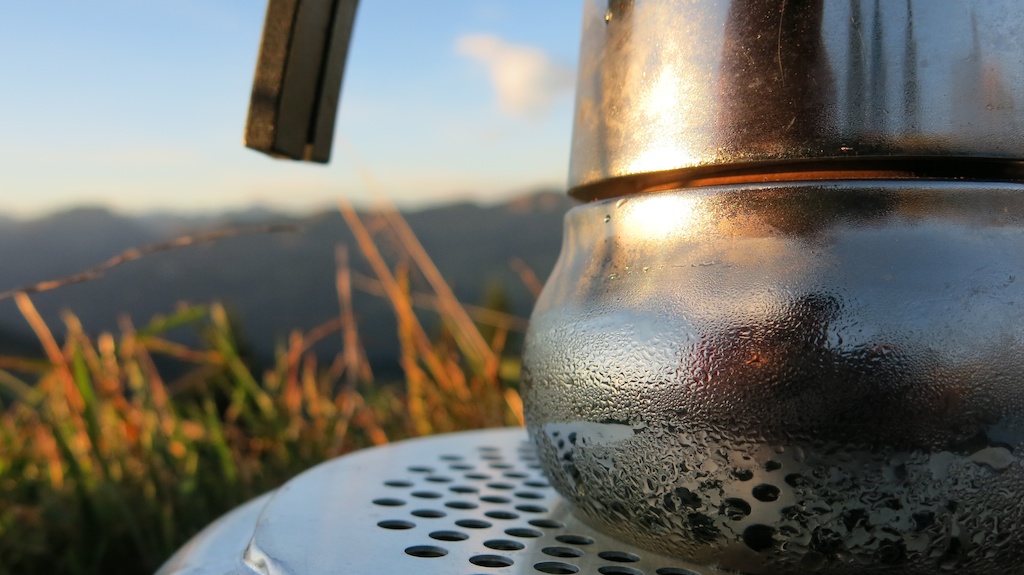
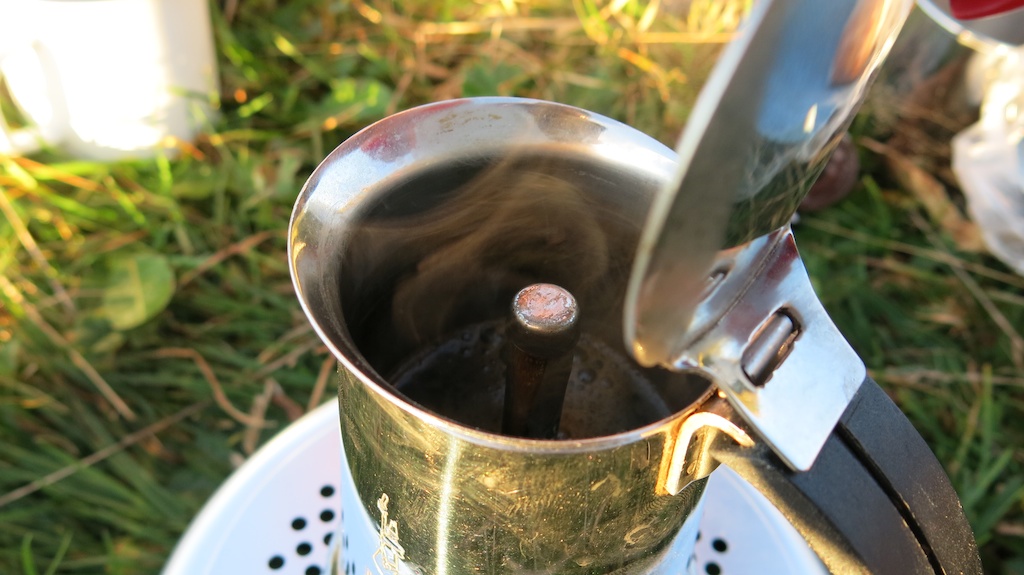
First task was to get good coffee, with the Bialetti espresso maker he worked just great.
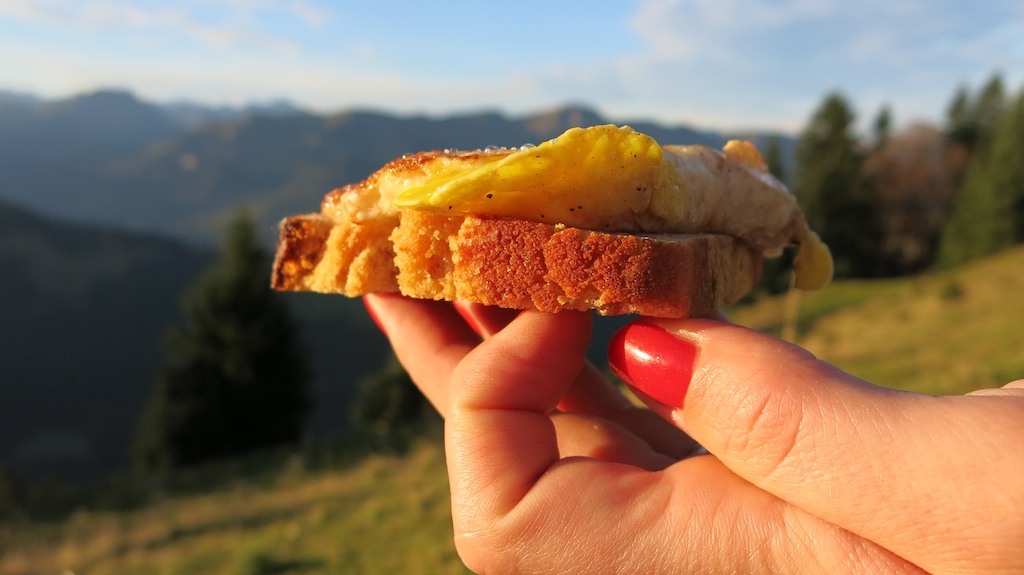
Second task was to heat up the De Buyer fried egg pan which worked perfect as well.
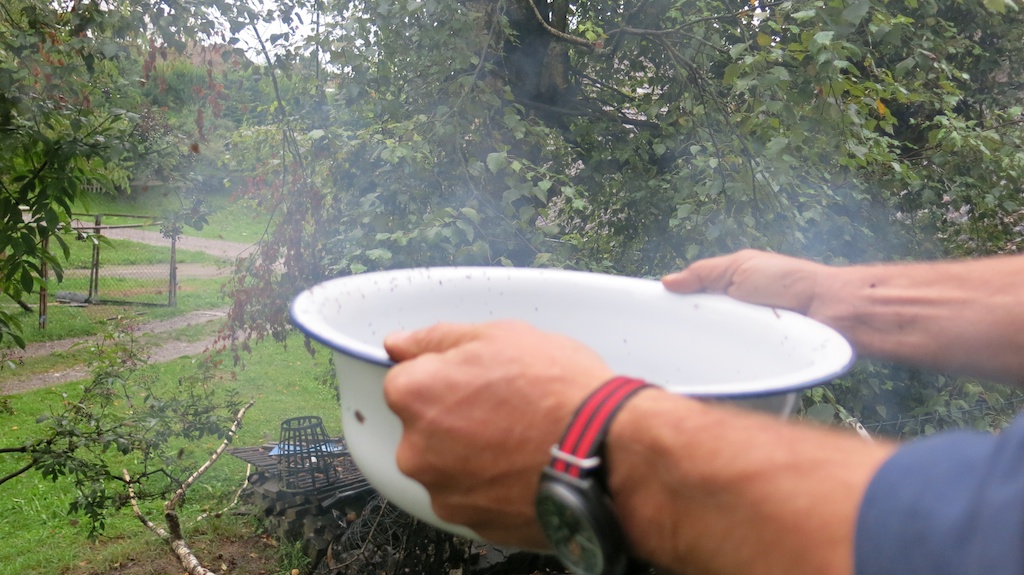
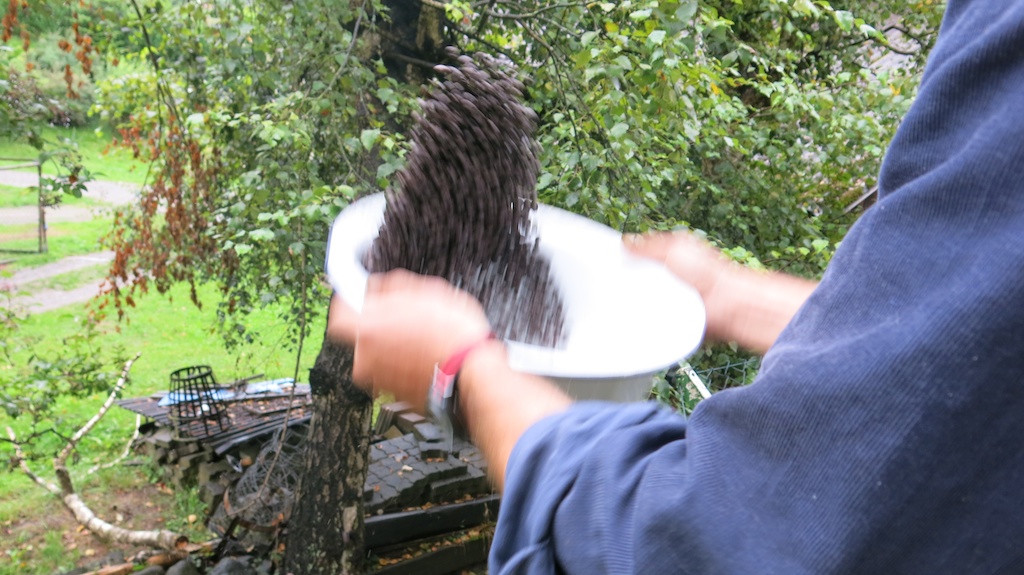
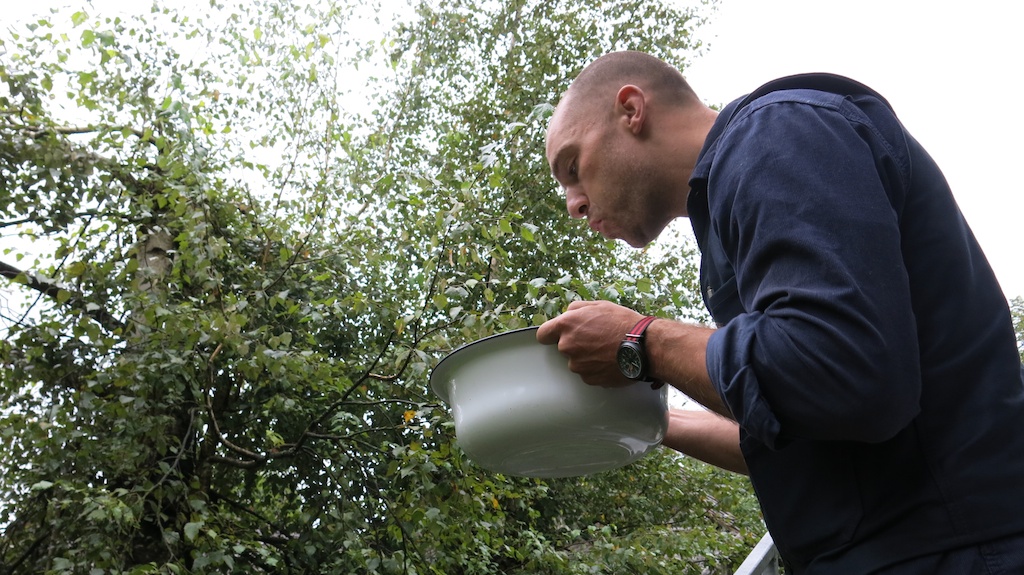
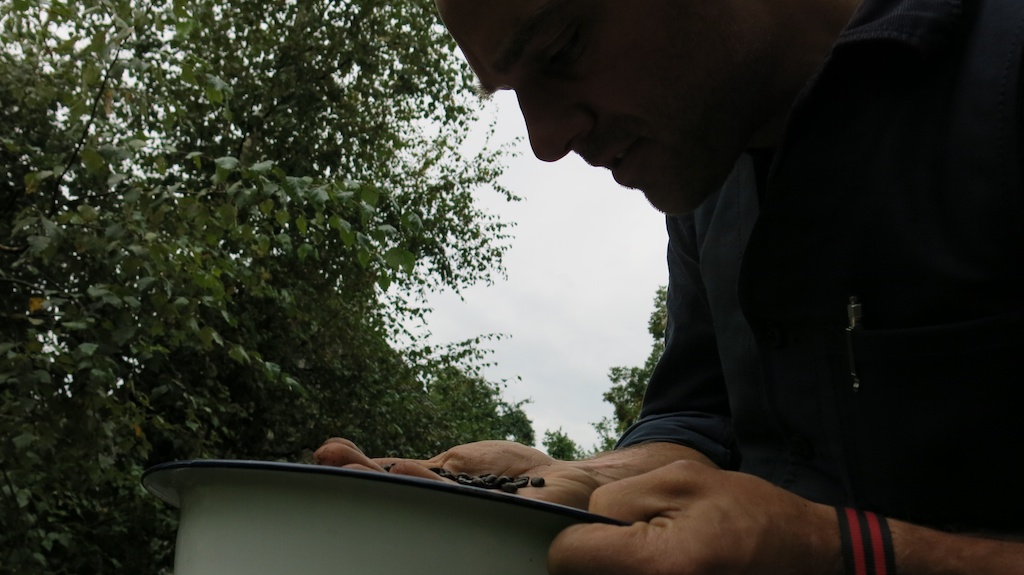
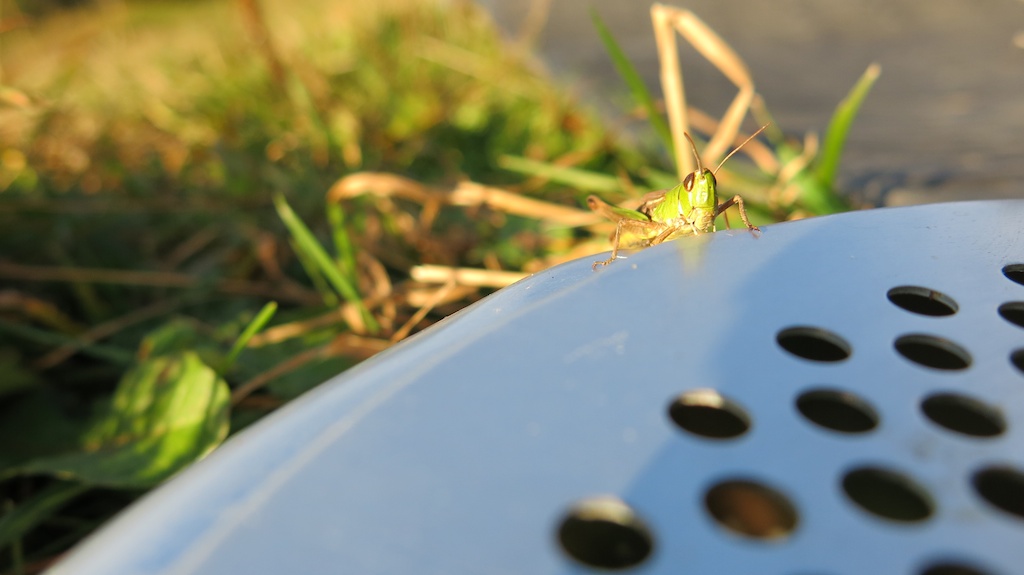
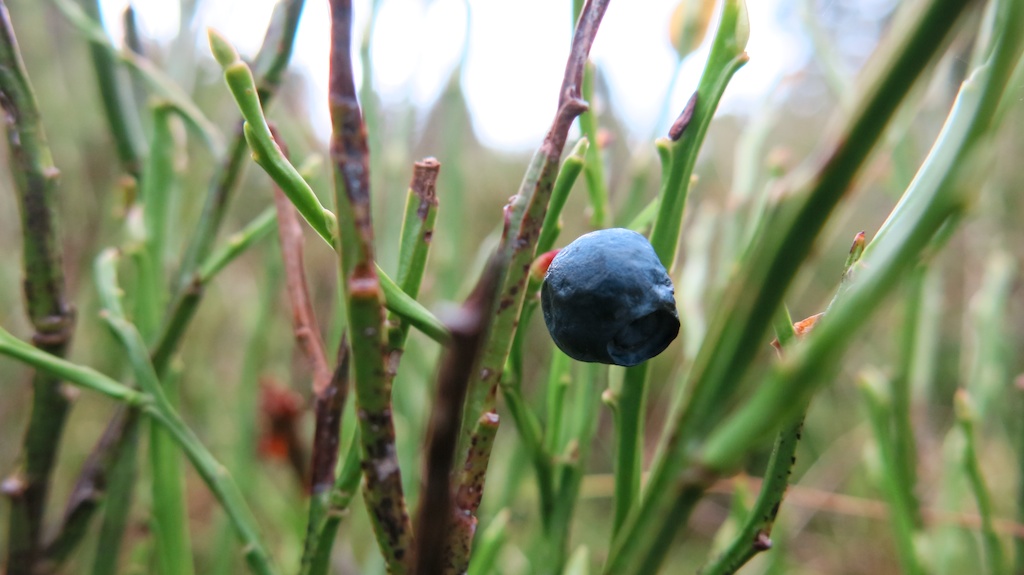
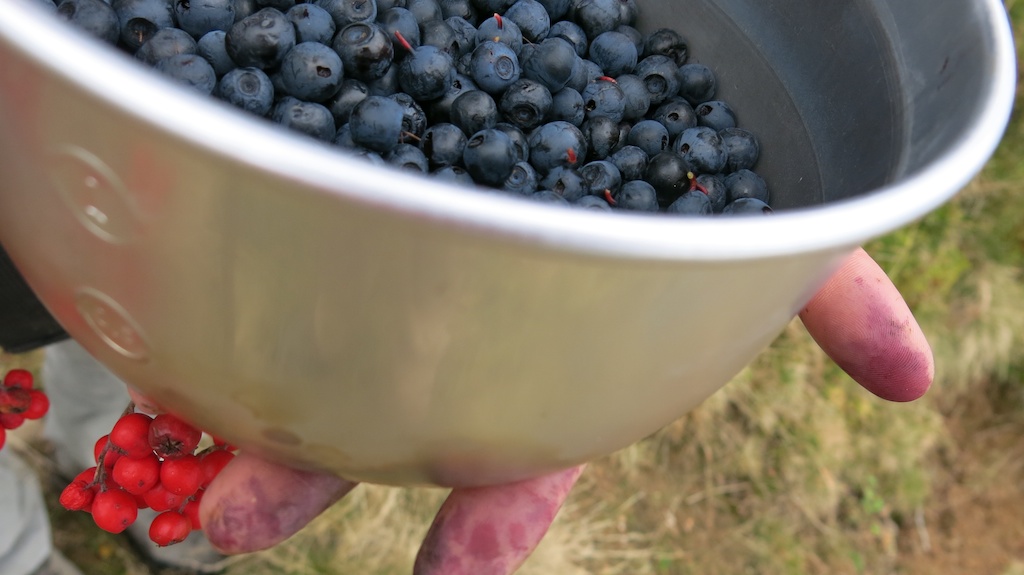
Unintentionally the Trangia frying pan served as a water cup for Tillmann and the 2 pots for collecting blueberries.
It was a great trip, perfect weather and very comfortable. The Trangia stove added very much to its comfort. The Trangia cooking system is a absolute fool proof compact way to dine outdoors. Alcohol is widely available to run it and has the huge plus that its smell is way better when spilling some of the content than petroleum, diesel or gasoline. Gas cartridges I somehow dislike since they are always a big hassle to get, produce a lot of litter and can not used up all the way. (and are pricy)
If you wonder why this images look somehow familiar to you check a post about this spot two years ago. (it was more than 2 weeks earlier, thats why the leafs look much nicer)