As I promised in my post about grinding coffee with the lenartz mill and preparing good coffee, here now finally my roughly step by step instructions of roasting coffee at home with the “Whirley Pop” popcorn pot.

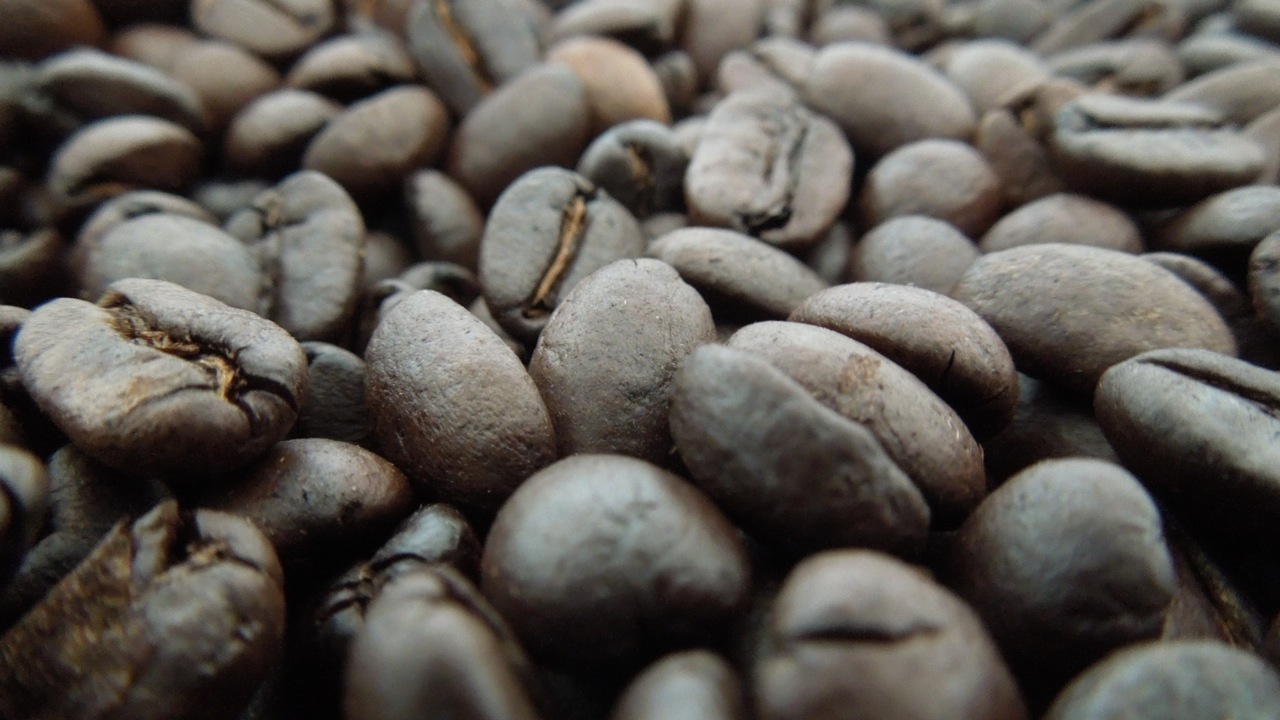
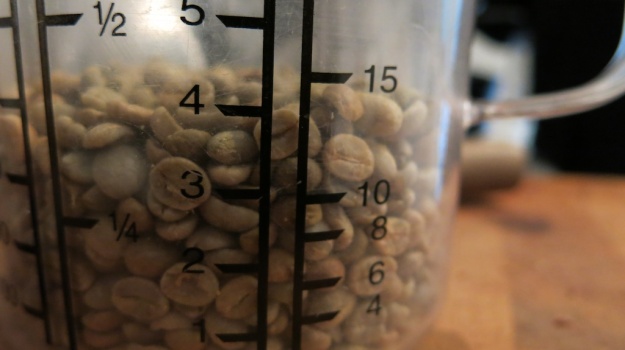
Here the green beans, they actually smell green or like fresh peas. About half the size when they are roasted.

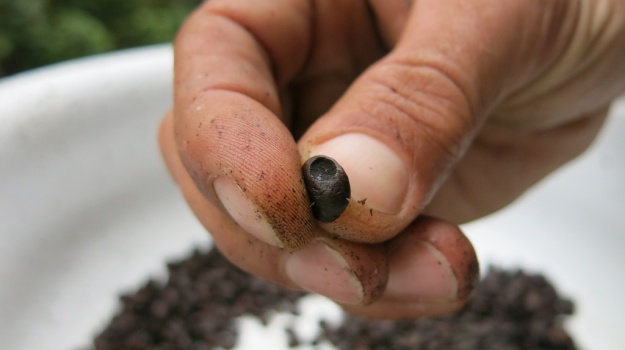
Sorting out the bad beans, too small ones or pieces. They will over roast and make the coffee smell burnt.

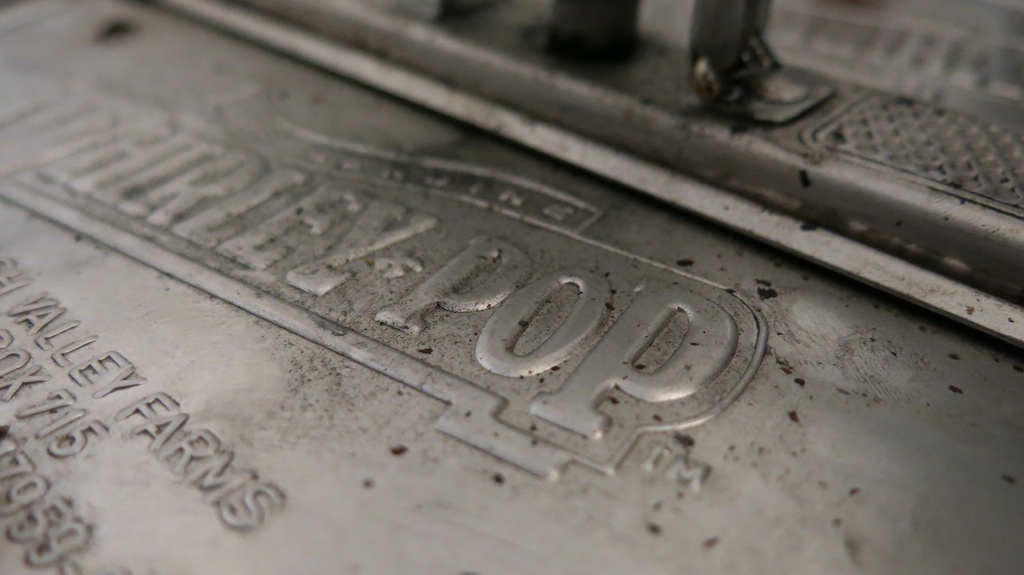
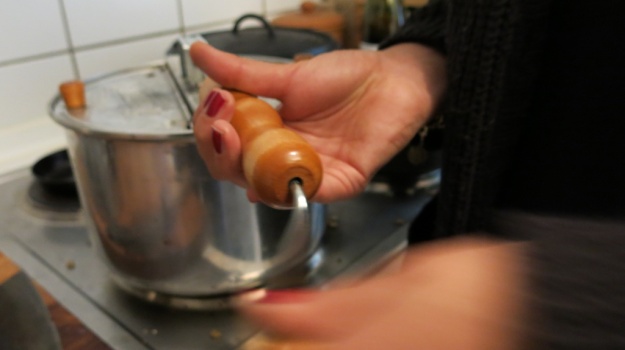
A “Whirley Pop” popcorn pot, perfect for turning the beans with it´s mechanism integrated in the grip and the mover at the bottom of the pot. But I guess a good pan with a cover will do as good.

A close-up where you see the top mechanism to the pot – and also a bit of dust (sorry the pot is standing most of the time on the cupboard).

Put about the amount of beans in the pot that they just cover the surface once. Do not fill in too much. At the beginning you need to find the right temperature. The overall roasting process should not be less than 20 minutes. For me it´s is “7” on my plate. So start not with full power, give the beans some time. Above you see the beans after 10 minutes. After 5 minutes you should see the first smoke coming out of the pot. They look a bit like peanuts now.
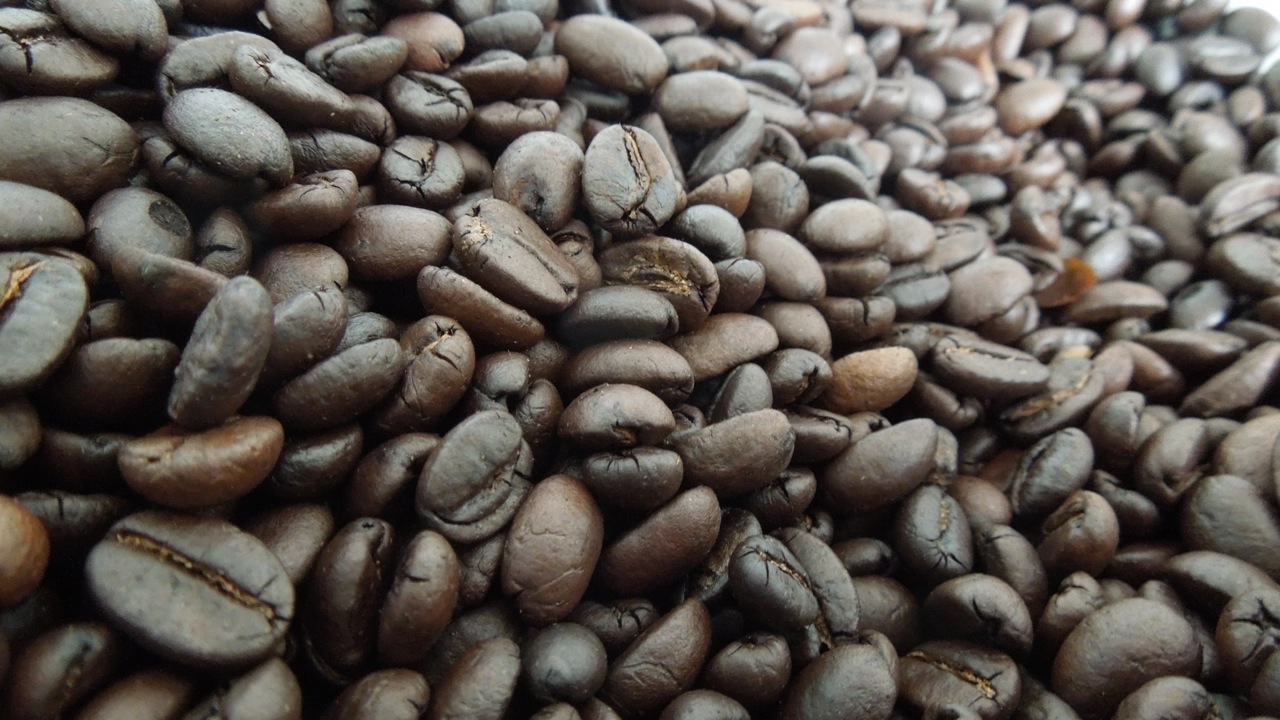
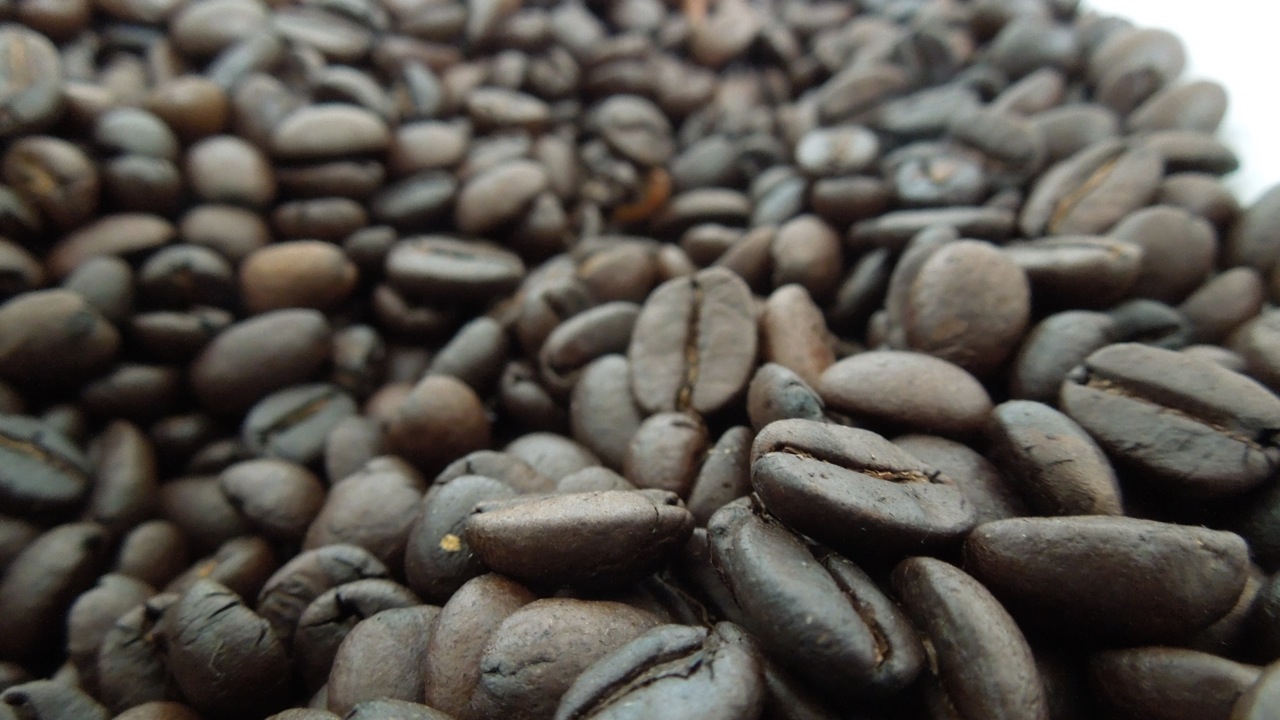
 The coffee beans after 15 minutes, the beans start to pop now be-cause they roughly double in size and the skin gets loos as you see in the image.
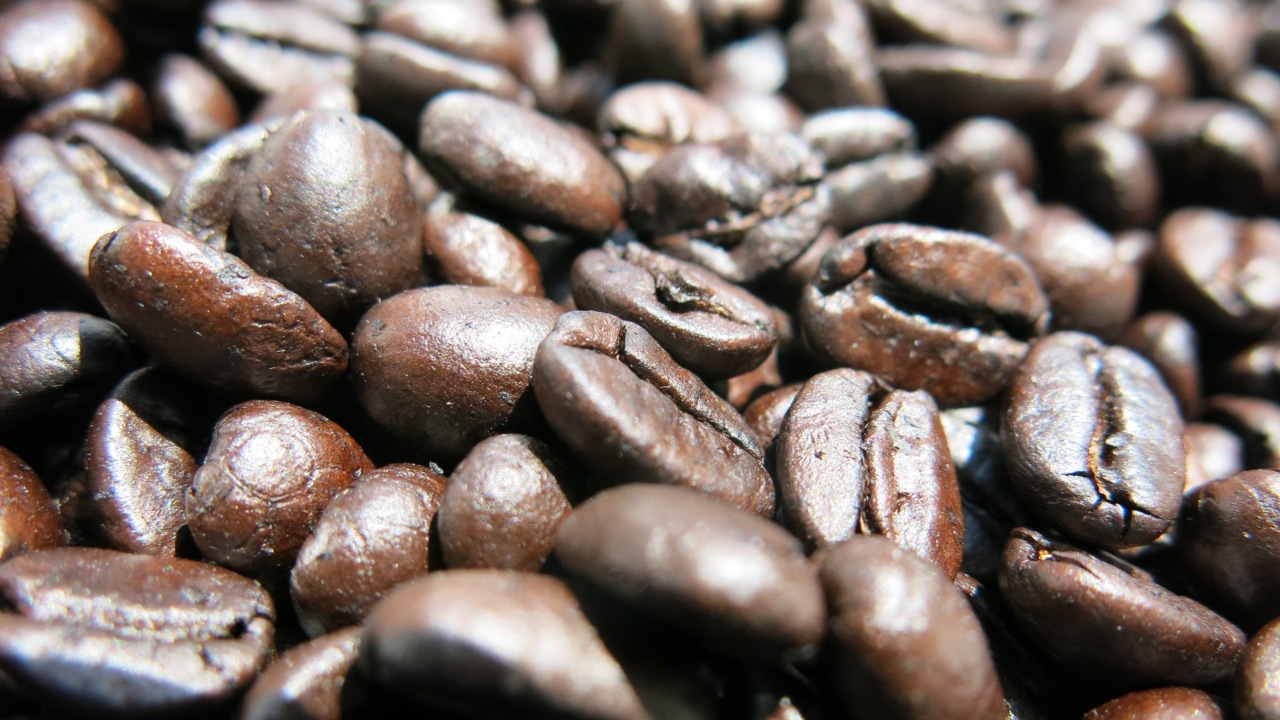
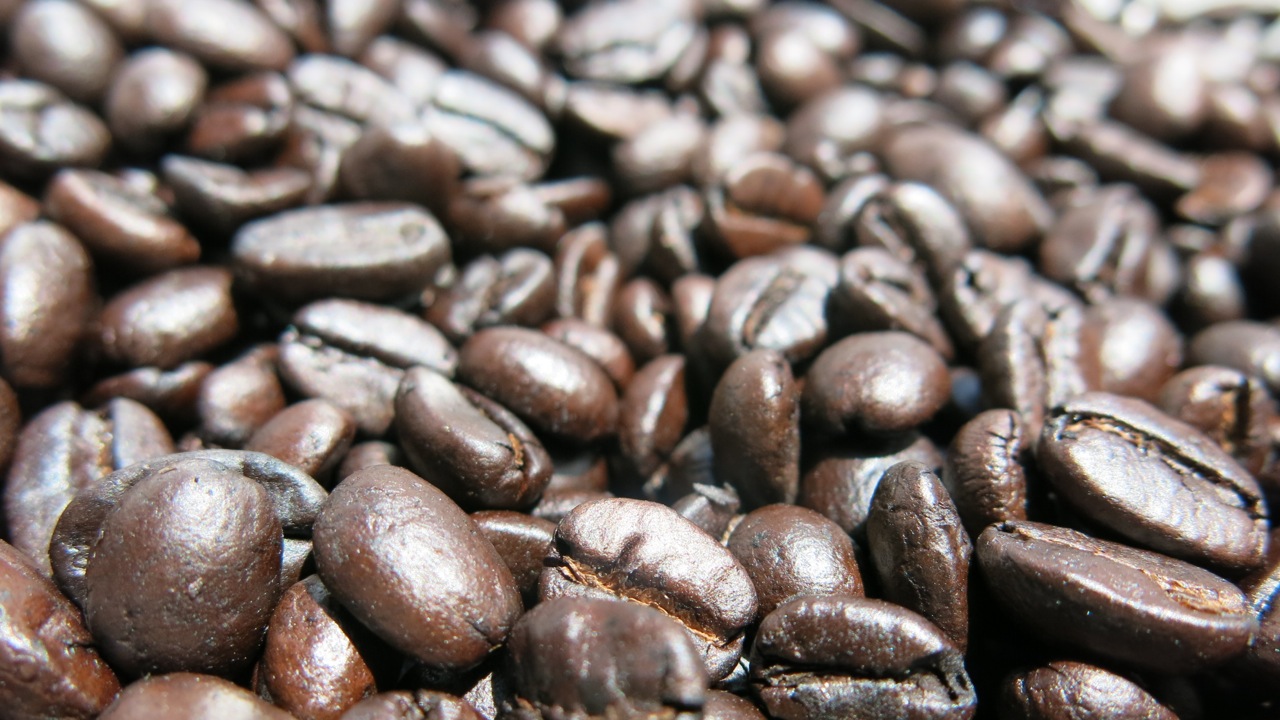
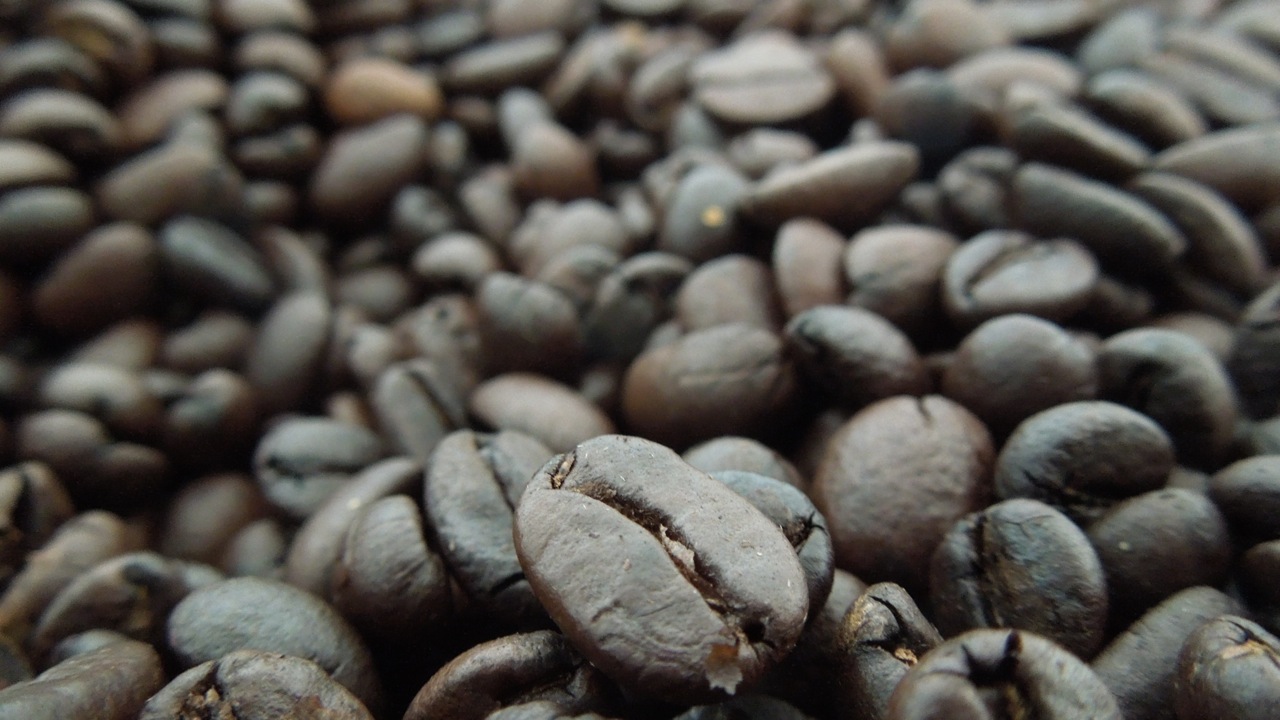
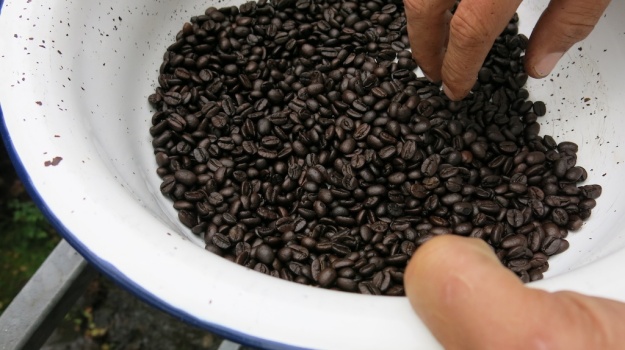
 The beans are ready after about 20 minutes, check after 15 minutes very often the color of the beans. They should be dark brown but not black. You see the skin and the nice oily surface of them.
 If you put the beans now on a plate the skin will stick to the plate, but not all of them.
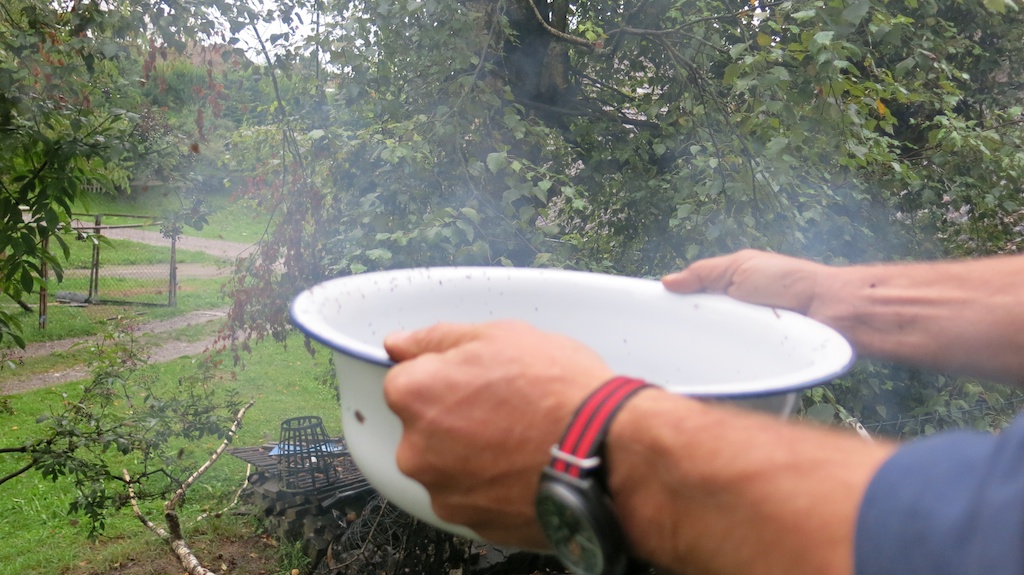
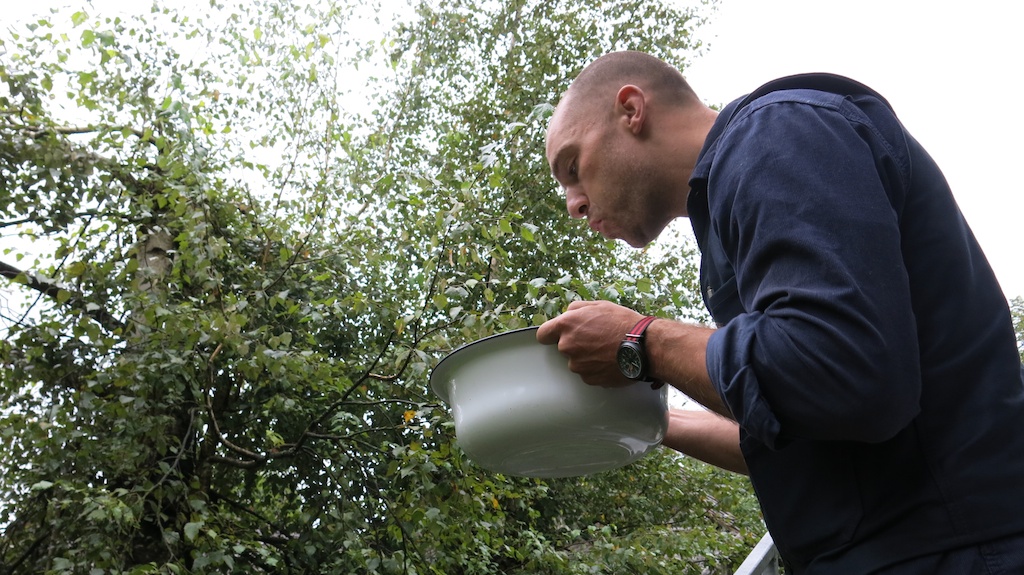
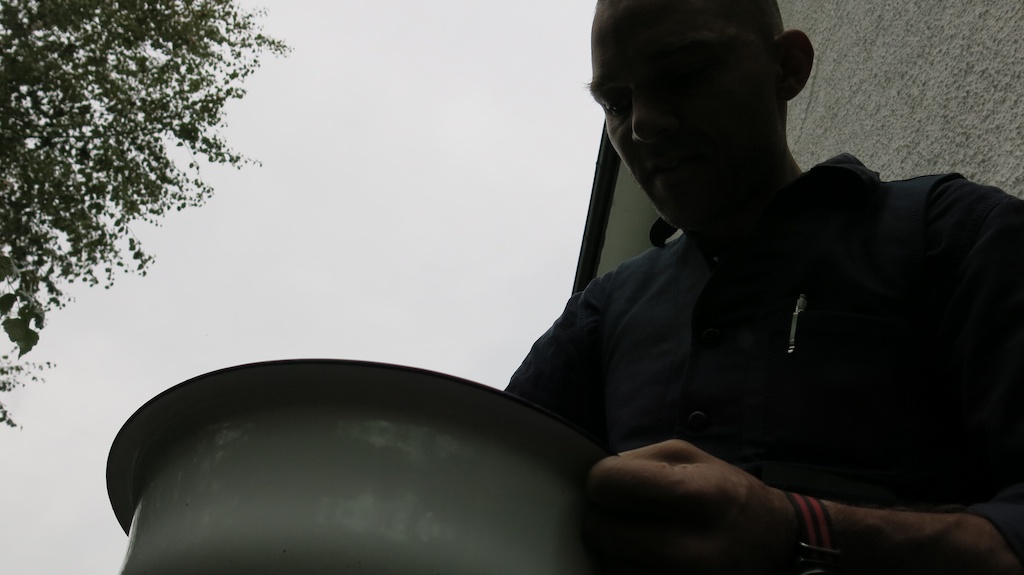
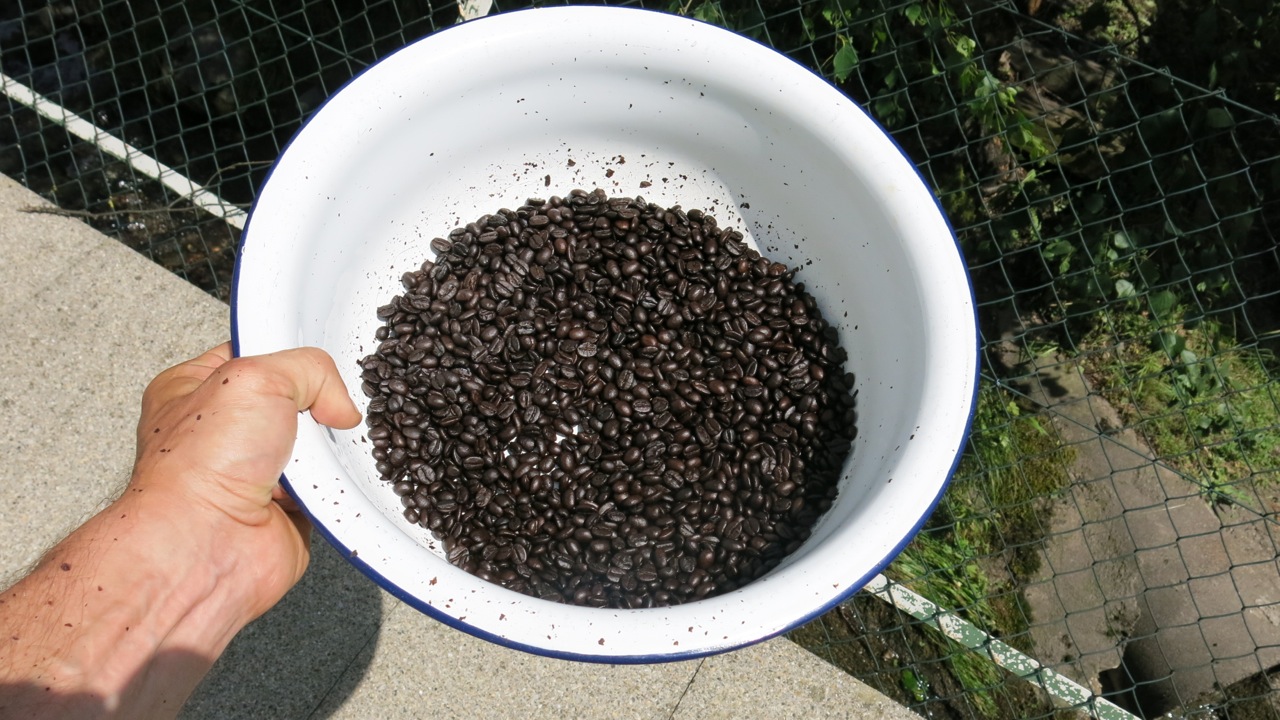
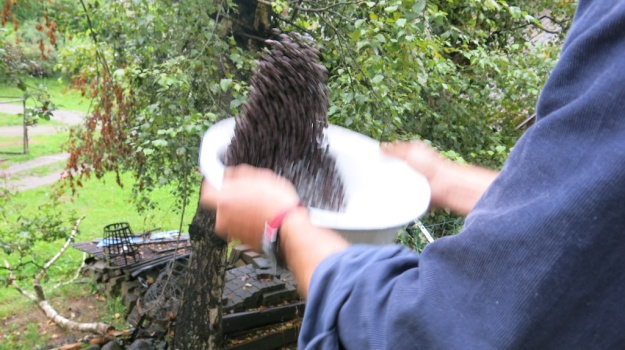
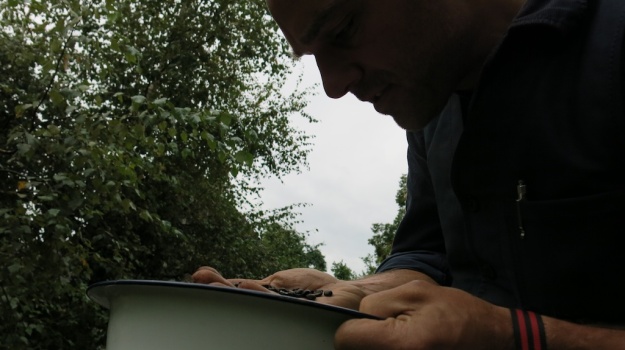
 Get a huge bowl with a big rim. And do moves as you digging for gold. Throw the beans in the air and try to catch them again. From time to time blow into the bowl to get rid of all the skins.
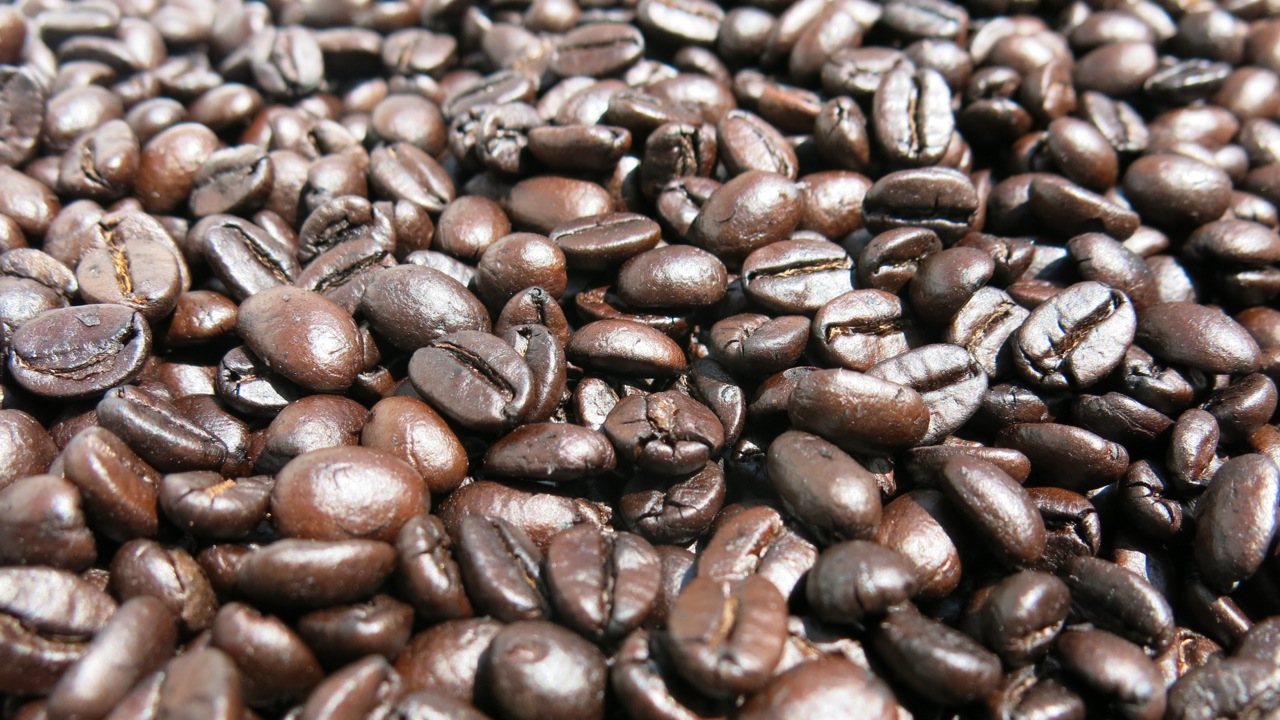
 Look at the beauties! It is said the full aroma develops now in the next few days. And is gone at about 2 weeks after the roasting. Put the beans in a airtight box in the freezer for storage and grind them fresh when you use them.
 Straight after the cool down into the grinder and portafilter. The powder should not be powderish, more like a brownie. Fresh roasted coffee tend to form small “balls/crubles” it´s be-cause of the oil (which is mostly gone after 2 weeks).

Vola! What a crema, that image was taken about 1 minute. And the crema stays like that. As a friend of mine says, a piece of sugar should stay on top of the crema and not start to sink immediately. I have to admit the crema looks a bit white but lets wait for tomorrow after the beans had some rest.
There might be some mistakes in my instruction where baristas or pro roasters might disagree. But I have to say that the beans I roast beat most of the stuff I have bought so far with that method. Sometimes they are superb, sometimes it´s just good. It might be also the fact that I overrate the result but to be honest – It´s not rocket science.
And to make it clear, I rather cop off my right hand to ever buy coffee which I can not see – be-cause they are sealed in aluminum.
PS: If you ask a local coffee roaster nicely, they will make you a mix of beans for your need. And If you are lucky you can even get some nice printed coffee sacks for free.
Comments? Questions?


 Home coffee roasting with the Whirley Pop