
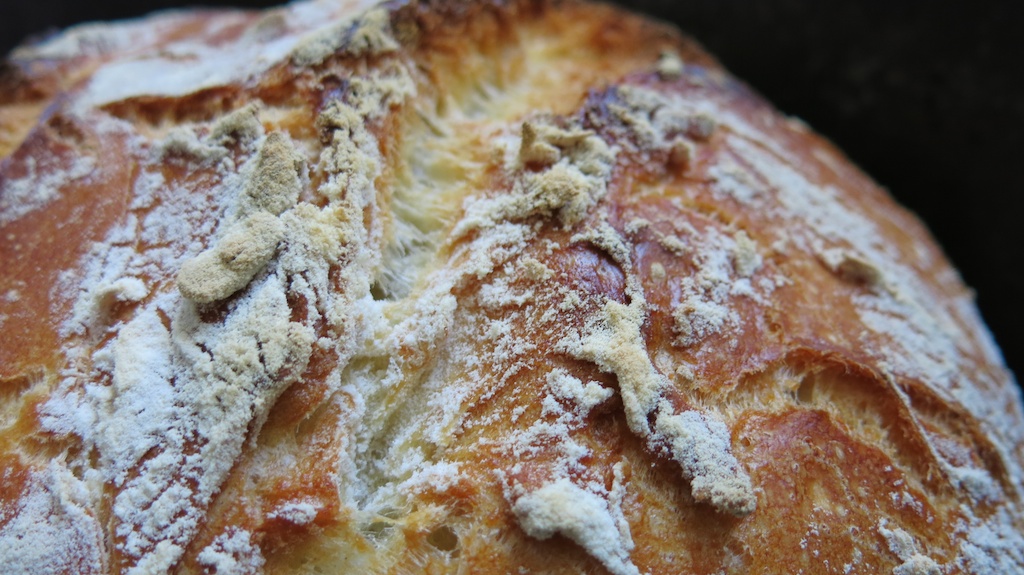
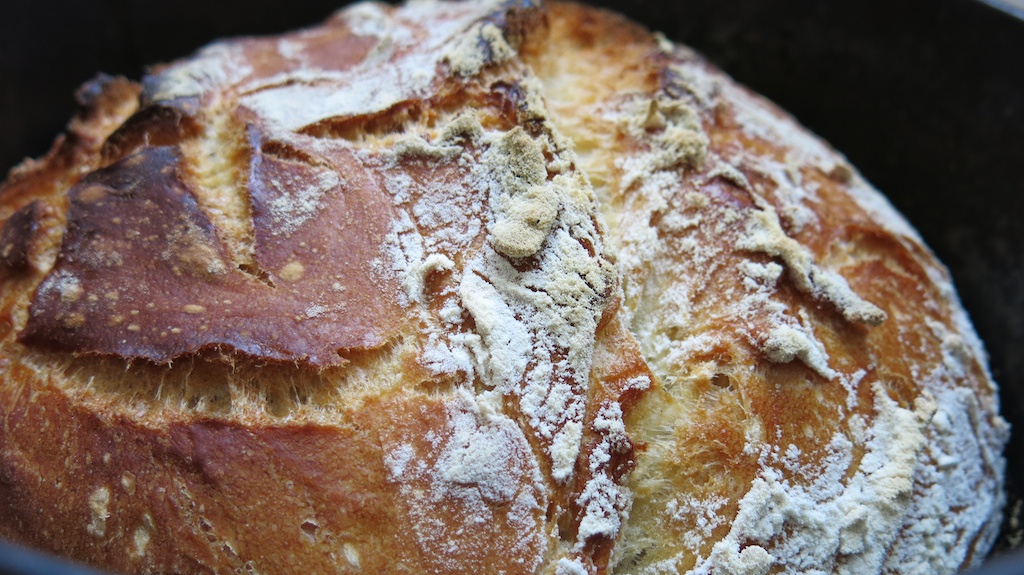

Bread Porn – homemade
I often hear “you must have time to bake your own bread” (all the time). But basically it does not take more that getting in a car, driving to a bakery, waiting in the queue and driving back. And there are other things which are also essential to me.
– the absolute knowledge what ingredients have been used (ok let´s assume you know what you bought)
– the smell in the house of fresh bread
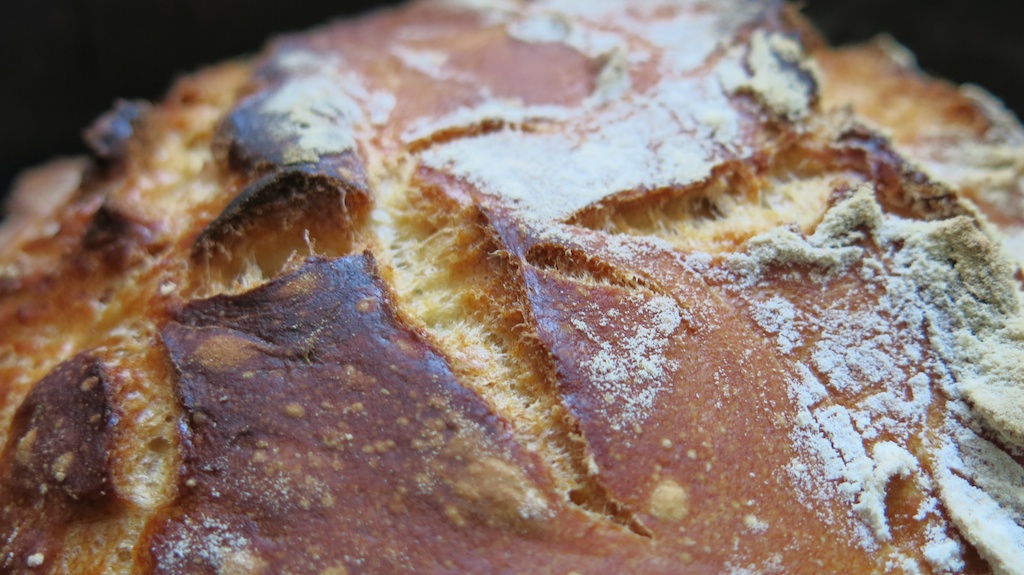
– the joy of looking at the bread rising and darkening
– the sound of the cracking crust while the bread cools down
– the first cut trough the bread and eating it with just some butter + salt
– cutting the loaf in 4/4 and sharing at least 2/4 or 3/4 of it with your family and friends
– seeing their joy when they got a warm piece of the bread and sometimes getting something back in exchange.
Just go through the no knead bread recipe but i will describe the routine quickly how I do it.
5 minutes
– grabbing a bow, putting in the yeast, salt, water and flour, mixing it and let it rest until the next morning
1 minute
– hopefully the yeast has blown up your dough, stir it again, put in about 2 spoons of flour and turn the dough a bit (or leave it, if you want to have a shiny surface on the crust). Switch the oven to 250C and put in the pot and the cover.
1 minute
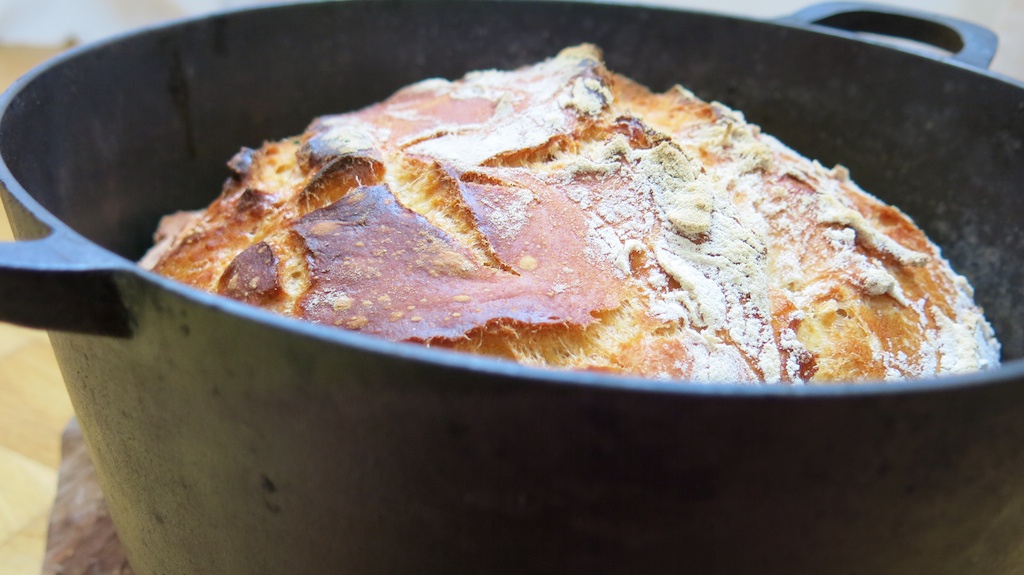
– after about 30 minutes (or up to 1hour) the pot is hot enough, throw in the dough and close it with the cover.
1 minute
– open the cover after about 45 minutes (up to 1 hour is also ok) @ 250 C, switch down to 220 C
1 minute
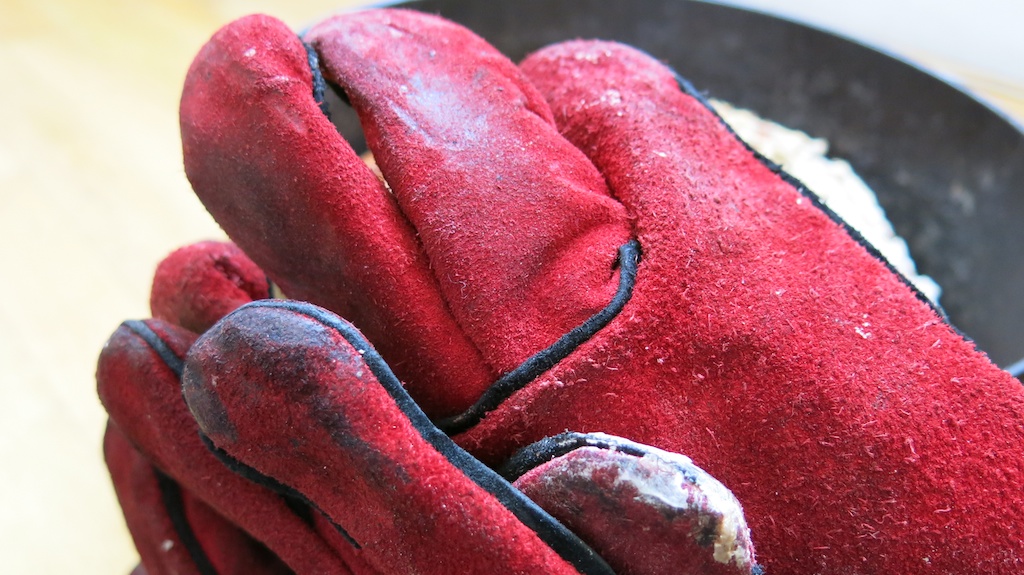
– after about 15 minutes or up to 25 minutes get the bread out of the oven and put the loaf out of the pot.
So it´s just about 10 minutes to prepare YOUR BREAD, Have a nice day!