
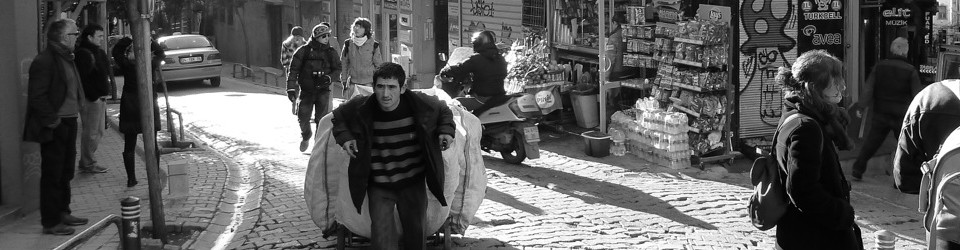
Daniel Mustard Homeless:
Discovered this great artist by accident, check out more of his songs at Daniel Mustard´s website.
Daniel Mustard Homeless:
Discovered this great artist by accident, check out more of his songs at Daniel Mustard´s website.


Popeye Zippo by Feinschmuck:
One of the latest creations of Feinschmuck. A Popeye Zippo in solid brass, one shiny one aged. Available via Amtraq distibuted shops.
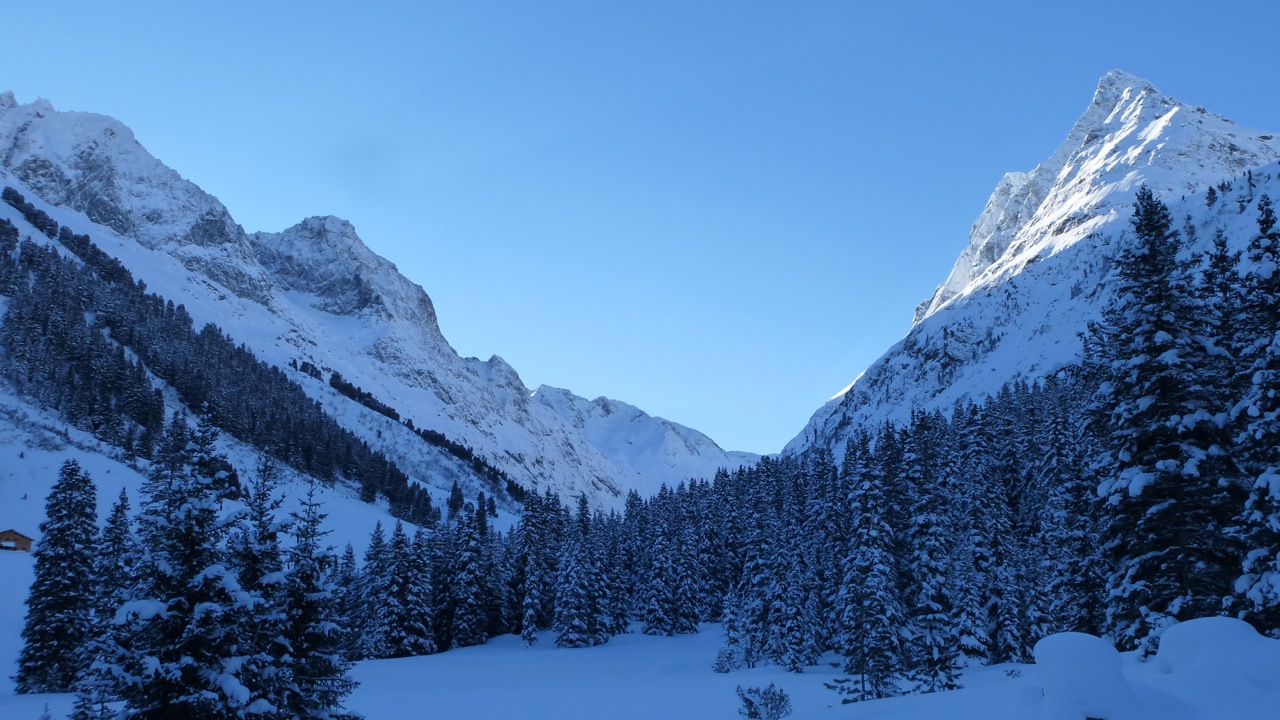
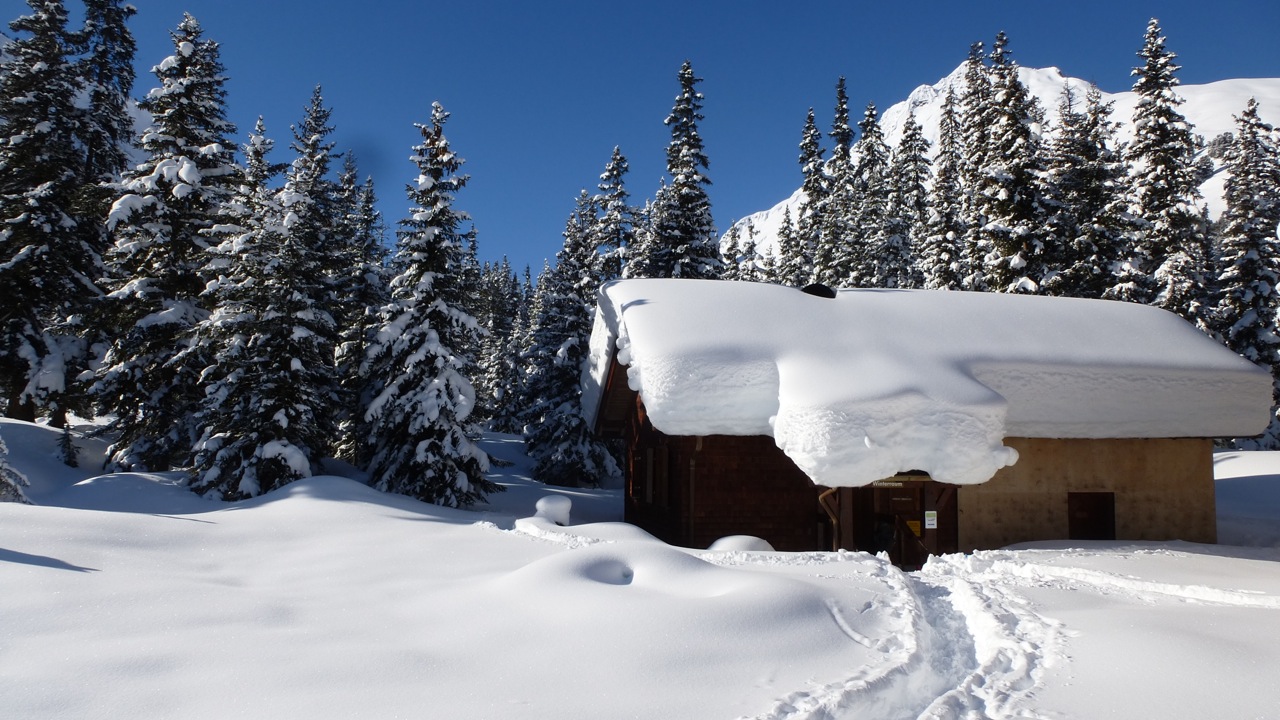

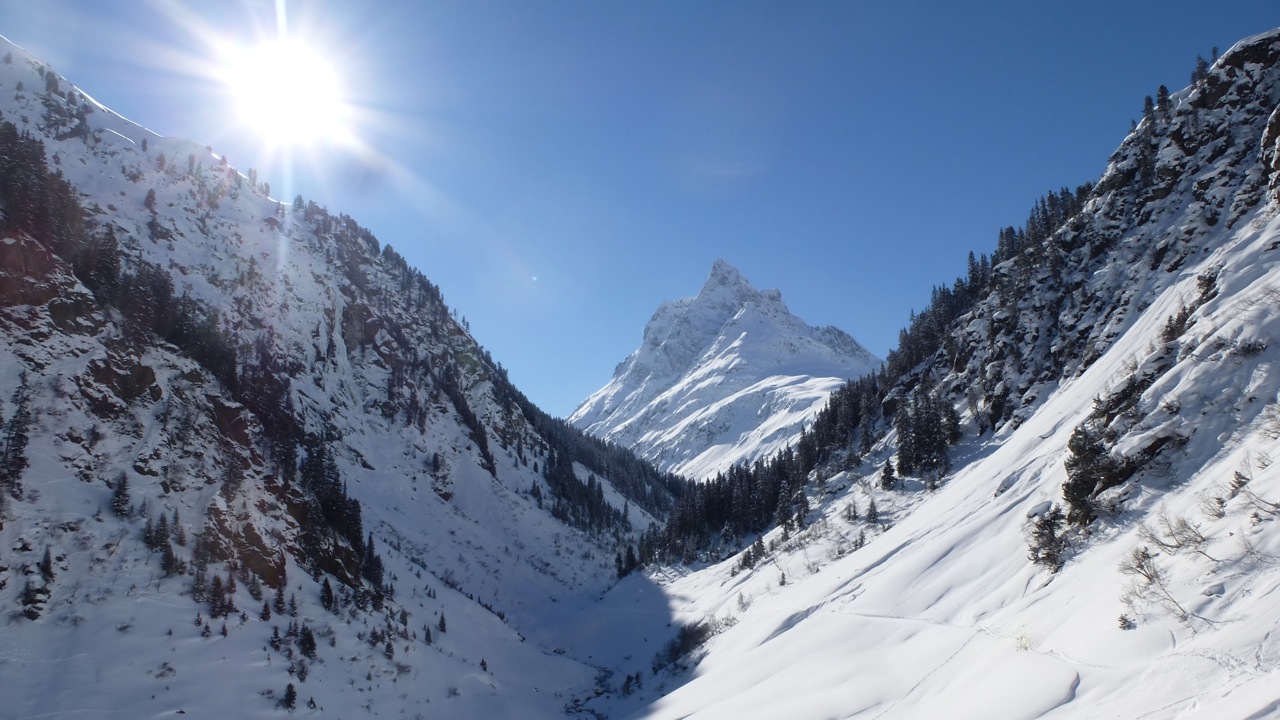
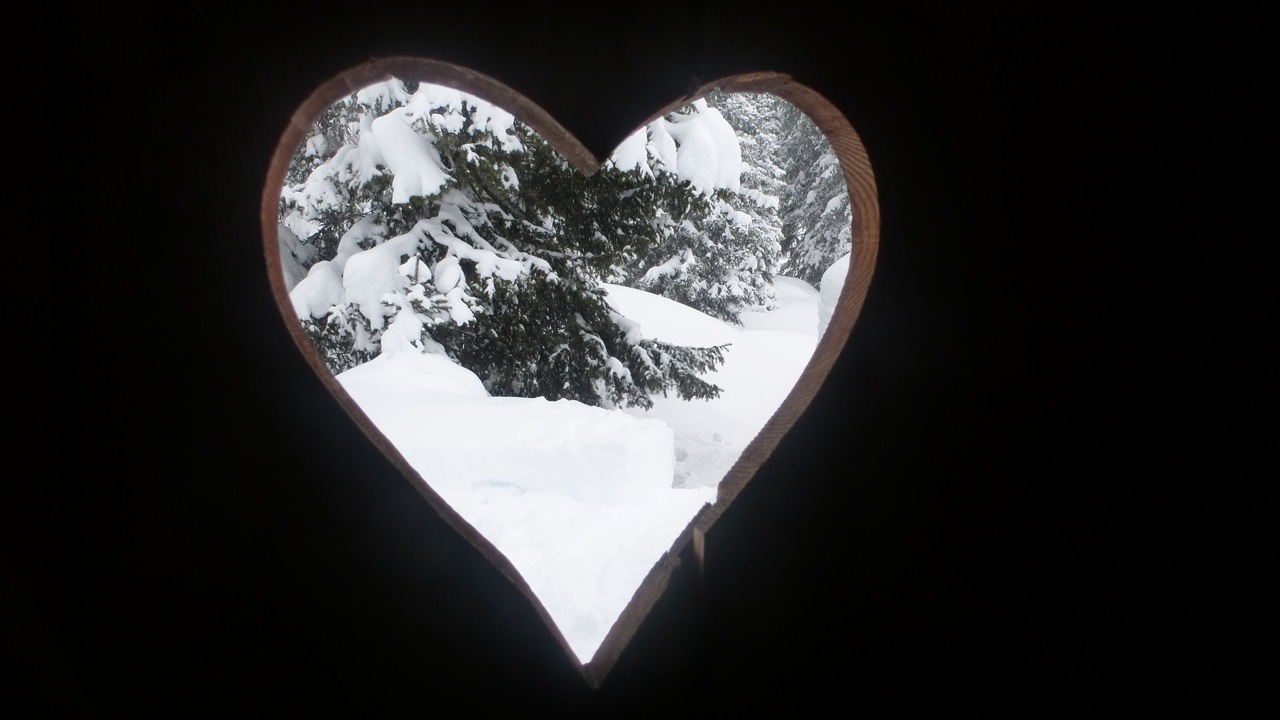
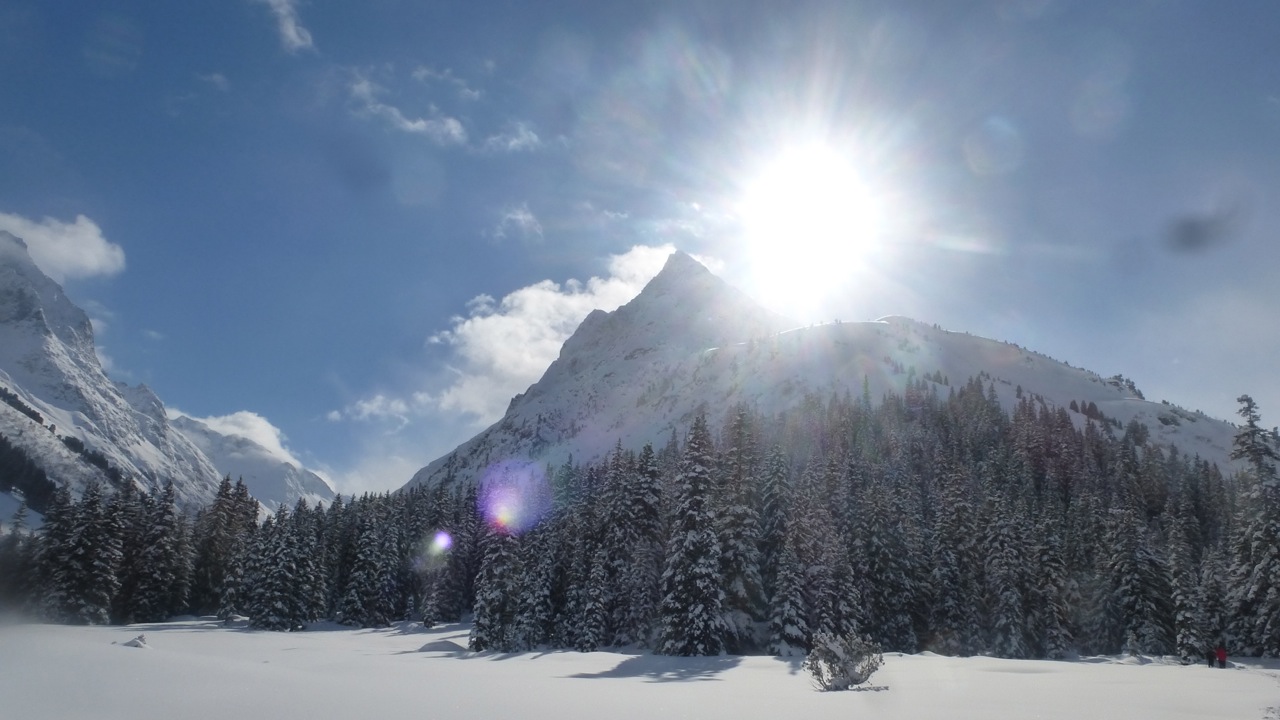
 3rd Day Konstanzer Hütte :
This day we had a spotless sky right from the sunset. It was a joy to see the sun rising and illuminating the surrounding mountains. While I took some photos my ears felt quite quick strange and cold. I found out that we had -20 C, that was the explanation. We prepared a hot soup, had a coffee, cleaned up the hut and made our way down the valley.
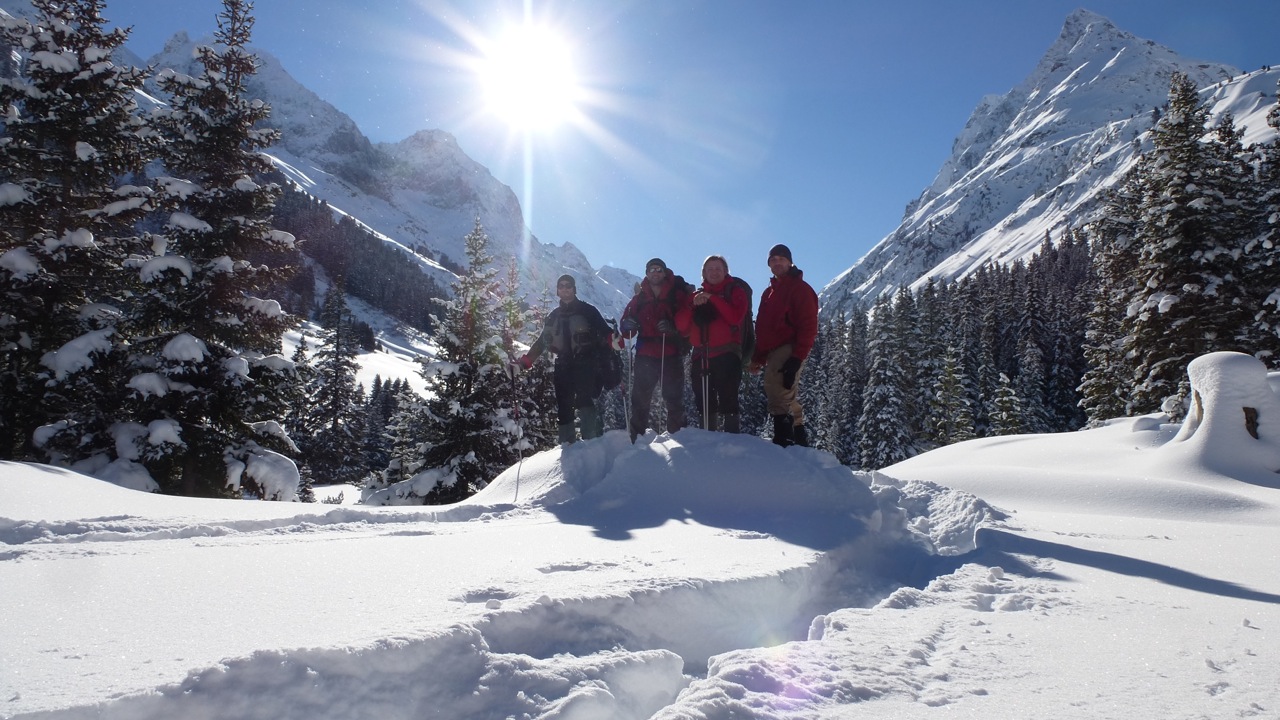
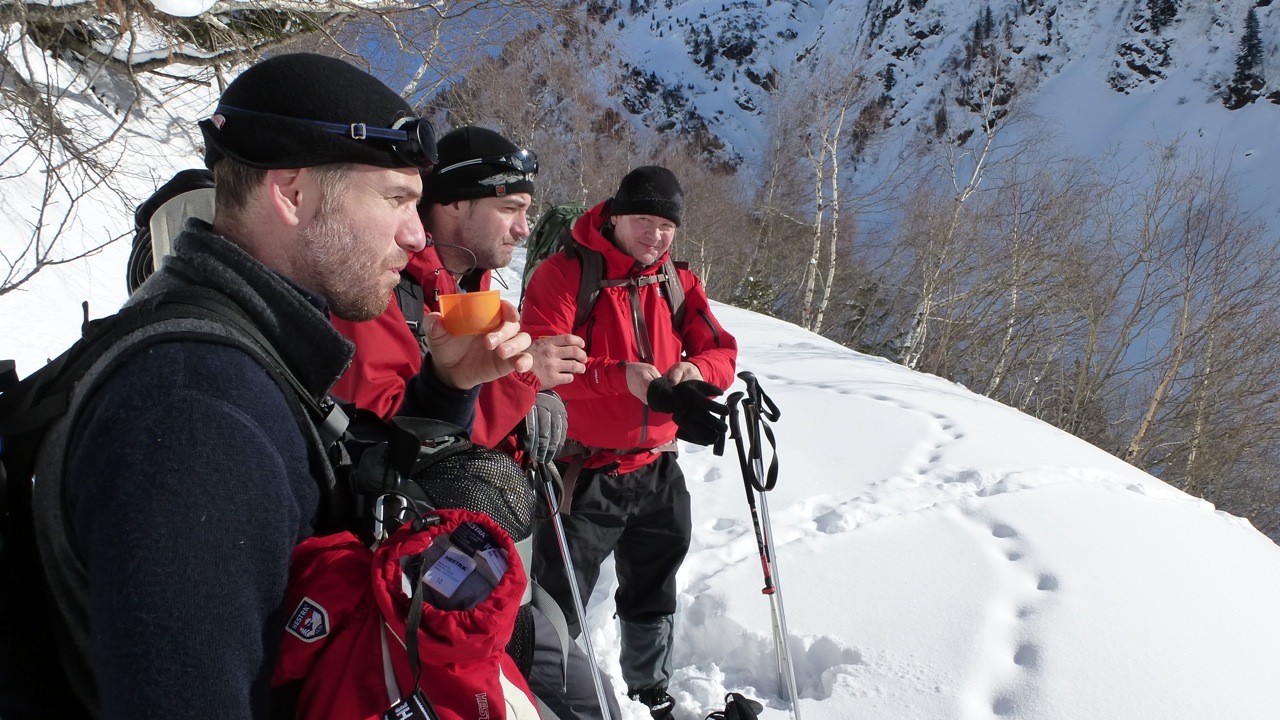
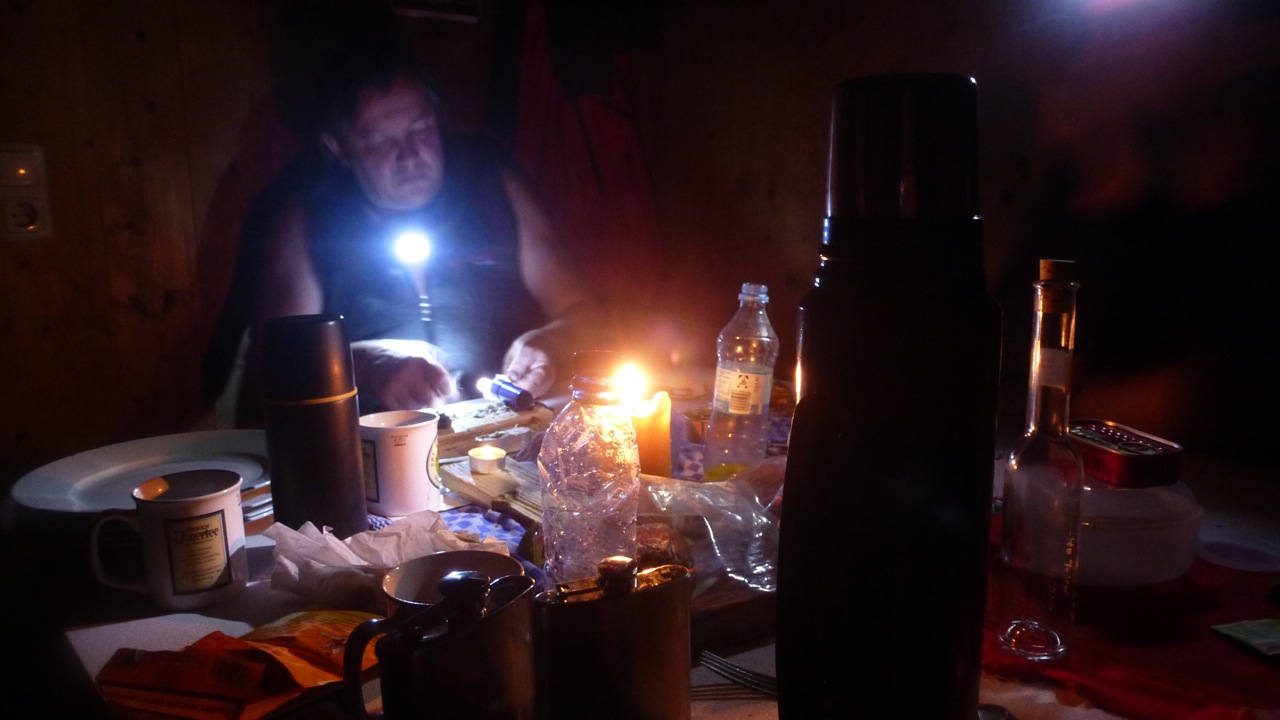
Not to forget to have some breaks in between to look back to where we´ve been and think about what great time we had. Lively and honest discussions, opinions, storys and advices. A time which should not be forgotten too early and be absorbed to soon by “Mondays”.
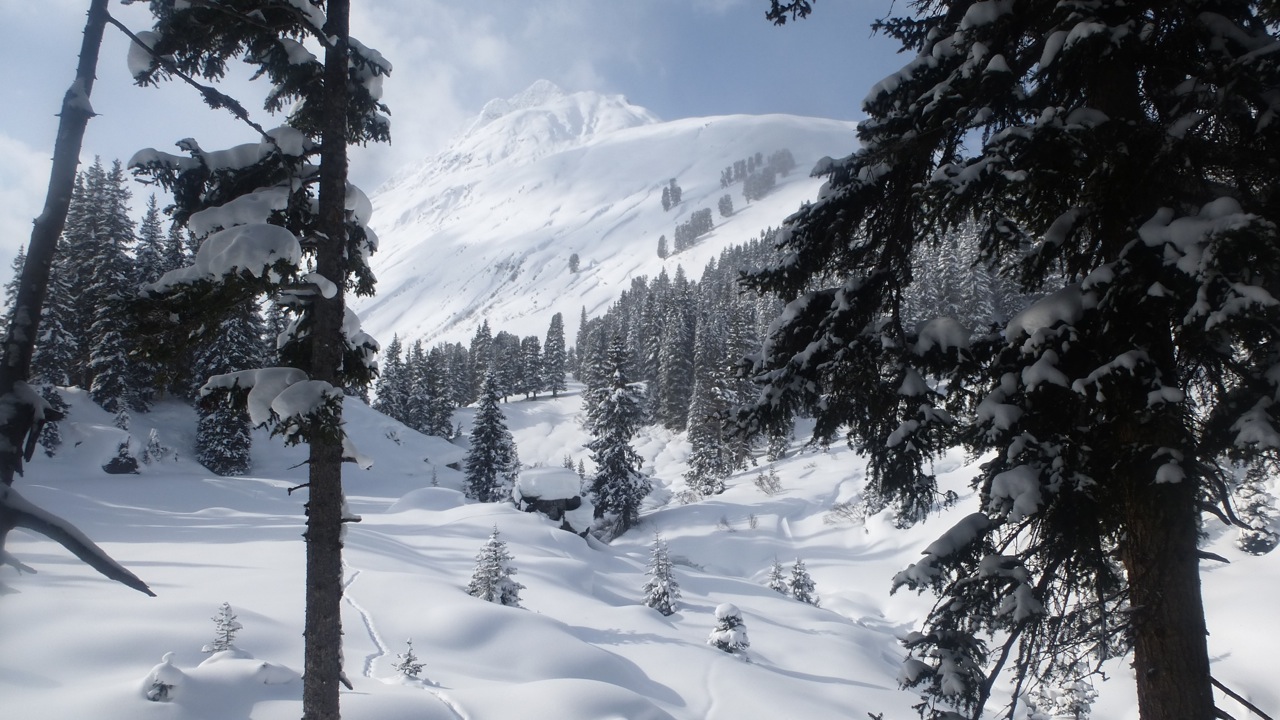
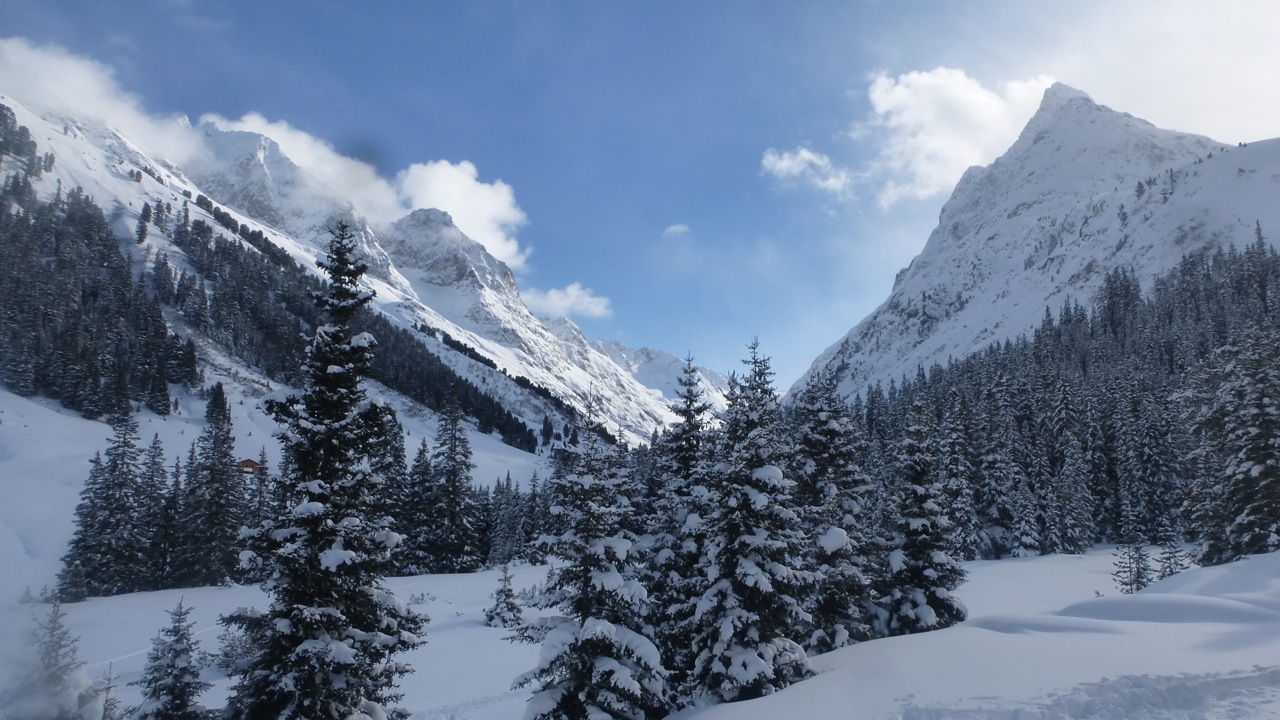
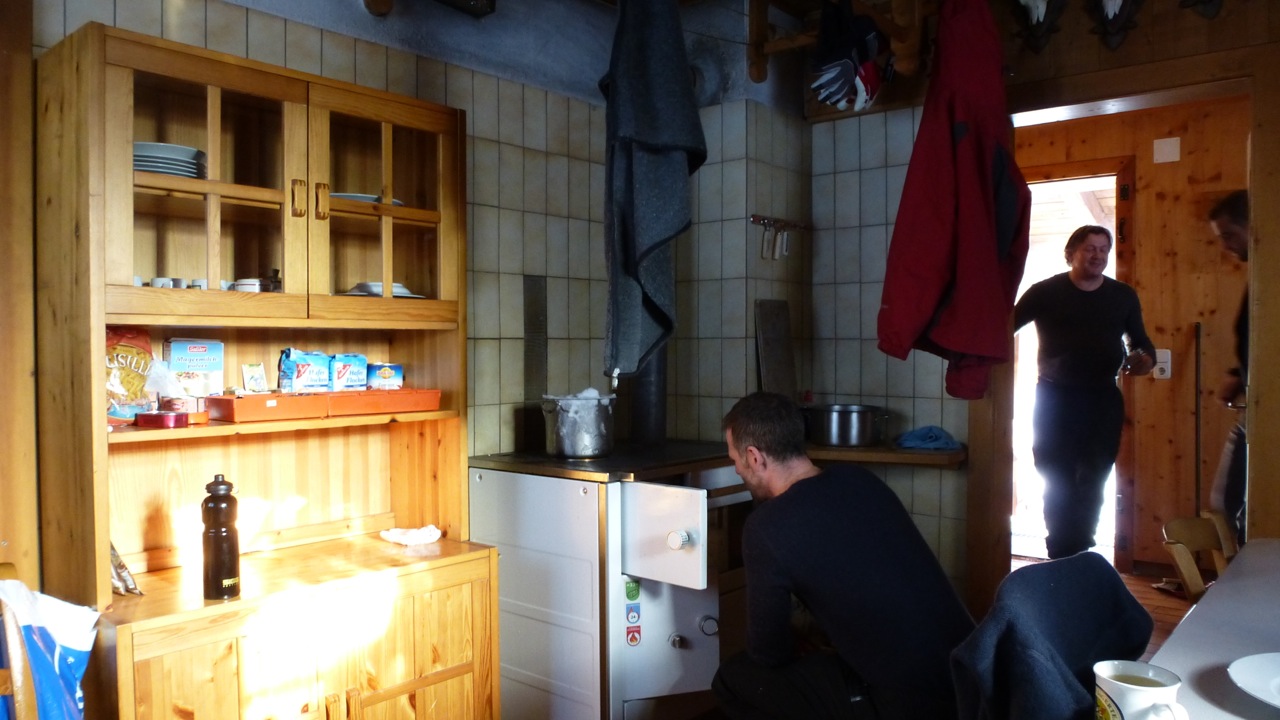
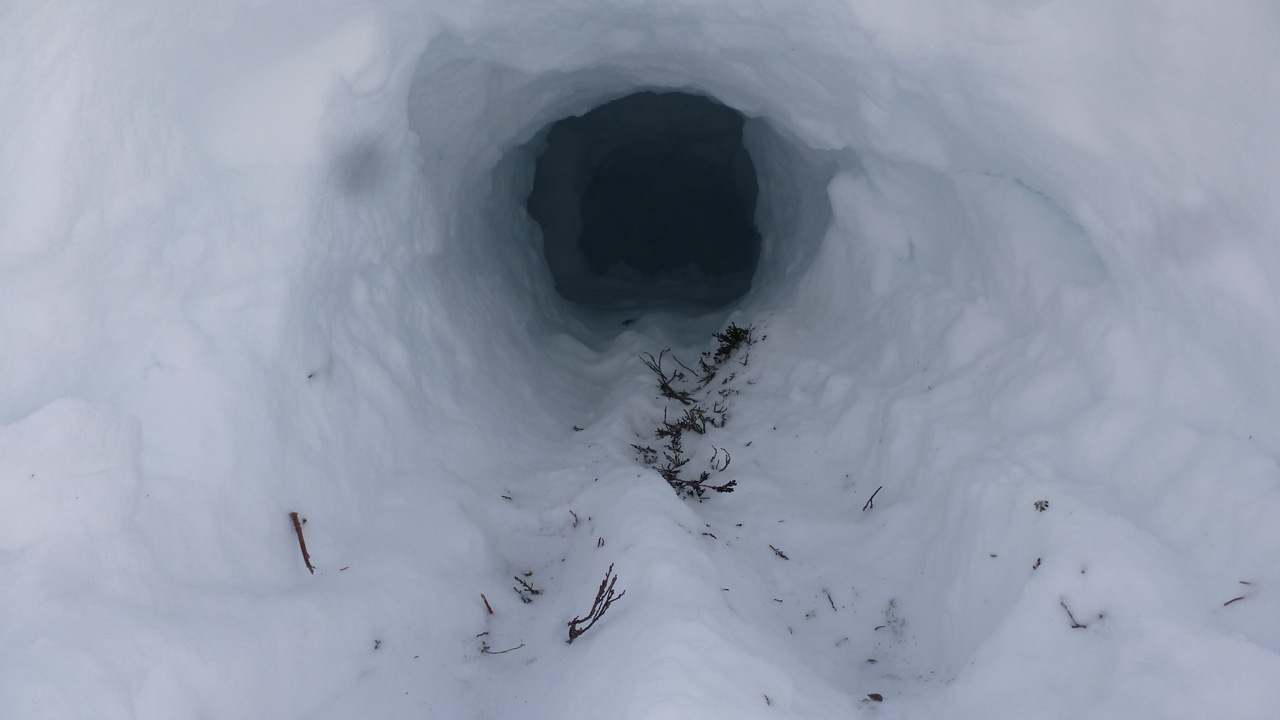
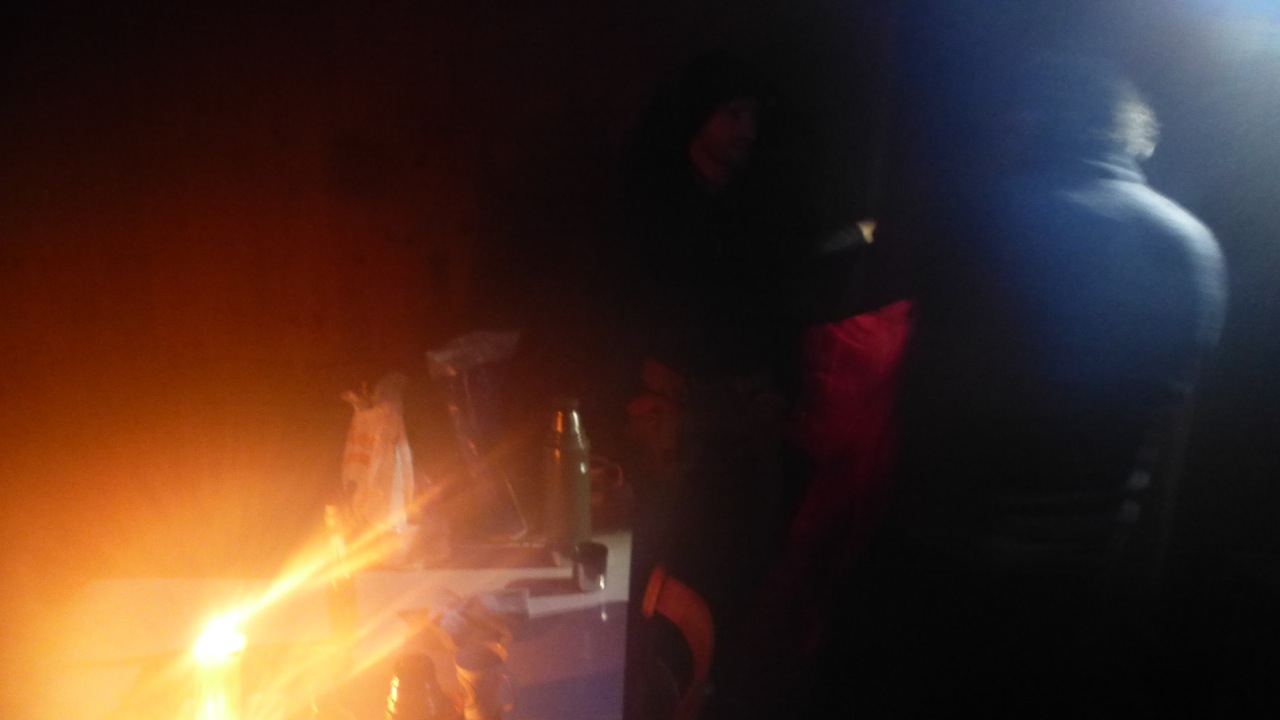
 Konstanzer Hütte 2nd Day:
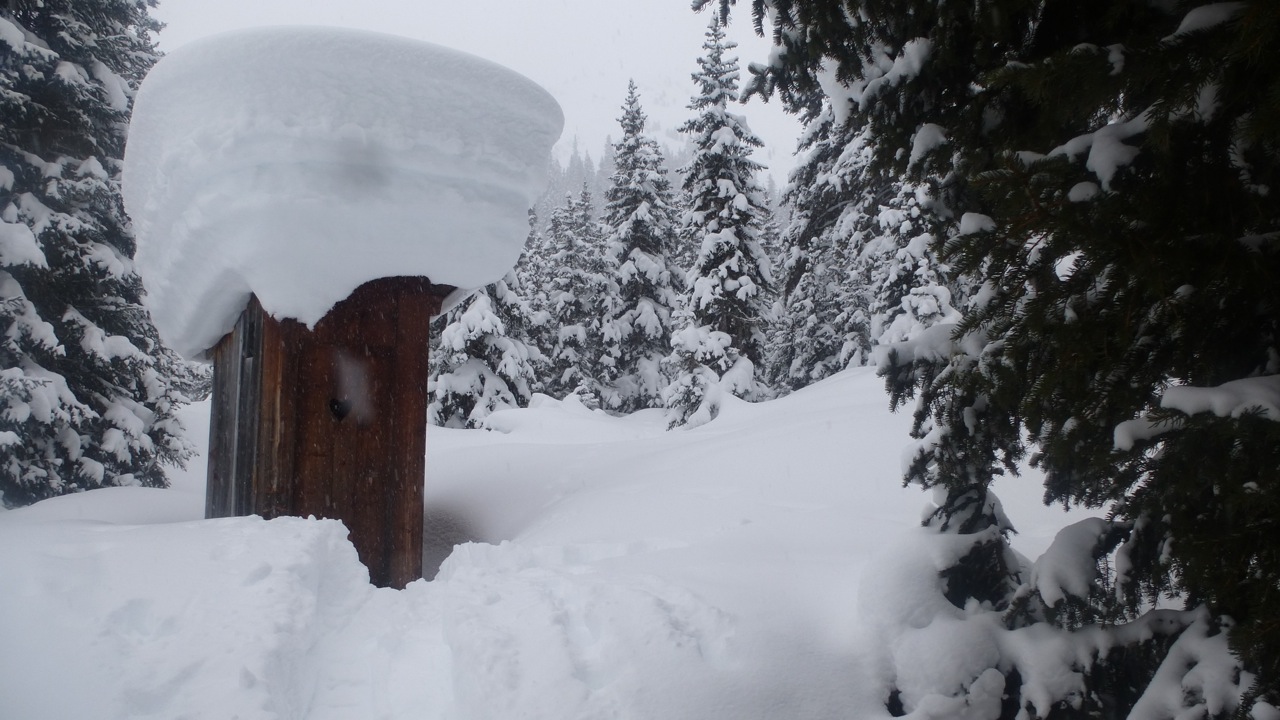
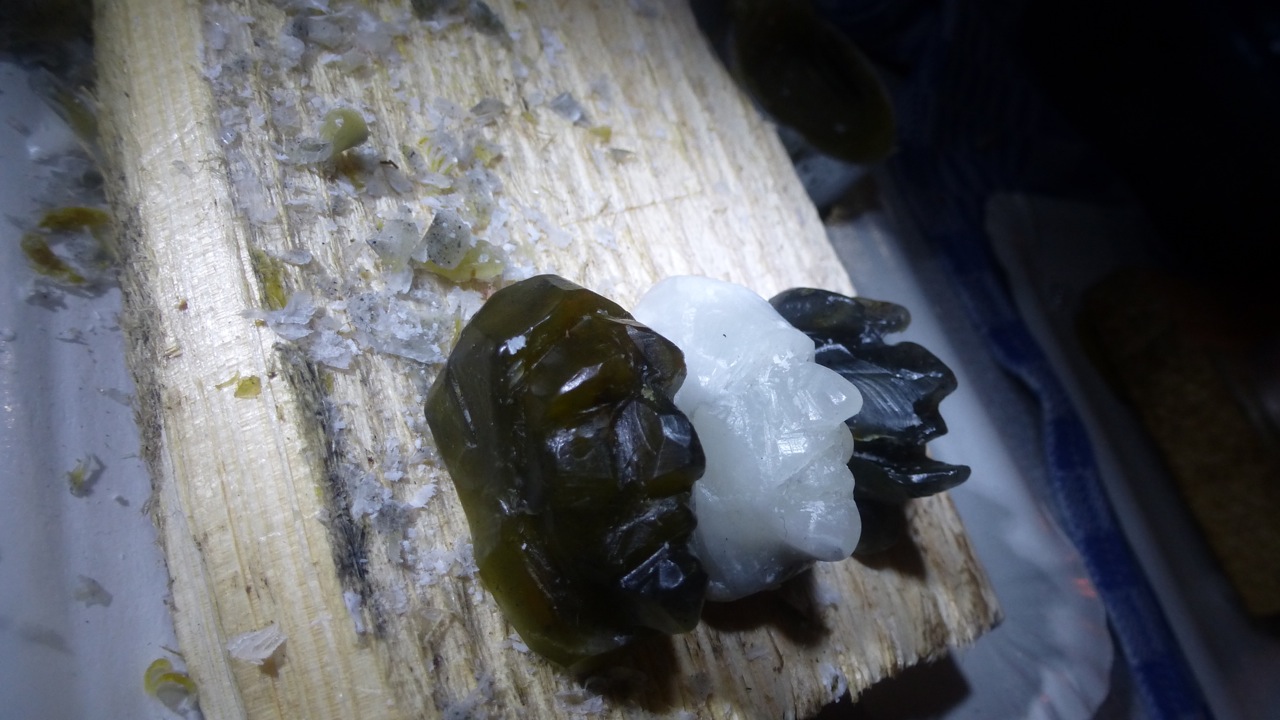
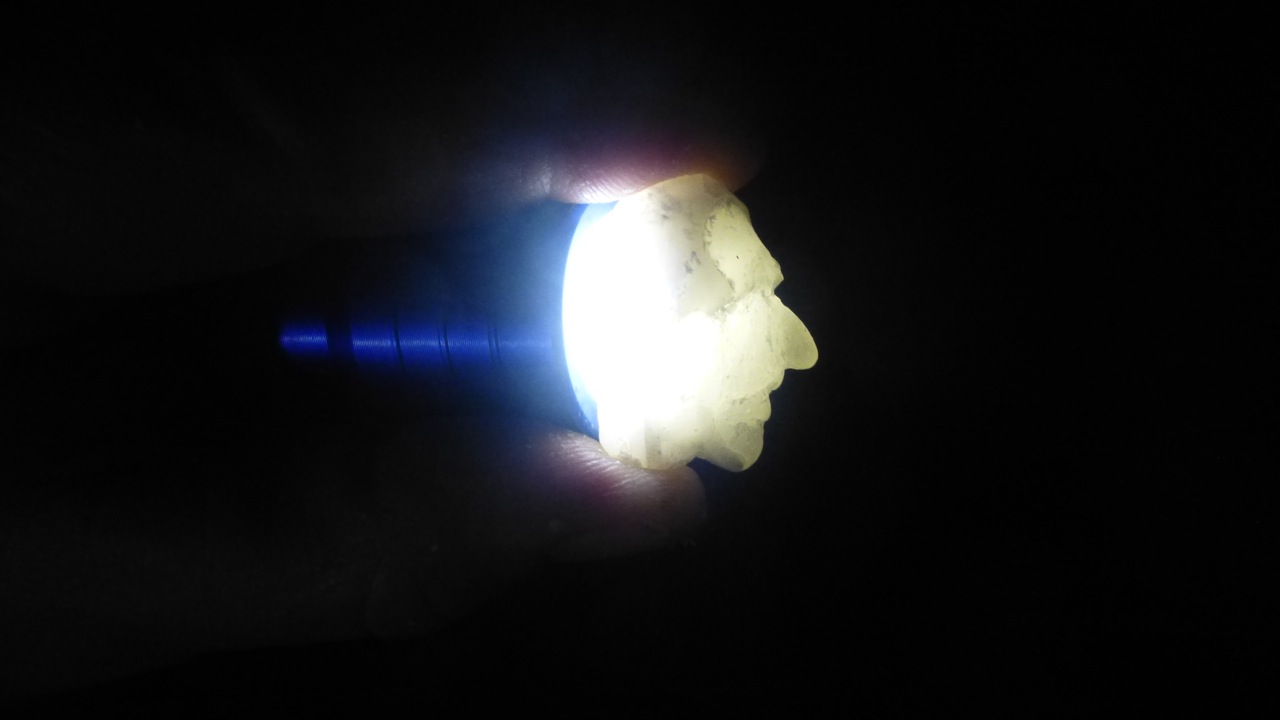
Due a really high avalanche risk on this day and the extreme steep part on the last part to the next mountain hut, the Mannheimer Hütte we decided to have a lazy day. Which started to go to the toilet with the snoeshoes on. Later that day we made a short trip without the heavy backpacks in the forrest not far from the hut. Returning we digged an Iglu for all four of us to gathered some skills to prepare shelters in the snow. The artist of our group carved some great faces out of candlewax. So this was really the day to relax and enjoy the easy way of living up there. What you need to be happy? Warmth, Food and good company


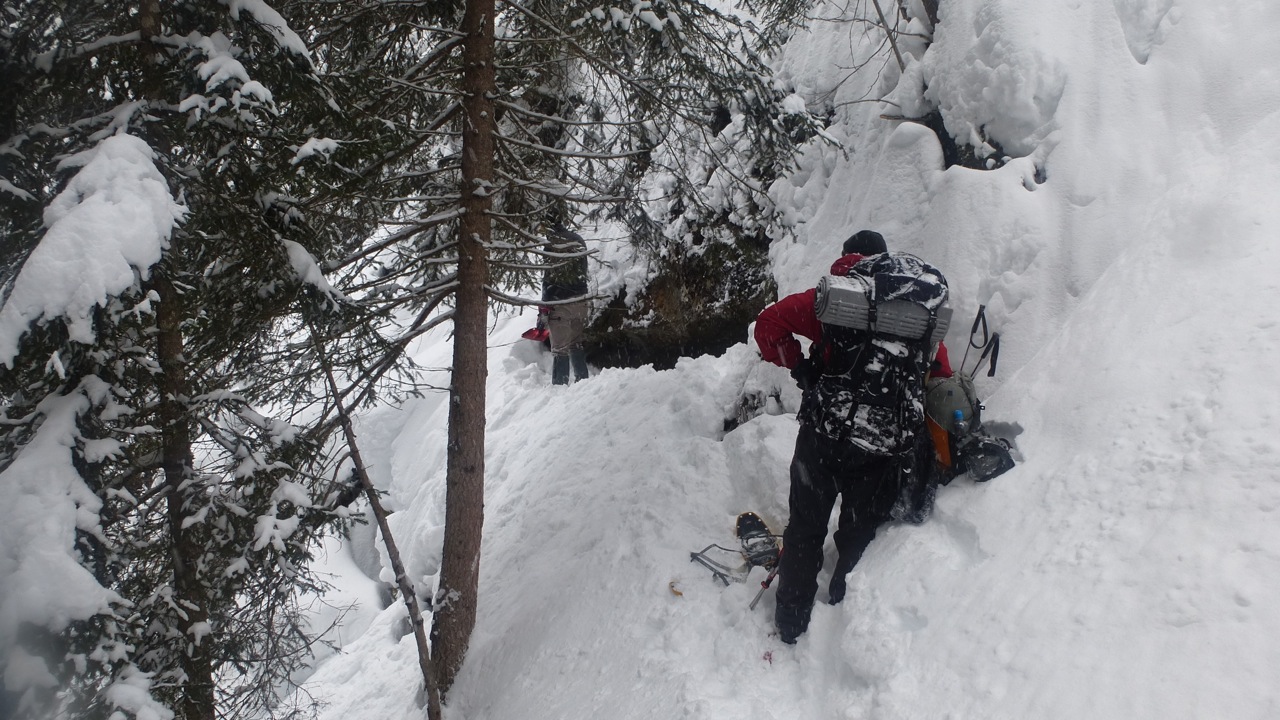
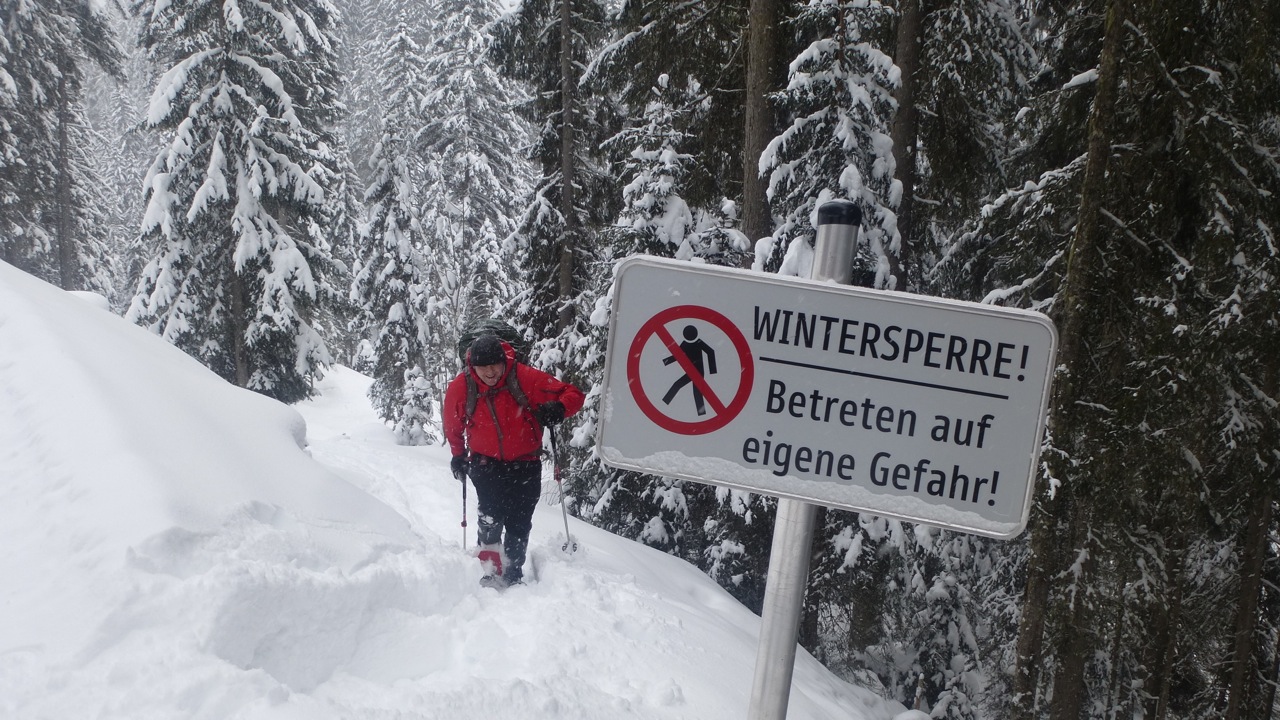


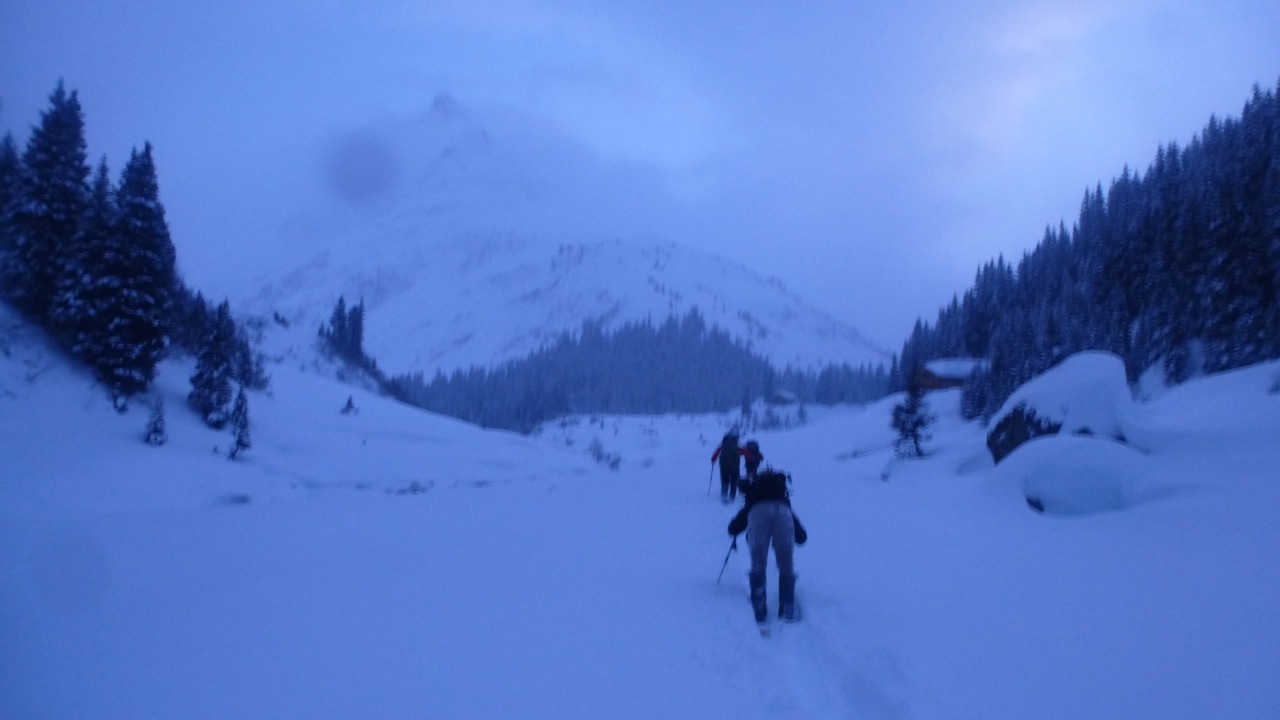
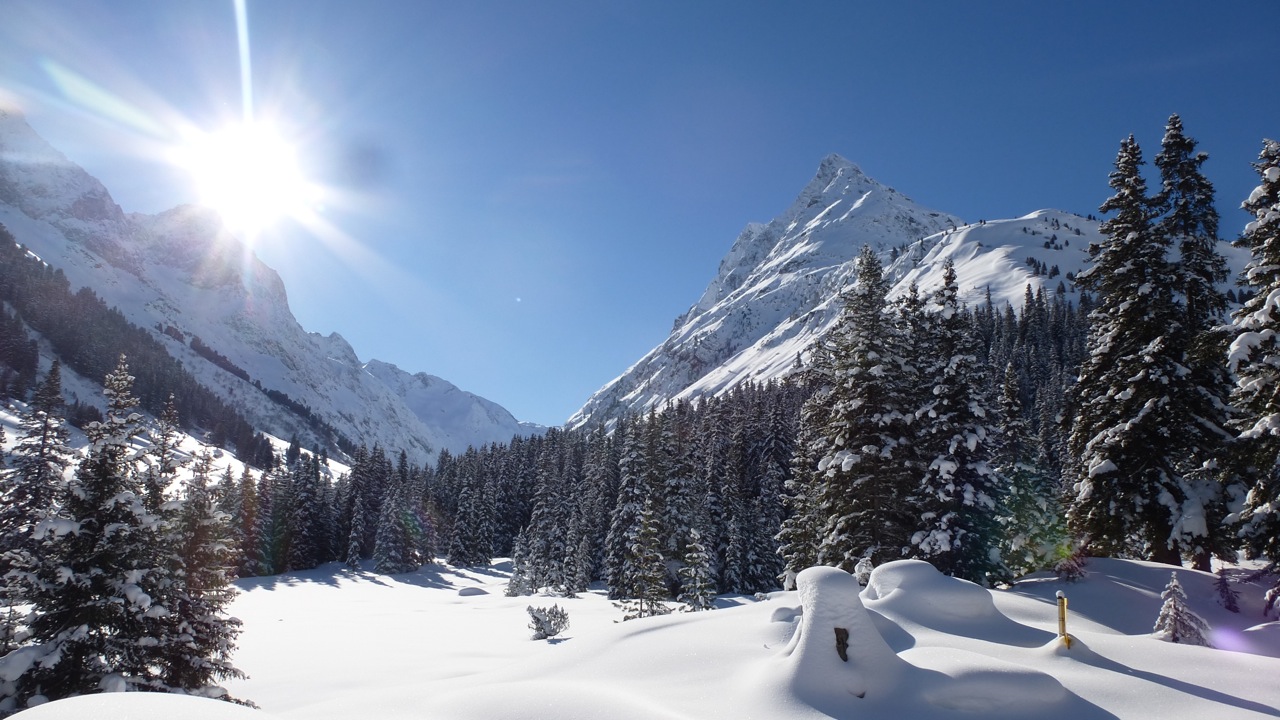
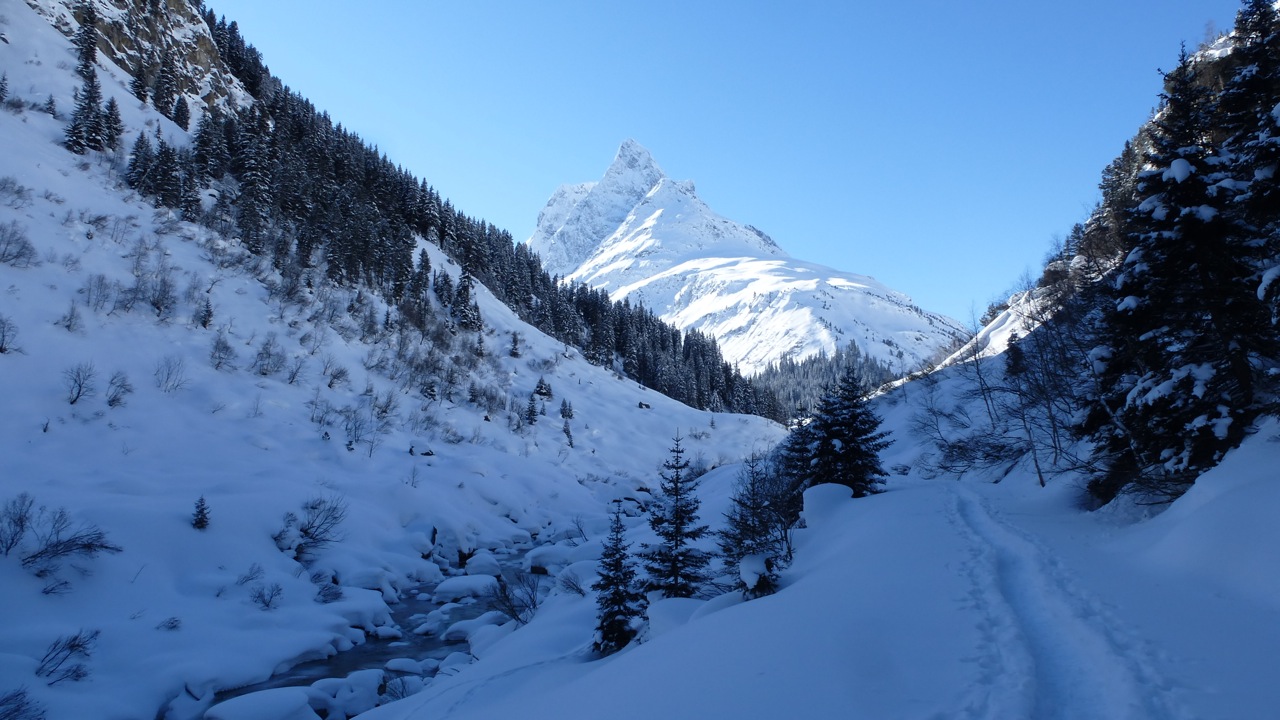
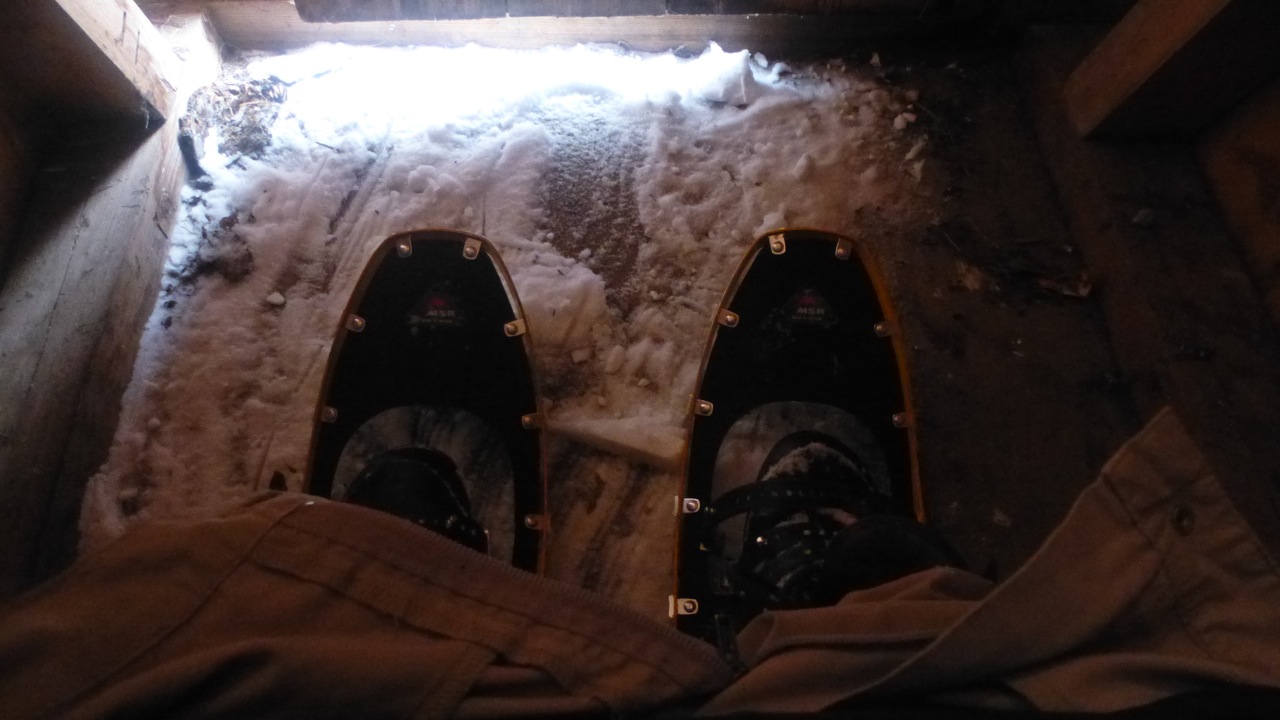
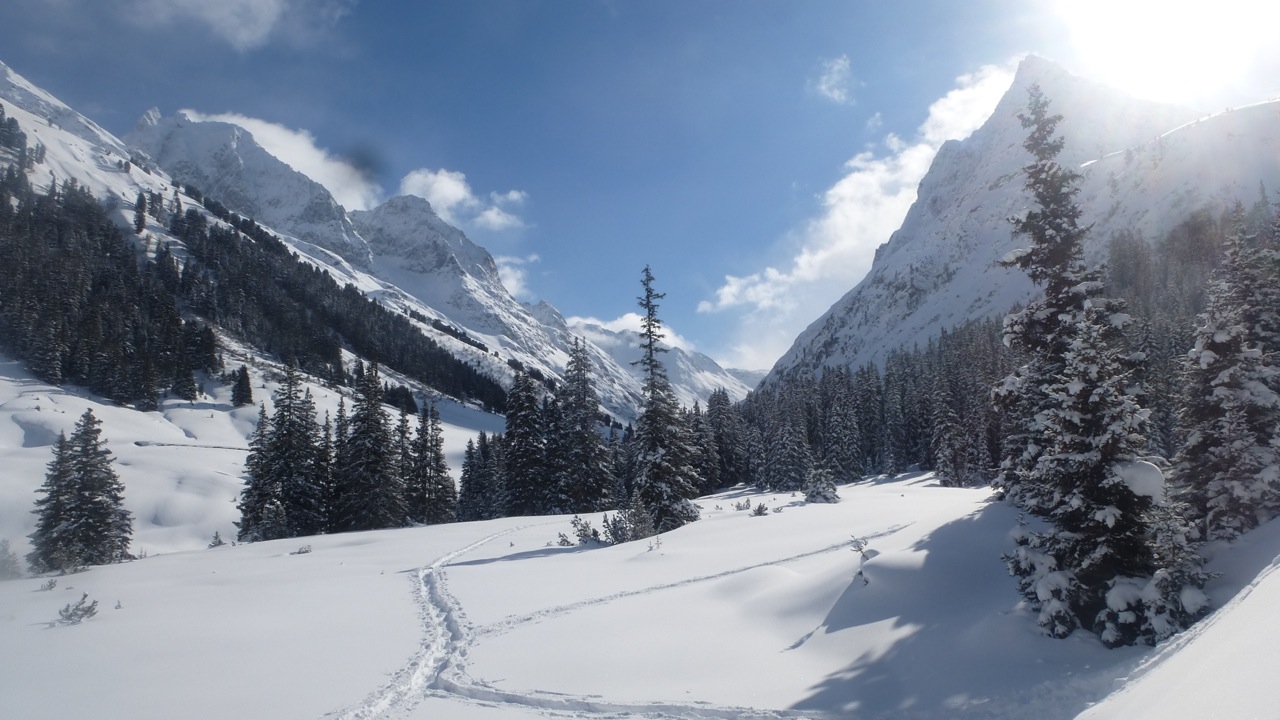
 Snowshoe Trip Day 1 – St. Anton – Konstanzer Hütte:
After some delays be-cause of heavy snow on the motorway and too much snow on the pass, we finally made our way to St. Anton at around 2pm to our starting point of the trip.
Unfortunately after about an hour in the route we found out that the “Rosanna-schlucht” / “Rosanna canyon” indeed is something steep. That is usually obvious by the word “schlucht/canyon”. Walking this canyon in summer and the in winter can be a different league. A couple of times we were close to turn around and walk back to the official winter path but due to laziness and courage we made (digged) our way trough. After another 3 and a half exhausting hours, taking turns who will be the first to compress the powder about 30 cm down, we arrived half an hour after darkness at the hut. After the oven ran and the first snow was melted to prepare some hot soup the party began.
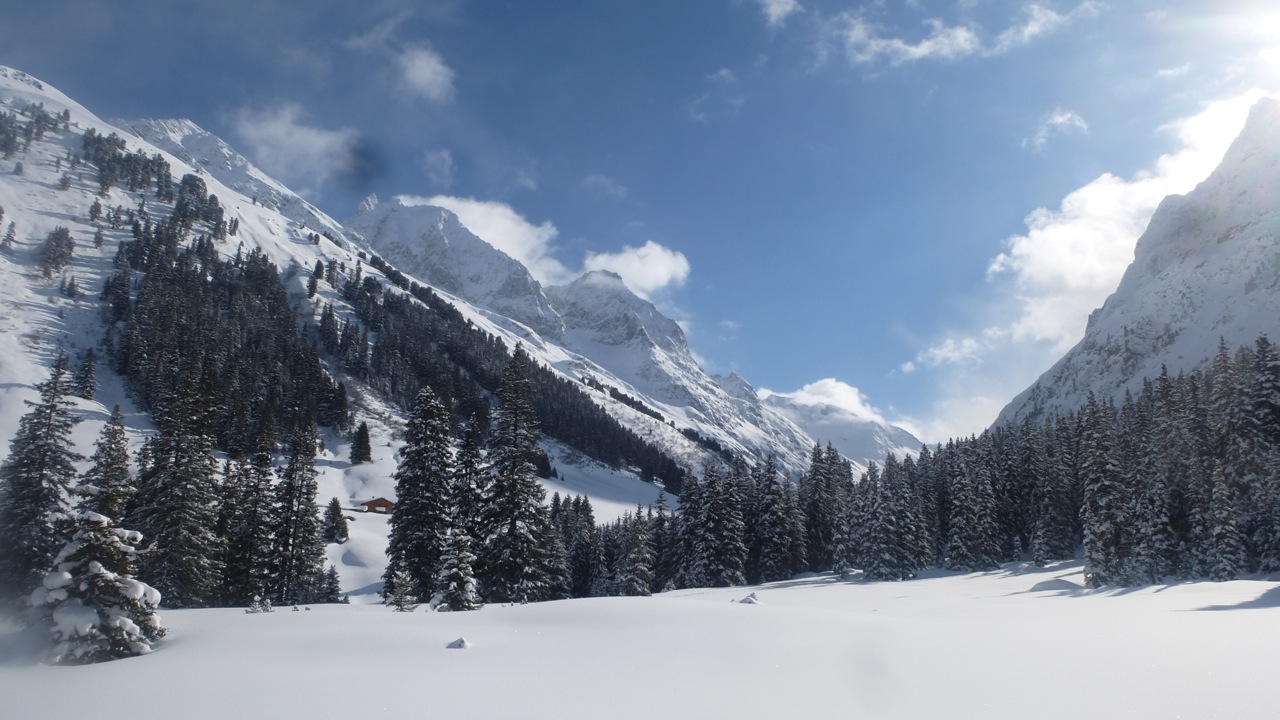
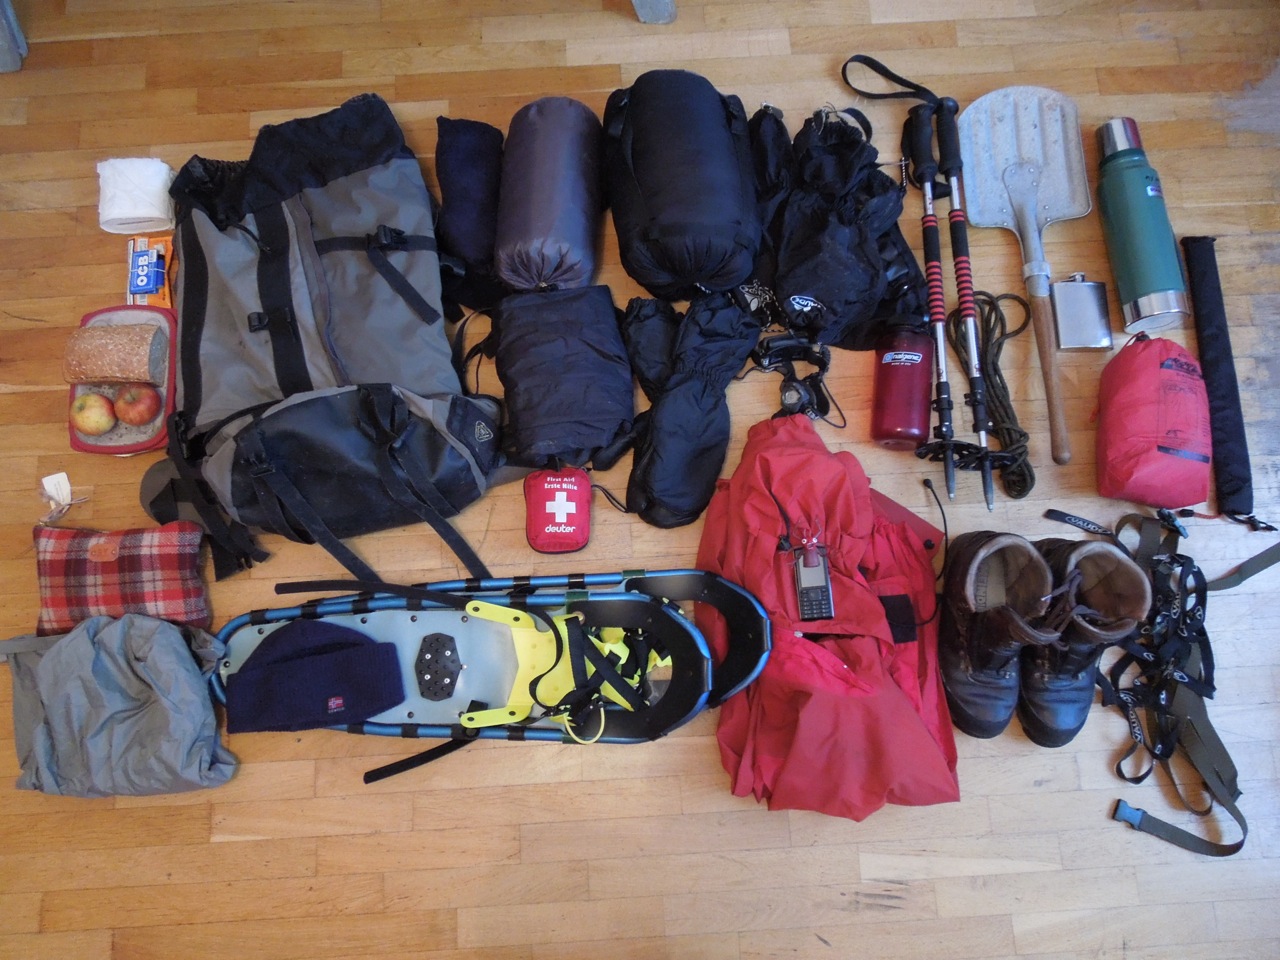 Outdoor – Snowshoe weekend tour:
At least once a year an absolute must to share some special moments outdoors with a few good friends. The goal is to create “Sternstunden” and not a clusterfuck with an alpine rescue. So we leave tomorrow morning for a 3 day trip to Austria in mountain huts and maybe a builded igloo all nights above 1700m – 2400m, -10 C to -15 C and distances of 10 to 20 km a day.
Here is roughly the packing list for it:
– backpack around 65 l
– snoeshoes
– telescope sticks
– gaiters
– bivouac back
– Stanley thermo
– snow shovel
– avalanche probe
– thermarest mattress
– winter sleeping back good for -15 C
– my beloved Meindl hiking boots
– Devold watchcap
– thick winter gloves and thin ones
– all purpose Chris Adamiak pouch filled with the essencials to easy forgotten
– Fritz the Monster
– Tabacco
– Petzl LED Headlight
– Toilet paper
– about a kilo of Linsen & Spätzle
– waterproof store bags
– Mobile phone and for sure a camera
– Patagonia hardshell
– Windproof pullover pants
– Flachmann / Flask for inner warmth filled with Flor de Cana 12 years rum
– Bodywear by Woolpower, socks, and trouser by Fjällraven not on the image
– Additional Food has to be bought later, like high energy Ritter Sport chocolate (great be-cause waterproof packed) moutain cheese, ham, Landjäger and so on.
Thats mostly it, for sure not complete yet but for sure until tomorrow. Have a great weekend as well. We will try and if the weather is not too ugly, great photos will show up on sunday here.
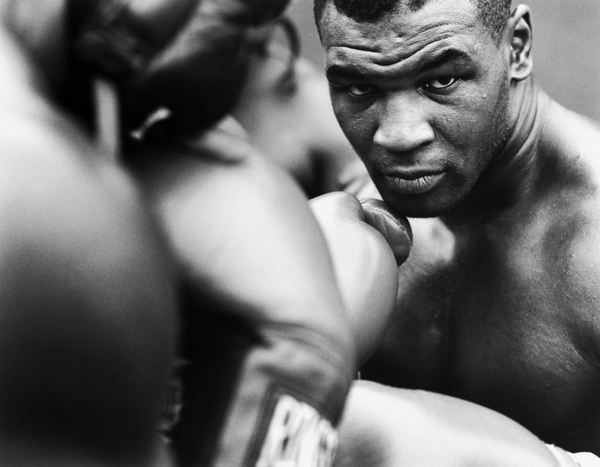
Mike Tyson – Early years, a rare documentary:
From his early years, influenced and formed well by Cus’D Amato and not messed up by the others who followed. Cus died in 1985 when Mike was only 19 and started to get a Pro. Cus says in this footage something like: “My goal is not only to form a champion but also to make him independent from me”, hard to say but he failed with the second part of his saying, by passing away too early, RIP.
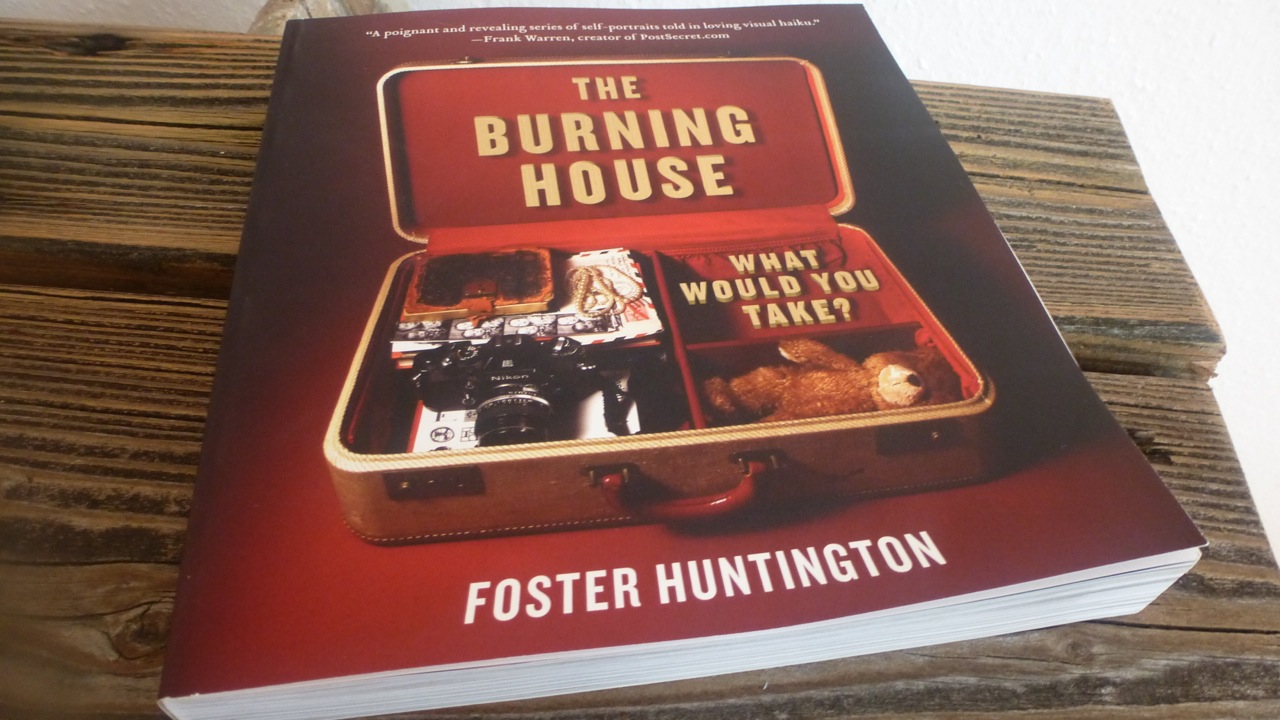
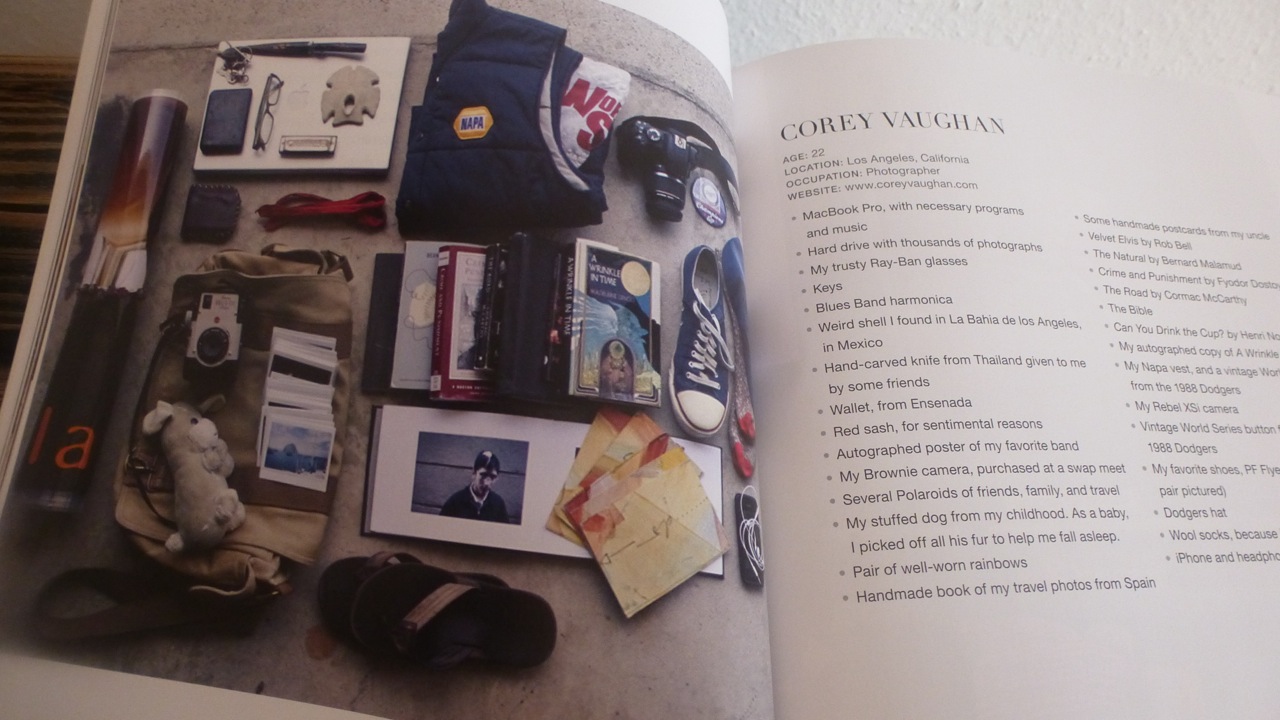
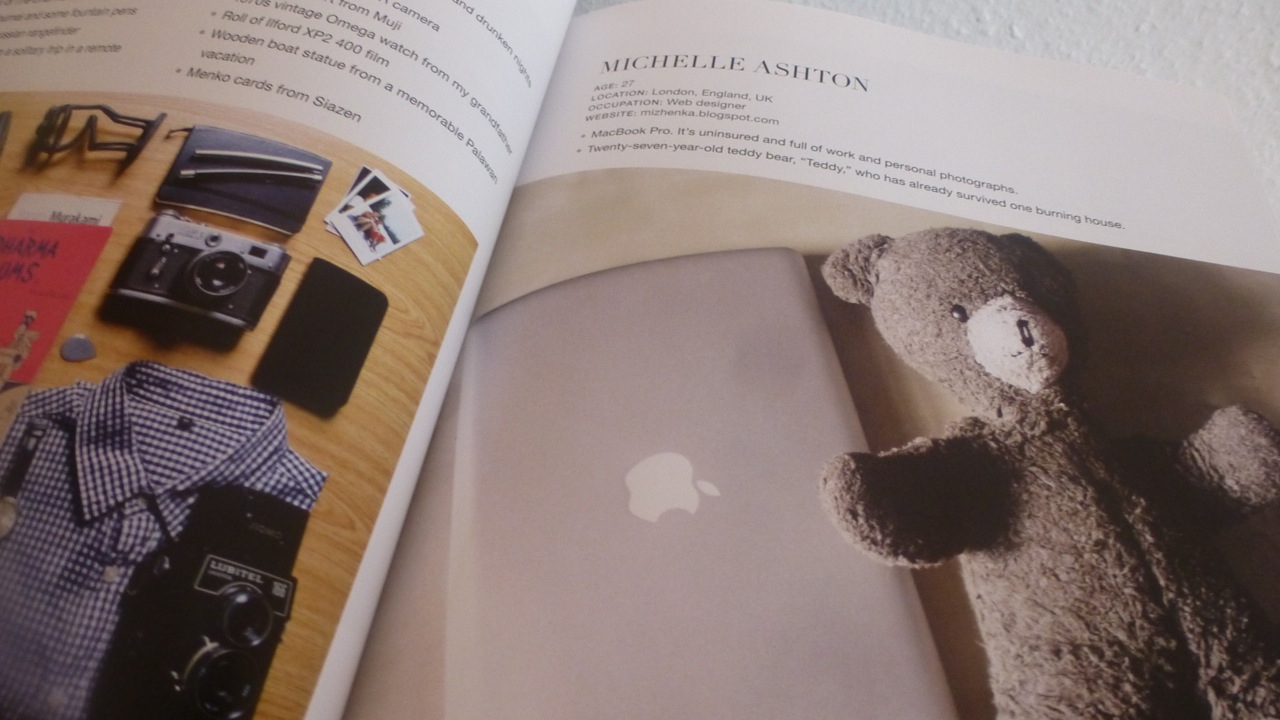
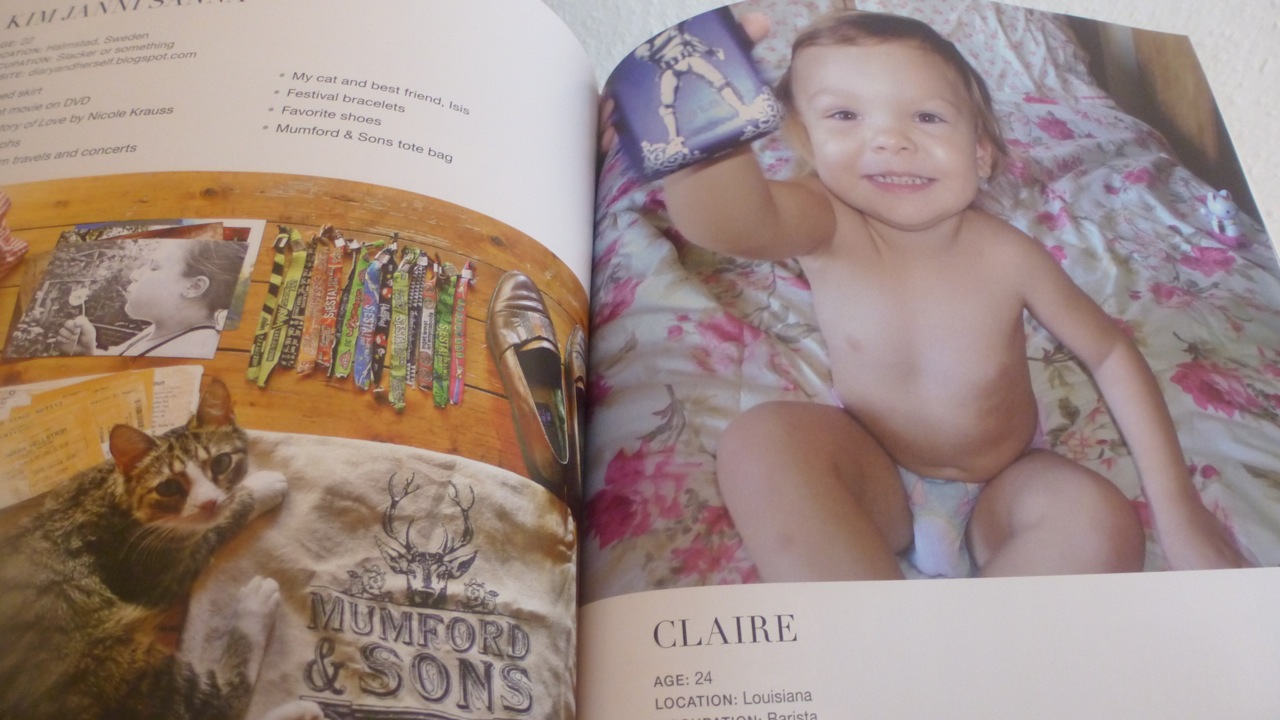
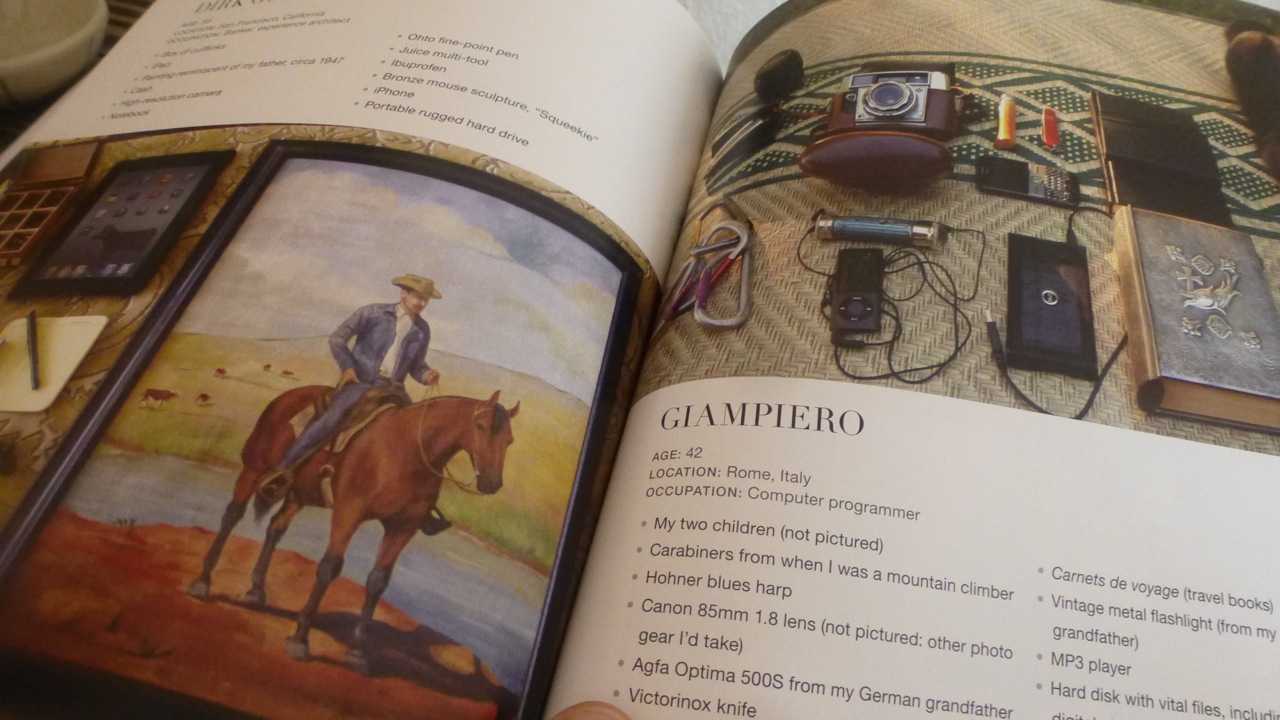
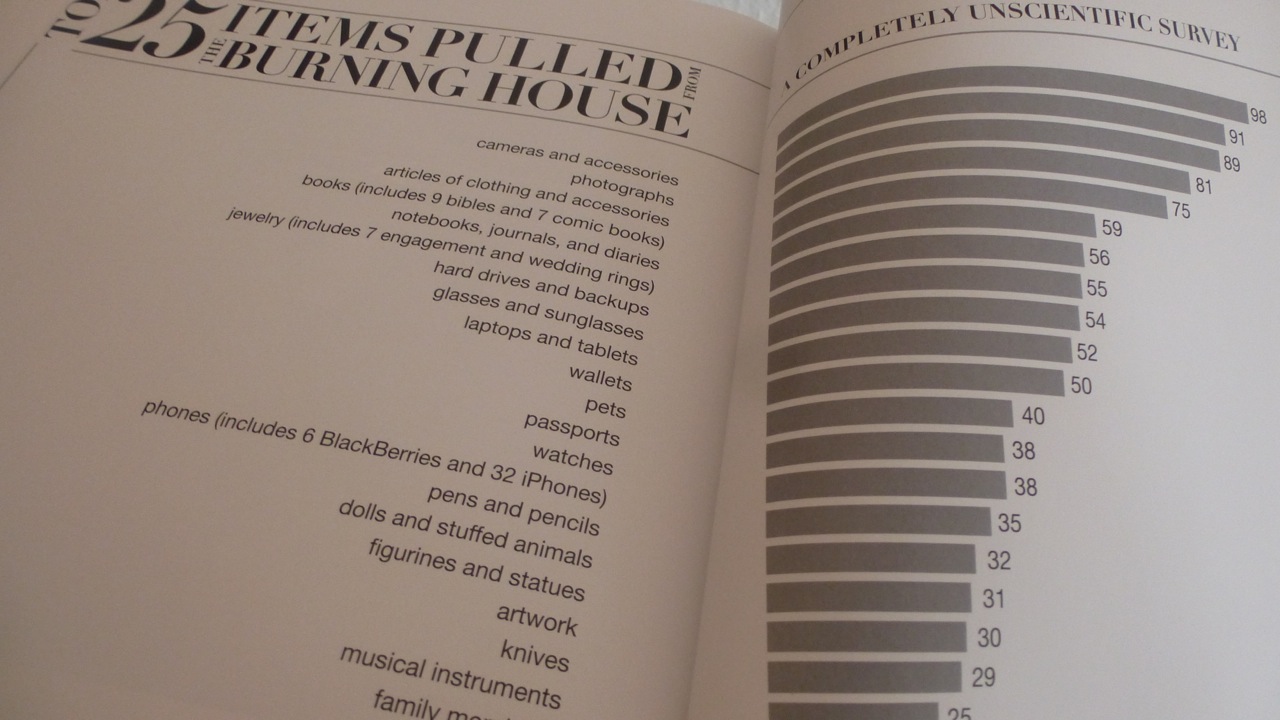
The Burning House book by Foster Huntington:
Today I finally received the Burning House book by Foster Huntington. I followed this project since its beginning around 2011. The idea is quite simple. Imagine your house is burning down to its grounds, what would you save from the fire. Its a great insight to the different priorities by individuals. Items like pictures, backup drives, pets, cameras, books or stuff which sometime in their lives proofed to be essential to them.
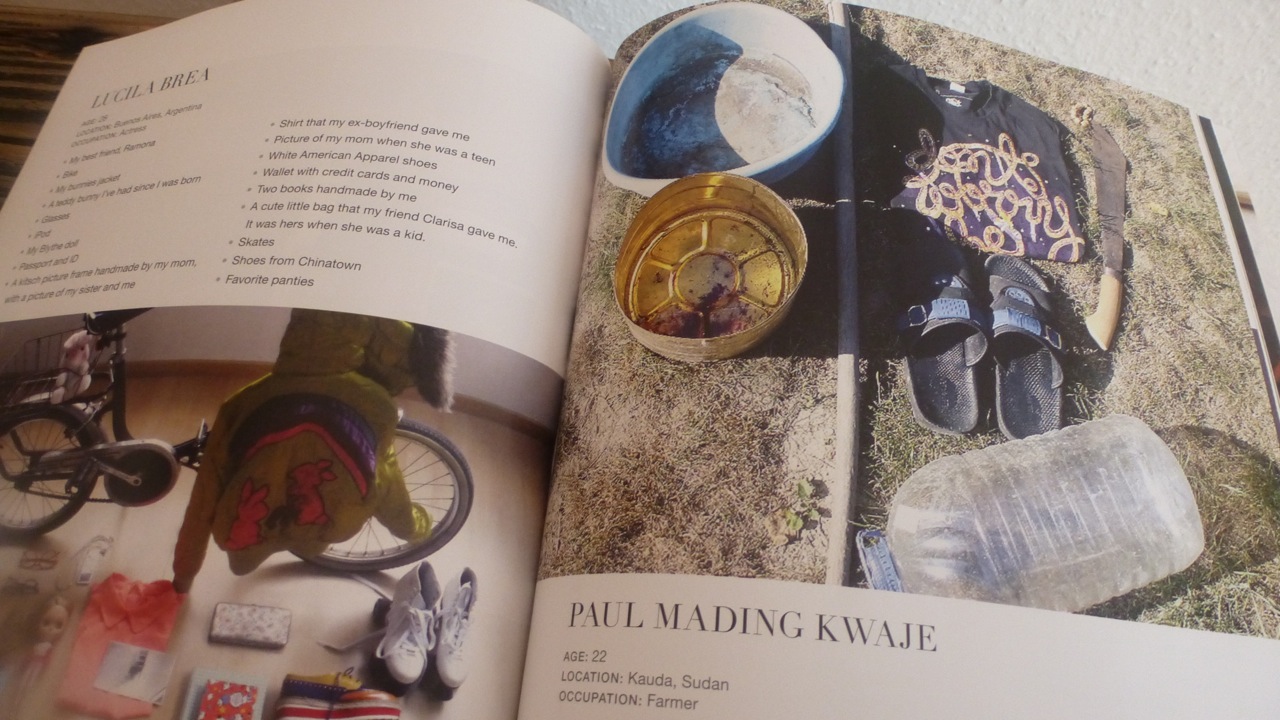
The most interesting post to me is the post by Paul Mading Kwaje a farmer from Sudan. It not only shows the reach of this project, but also how different the view of importance to someone can be. His items he picked are truly essencial for him and his surviving. Thanks Foster for this great project and sharing it with us not only online but also making the effort to publish this great book.
(c) by Foster Huntington
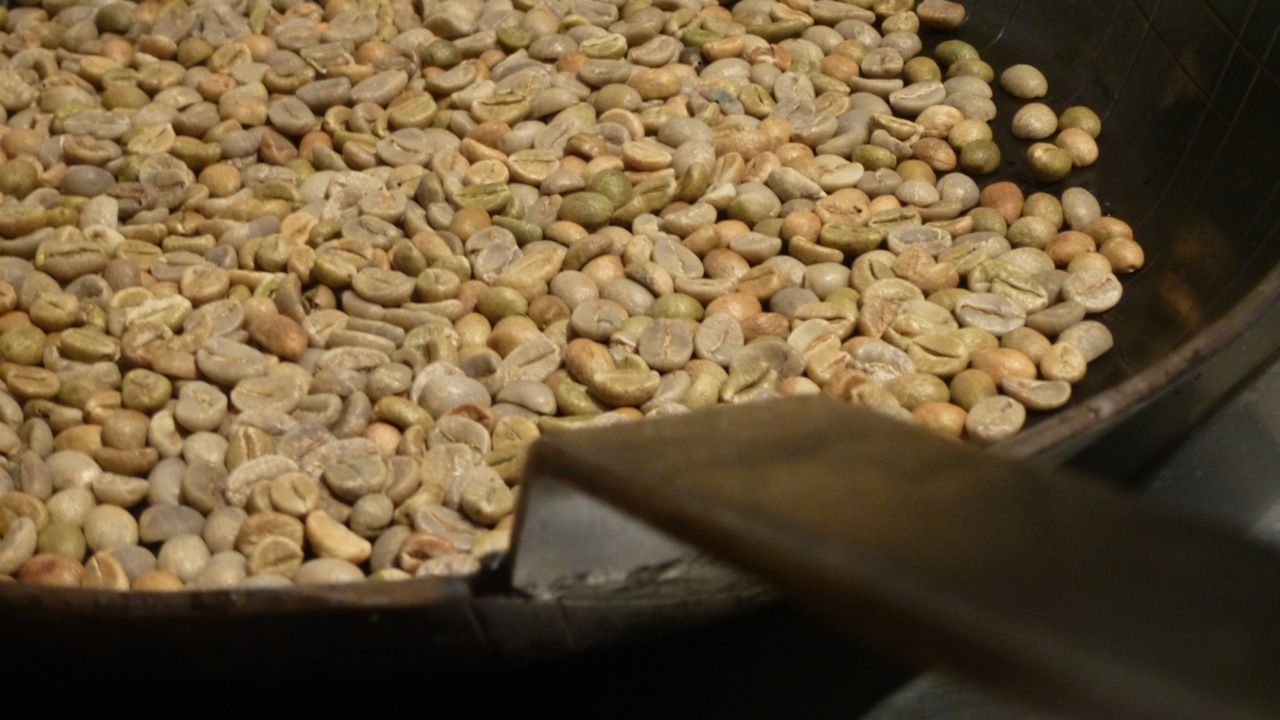
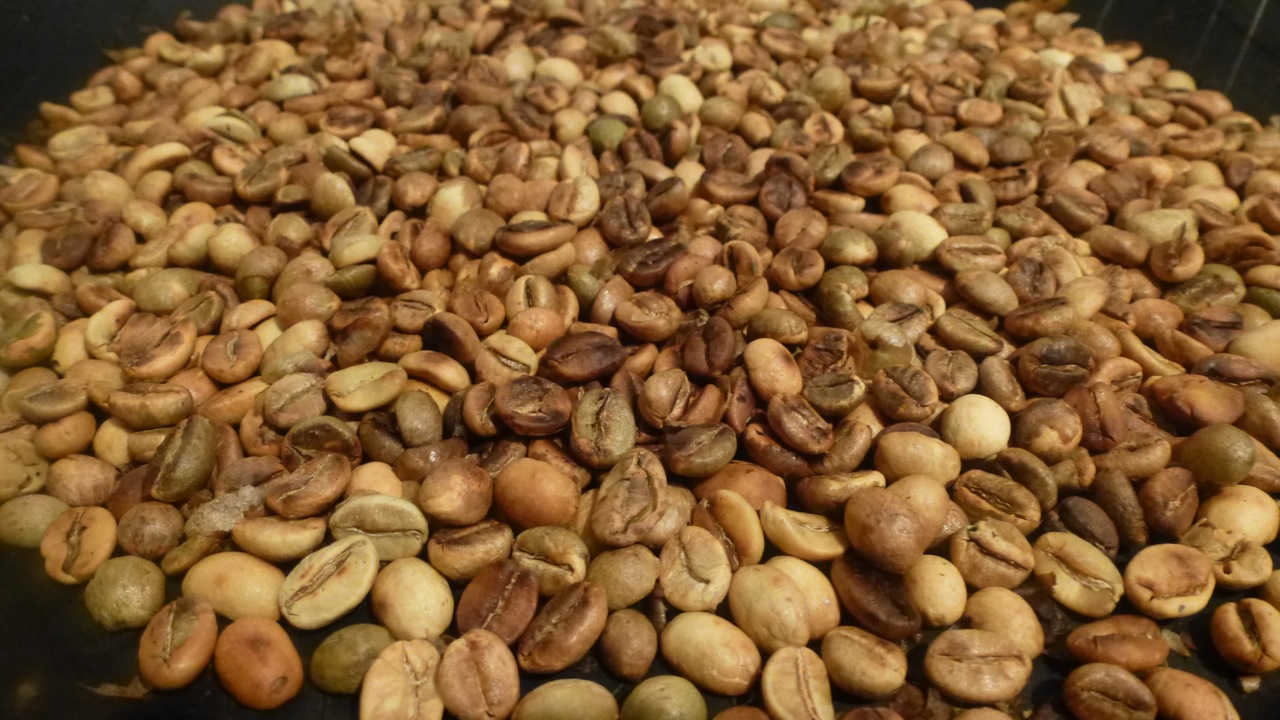
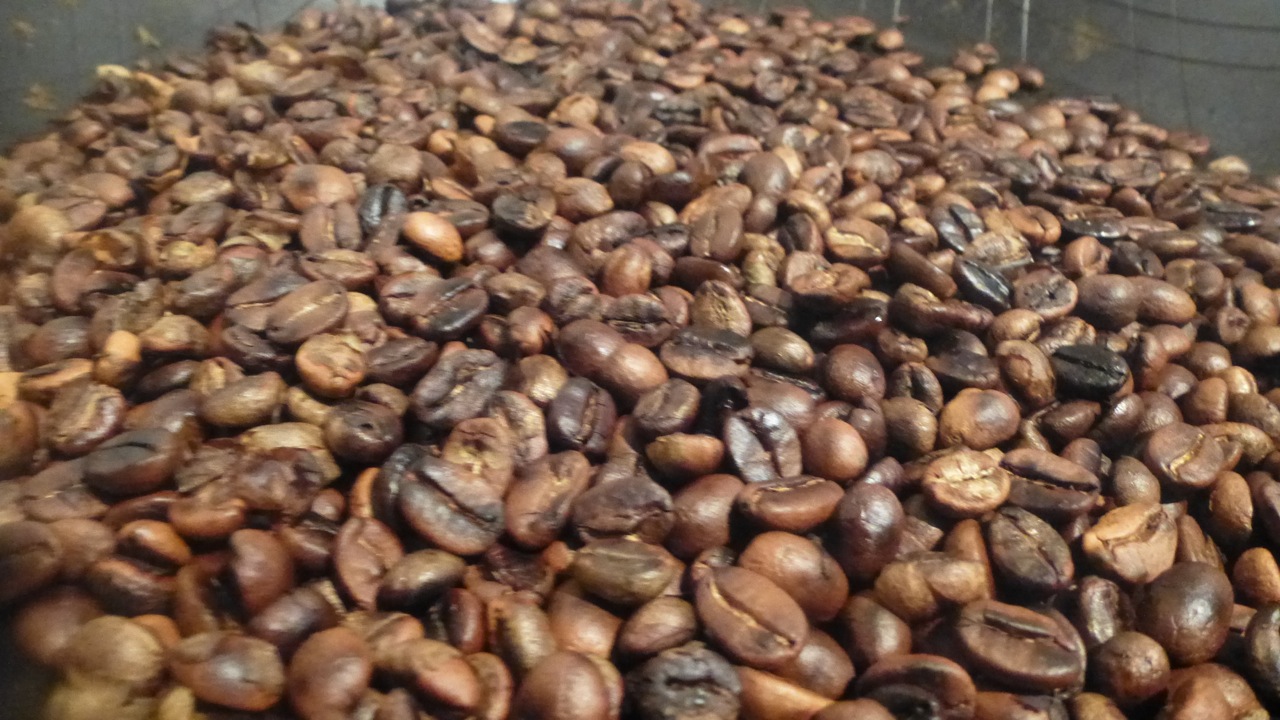
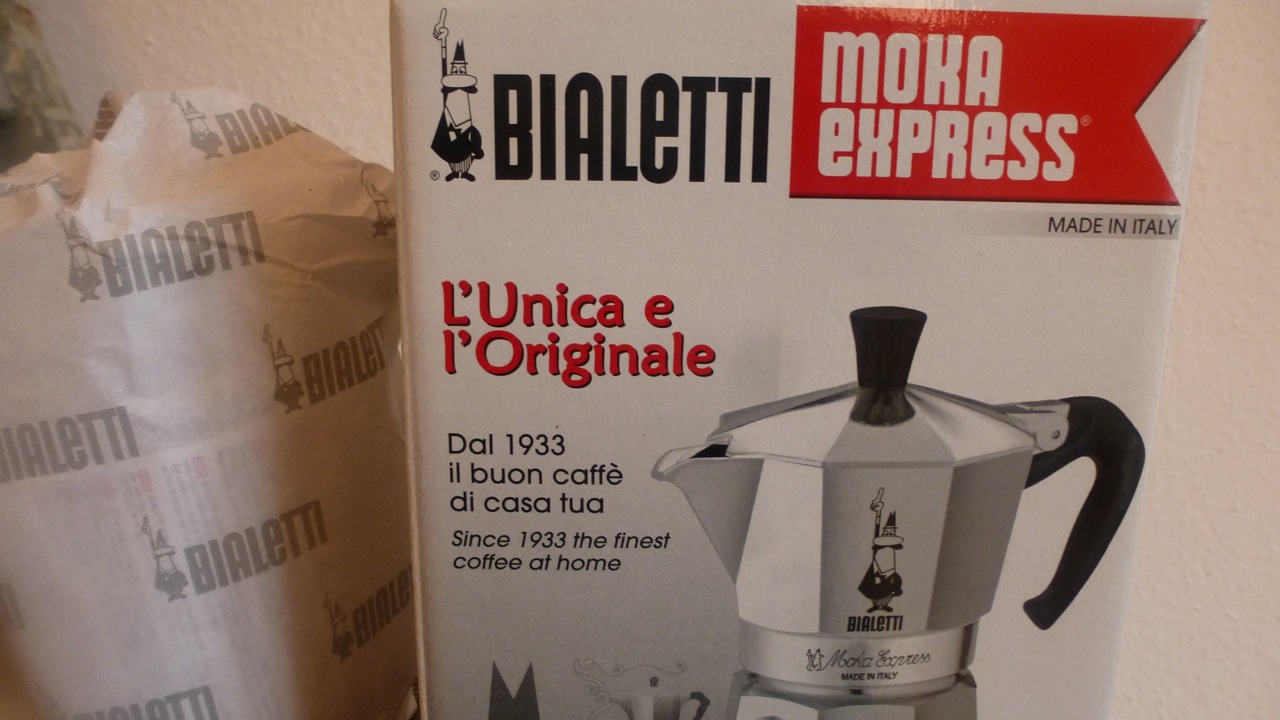
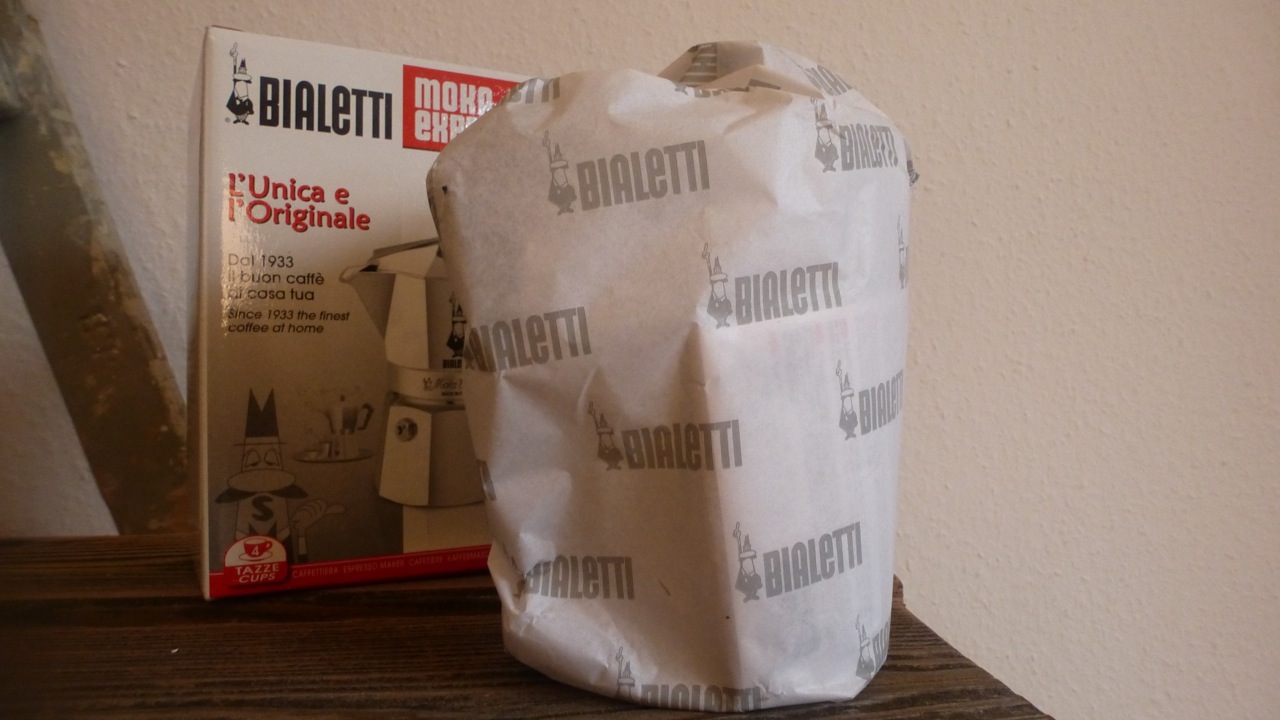
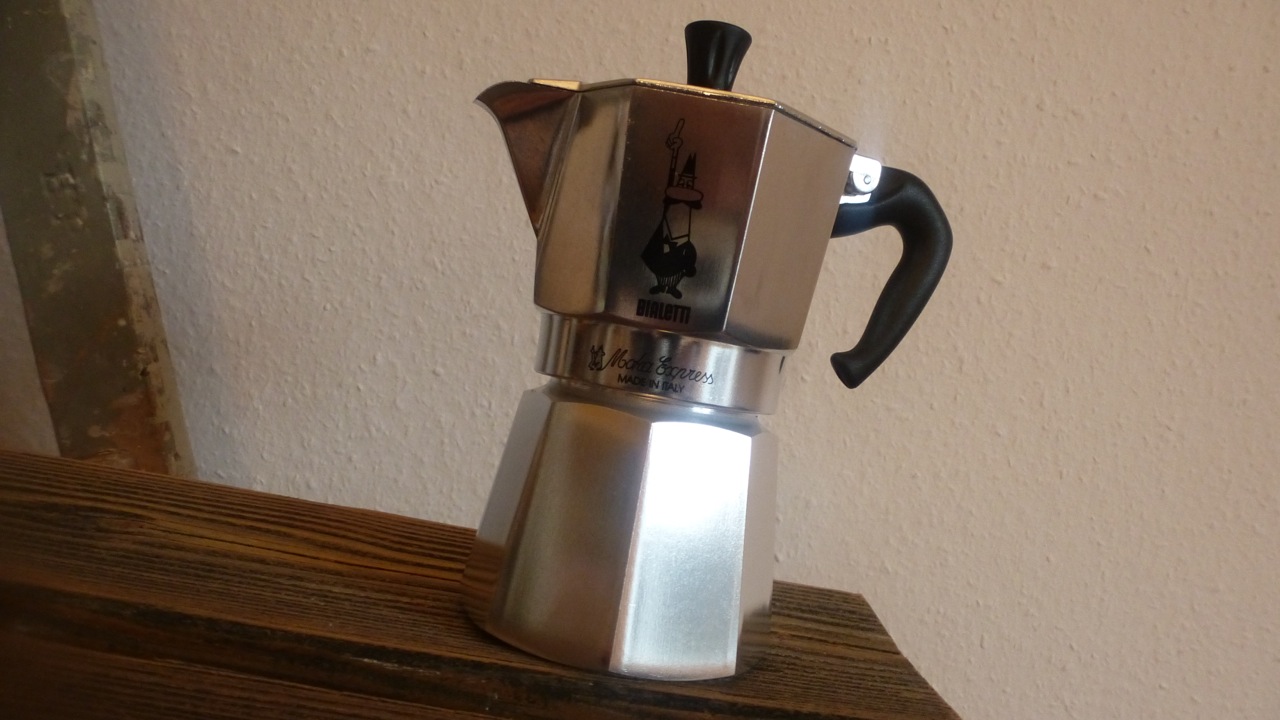
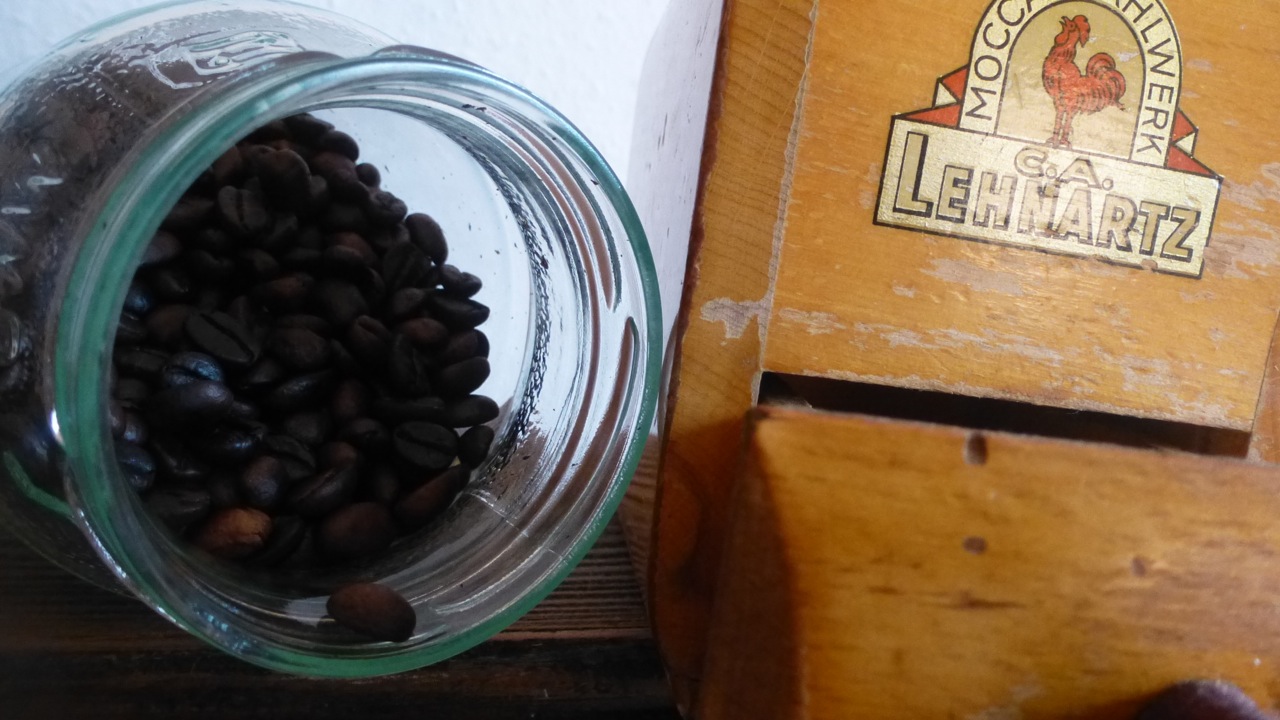
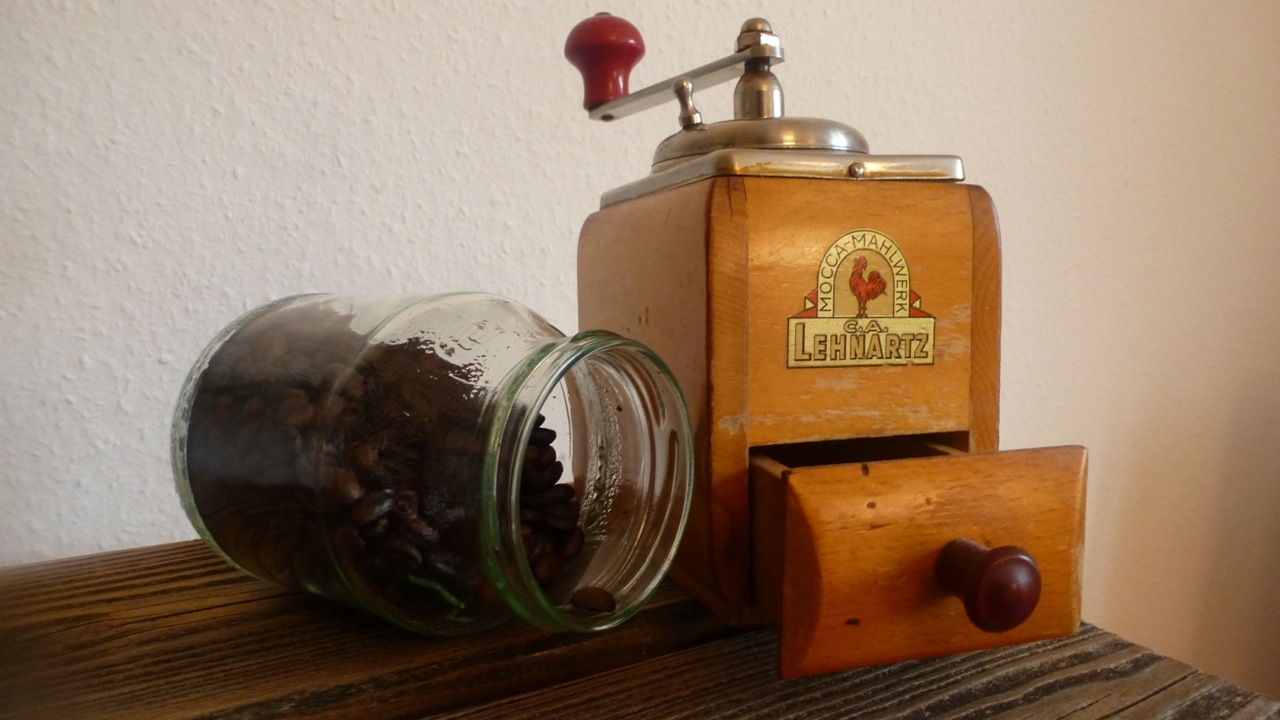 Pan roasted coffee and Bialetti espresso:
As a regular reader you might know I use the Whiley Pop Popcorn Maker to roast my coffee. But I actually never roasted coffee beans in a pan before today. It is possible but I have to tell you that a lot of movement is involved shaking the iron or iron cast pan every 5 seconds for about 20 minutes. So you will earn you breakfast after it for sure.
So this is how I did it:
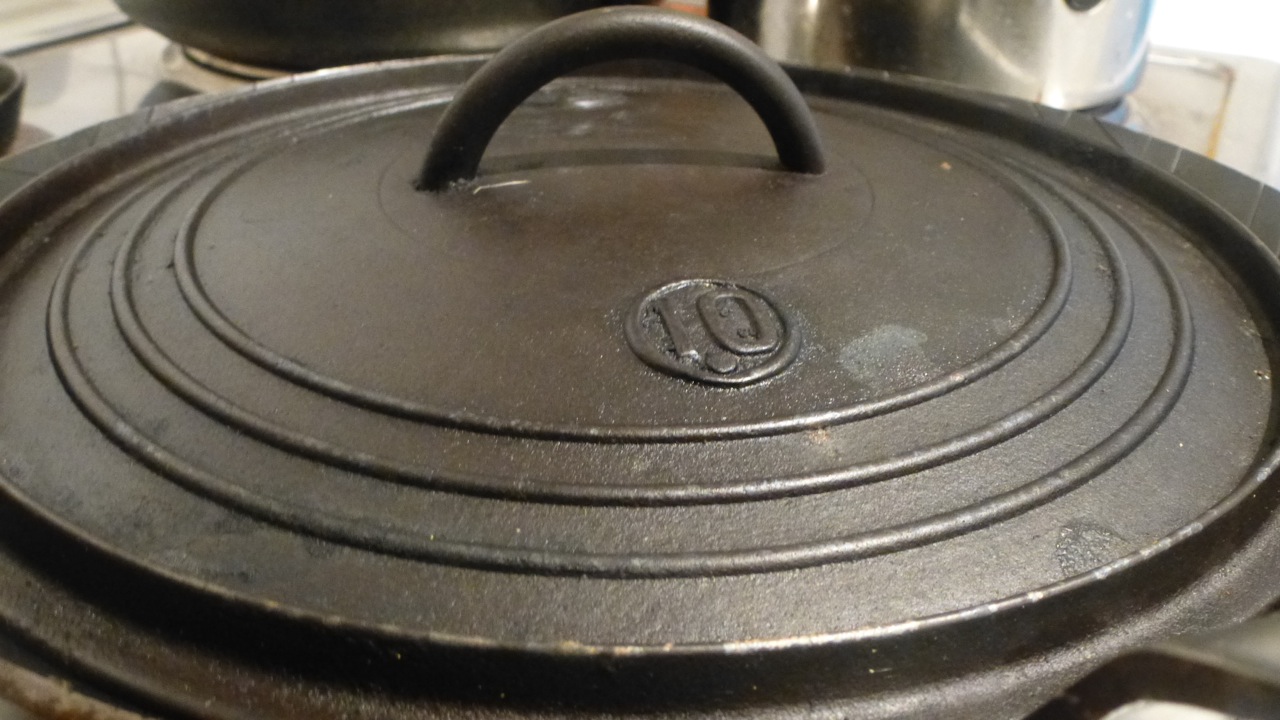
– Use a proper pan, iron or iron cast is perfect. One with a higher rim is absolute perfect.
– Fill it with geen coffee beans just a bit less than all the ground is covered. They will expand to about double the size.
– The most tricky part is how to know the right temperature of you oven plate. I would start with 2/3 of the maximum. E.g. I got 9 max. so I choose 6 or 7.
– Too hot will burn the beans to fast. You sould be able to roast the beans for more than 20 minutes until they are dark brown.
– Constantly shake the pan with the cover and make sure they are evenly covering the whole surface of the pan.
– Avoid dark spots by not moving the beans around, about max. 5 seconds is ok.
– After 10 minutes you should hear the first cracks of the beans
– Ater 20 minutes you should hear the second cracks, this about the time when the beans
are close to be ready.
– Wait for the beans to be a darkish brown close to black for espresso, dark brown for regular coffee.
– Fill the roasted beans in a huge bowl and shake off the skins of the beans, your coffee will taste bitter if you leave them with the beans.
– Cool them down and fill them in a jar.
– Keep the cover from the jar open for about a day so the beans can breath out the carbon monoxide
– After about 24hours the coffee is ready to be grinded and ready to drink.
The cheapest, one of the most tasting and most joyful method to make coffee is using the typical Bialetti Espresso maker. A 3 or 4 cup sized Bialetti is the perfect choice for a breakfast for two. Not too much attention is needed, the smell of fresh made coffee is distributed wonderfully through the whole apartment and the end is announced by a nice bubbling sound of the espresso maker.
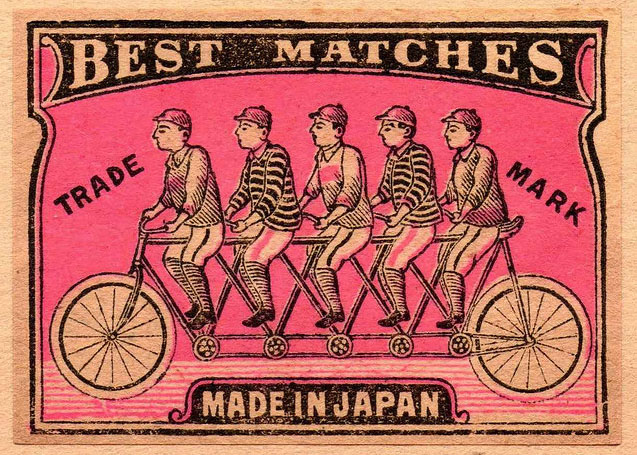
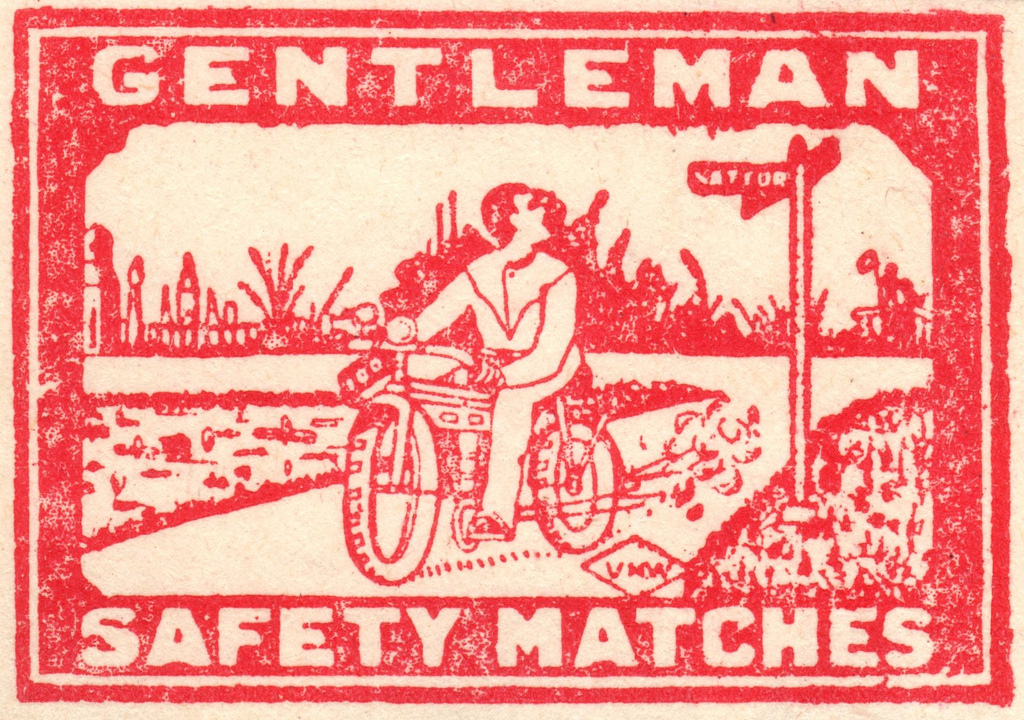
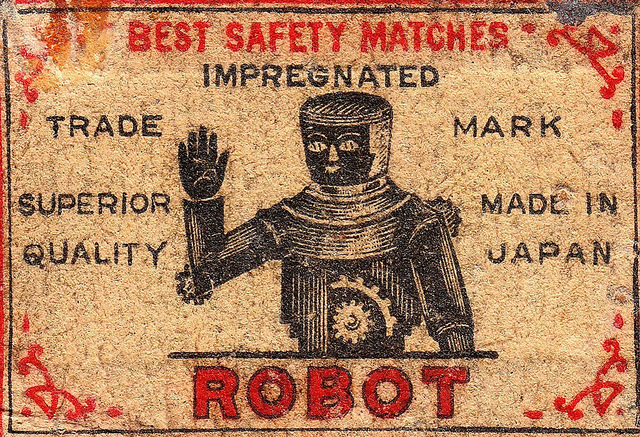
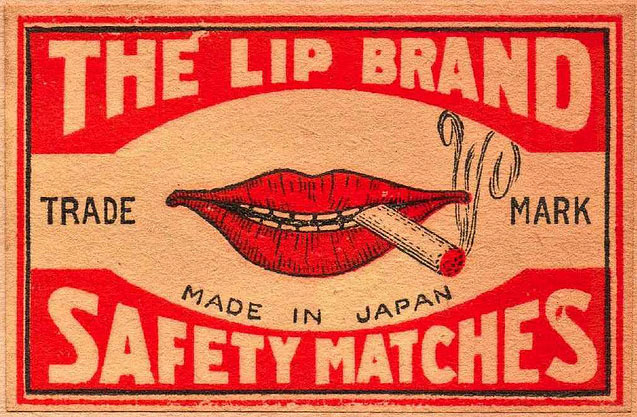
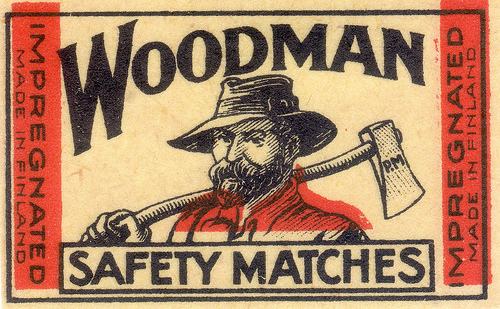
Vintage matchbox design:
Some vintage safety matches / matchbox designs I found in the net.
